RETIRED - MG2639 Cellular Shield Hookup Guide
This Tutorial is Retired!
This tutorial covers concepts or technologies that are no longer current. It's still here for you to read and enjoy, but may not be as useful as our newest tutorials.
Introduction
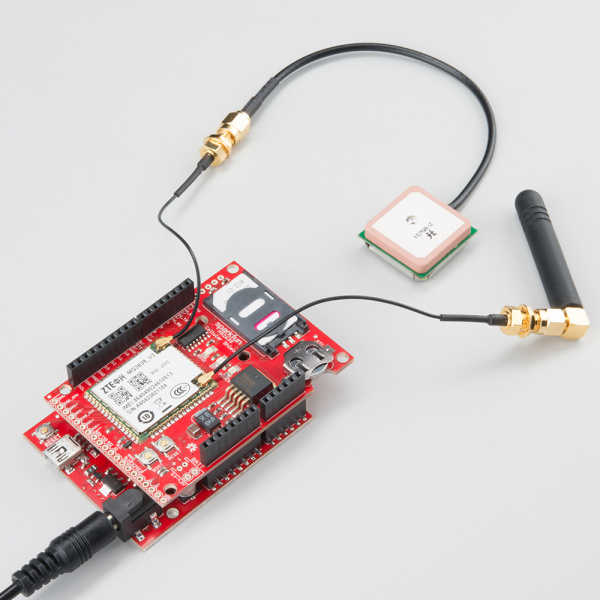
The MG2639 Cellular Shield is a perfect addition to any Arduino project that requires connectivity when there's no WiFi signal radiating or Ethernet drop nearby. The ZTE MG2639 module, which this shield is built around, supports SMS, TCP, UDP, and can even be used to make or receive phone calls (imagine that!). That means you can send and receive text messages, or use it to remotely connect your Arduino to the Internet. To top it off, it has an integrated GPS receiver, so it doesn't get lost.
The MG2639 Cellular Shield is the perfect centerpiece for any remotely-operating project -- whether it's a text-message-triggered MP3 player, an environmental monitor logging to data.sparkfun.com, or a new iteration of the Port-O-Rotary telephone.
Covered In This Tutorial
This tutorial aims to answer any and every question you have about the MG2639 Cellular Shield. In the beginning, we'll focus on the hardware of the board -- looking at the schematic, pin-outs, and jumpers on-board. Then we'll discuss what assembly steps to take before connecting the shield to your Arduino -- finding the right power supply, plugging in a SIM card, and so on. Finally we'll show off the MG2639 Arduino library and document a series examples that demonstrate how to use the module's TCP, SMS, and phone functionalities.
This tutorial is split into sections. Click the links to the right if you want to jump around to other sections.
Required Materials
Aside from the MG2639 Cellular Shield itself, there are a few extra components you'll need to connect it all up. Here's a list of recommended products which we will use in this guide:
- SparkFun RedBoard -- You'll need a "brain" to control the cellular shield. It should work with any Arduino board with the "standard" footprint -- Arduino Uno, Arduino Leonardo, Arduino Pro, etc.
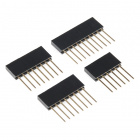
- Stackable Headers -- Solder these to you shield so it can connect to your Arduino.
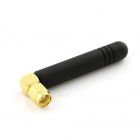
- Cellular Antenna -- For the MG2639 to connect to a network, it needs an external antenna.
- SMA to U.FL Adapter -- The MG2639 only has U.FL antenna ports, so if your antenna has an SMA connector (like the one above) you'll need an adapter.
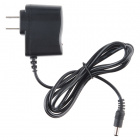
- 9V Power Adapter -- The MG2639 Shield requires more power than an Arduino can supply when it's powered over USB. We recommend this 9V wall adapter, but any power supply within your Arduino's specified input voltage range should work.
- SIM Card -- You'll need access to a cellular provider's network. Any activated, full-size SIM card should work. You should be able to buy any "burner" phone and yank out the SIM card.
Wall Adapter Power Supply - 9VDC 650mA
TOL-00298Beyond those items, here are some optional components you may want to add as well:
- GPS Antenna -- If you want to take advantage of the MG2639's GPS features, you'll need to connect a second antenna rated for GPS signals. We're working on sourcing a good, U.FL antenna for the MG2639. In the meantime, we've had success with the this Tagolas GPS antenna.
- 12mm Coin Cell Battery -- The shield includes a socket for a 12mm coin cell battery -- used by the on-board GPS module to retain location memory and enable faster location fixes.
- Speaker and Microphone -- If you want to turn the MG2639 Shield into an actual cell phone these become pretty important.
Suggested Reading
Before delving into this guide, there are a few subjects you should be familiar with. Here are some tutorials you may want to check out before continuing on:
- Serial Communication -- Both the cellular and GPS modules communicate with your Arduino over a serial UART.
- Arduino Shields -- Explore all things Arduino Shields. What they are and how to assemble them.
- Installing an Arduino Library -- We've written an Arduino library for this shield, if you've never installed a library before, check this guide out.
