Reaction Timer
 Nate
Nate 
Hardware
The hardware is really simple. The RedBoard is connected to a large dome push button and an OpenSegment four-digit display. OpenSegment has a spot for a 3-pin JST, which makes it easy to connect on the fly. Checkout this page on the OpenSegment tutorial for more info.
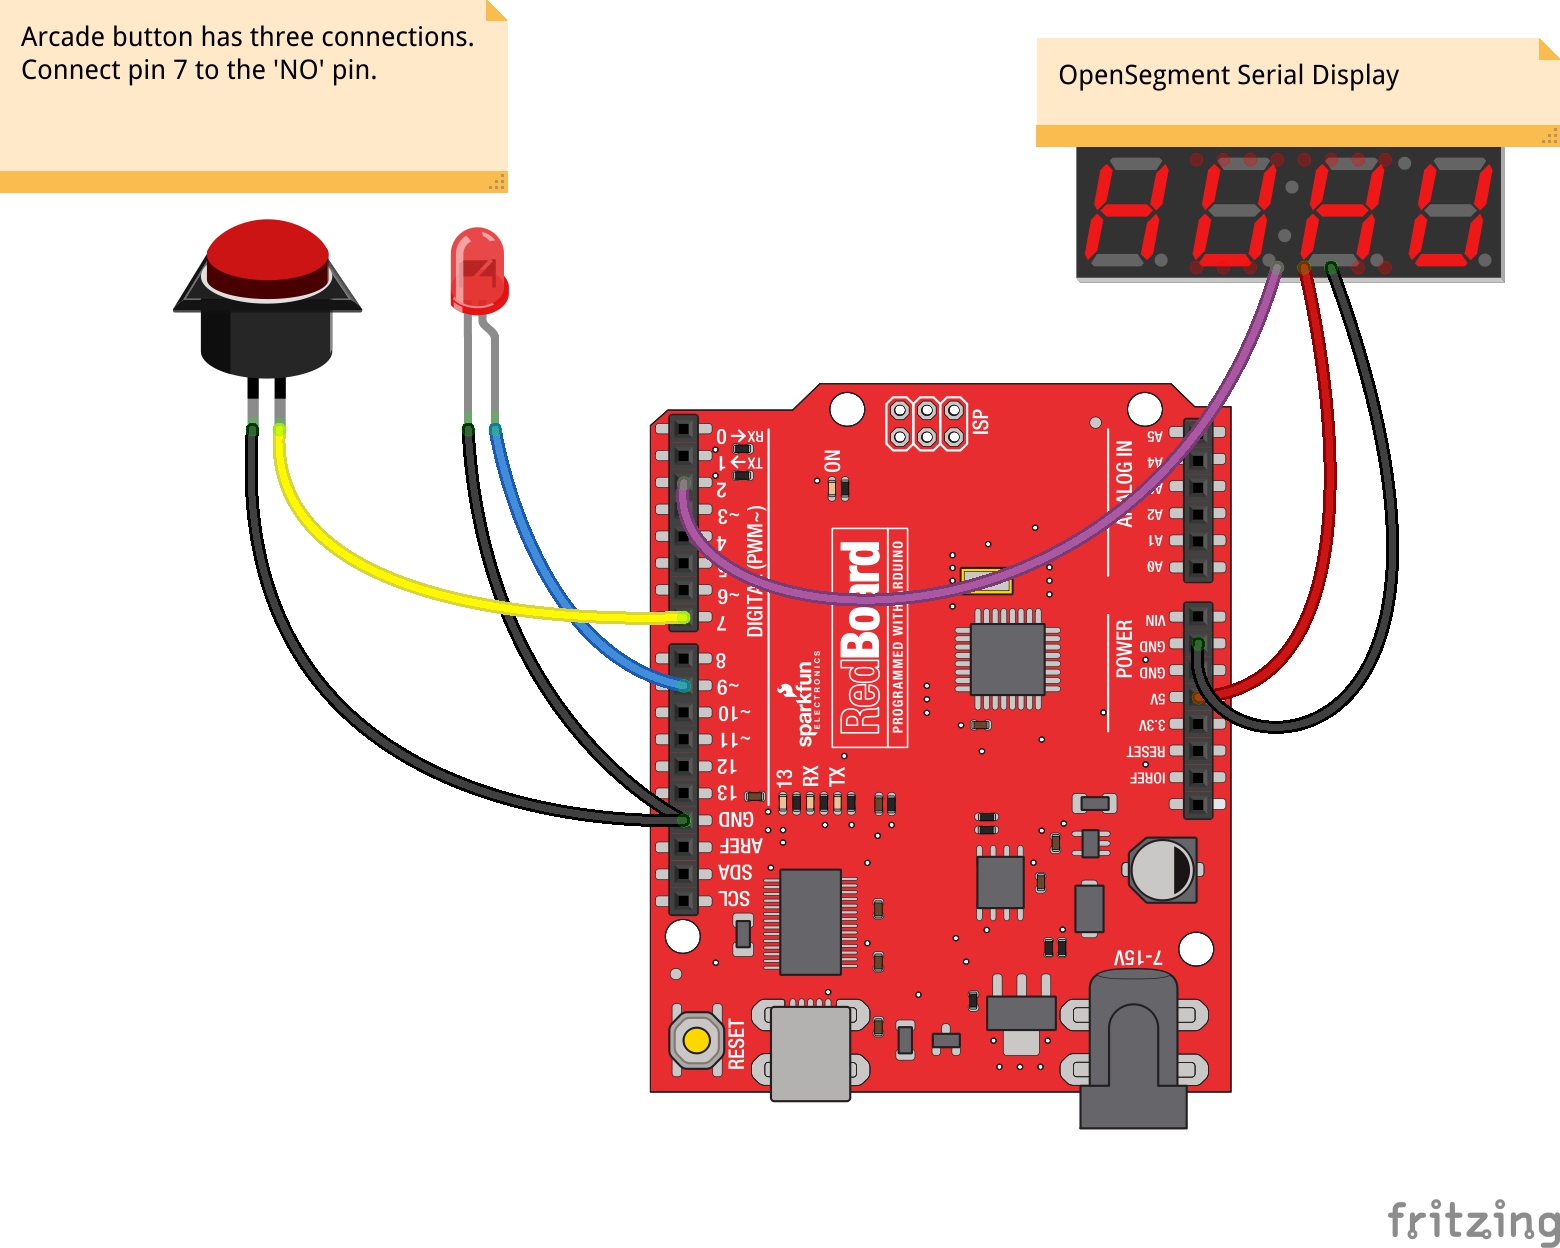
The RedBoard has the following connections:
- Pin 2 -> RX Pin on OpenSegment
- Pin 9 -> Anode of LED within large dome button
- Pin 7 <- The normally open (labeled NO) blade of the arcade switch
One input (the button) and two outputs (the LED in the button and the time display) is all you need! We used jumper wires and simply plugged them into the RedBoard.
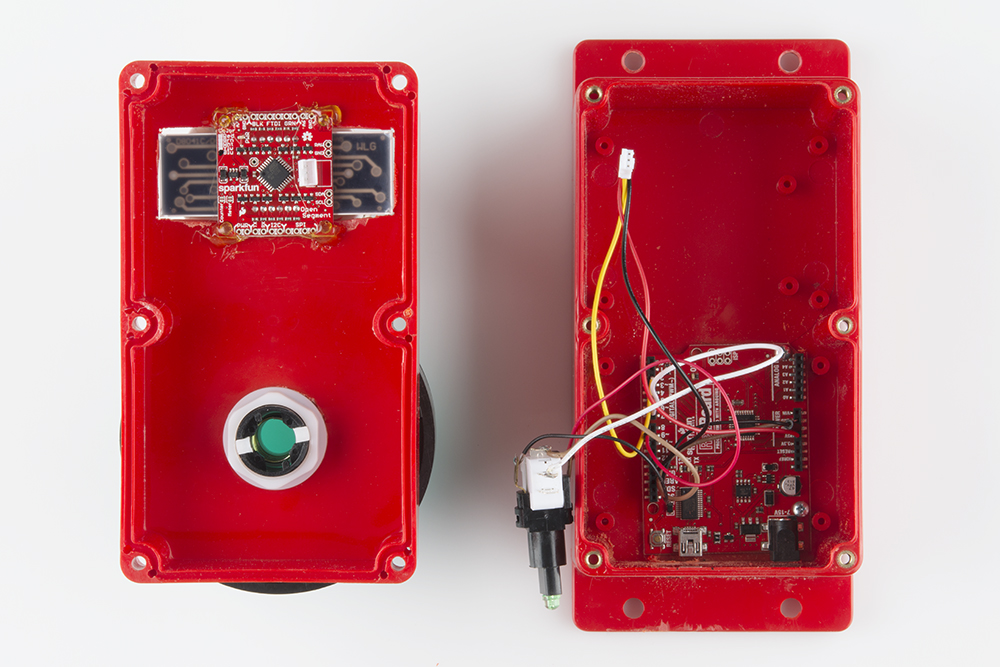
This hardy red enclosure was used to withstand the endless button pounding. Cutting a hole for the dome button is pretty straight forward, and a dremel rotary tool easily cuts the slot for the 7-segment display. The edges are not very clean, but it was a quick project. If you wanted to get fancy, a printed graphic/bezel combo would provide instructions and give plenty of polish.
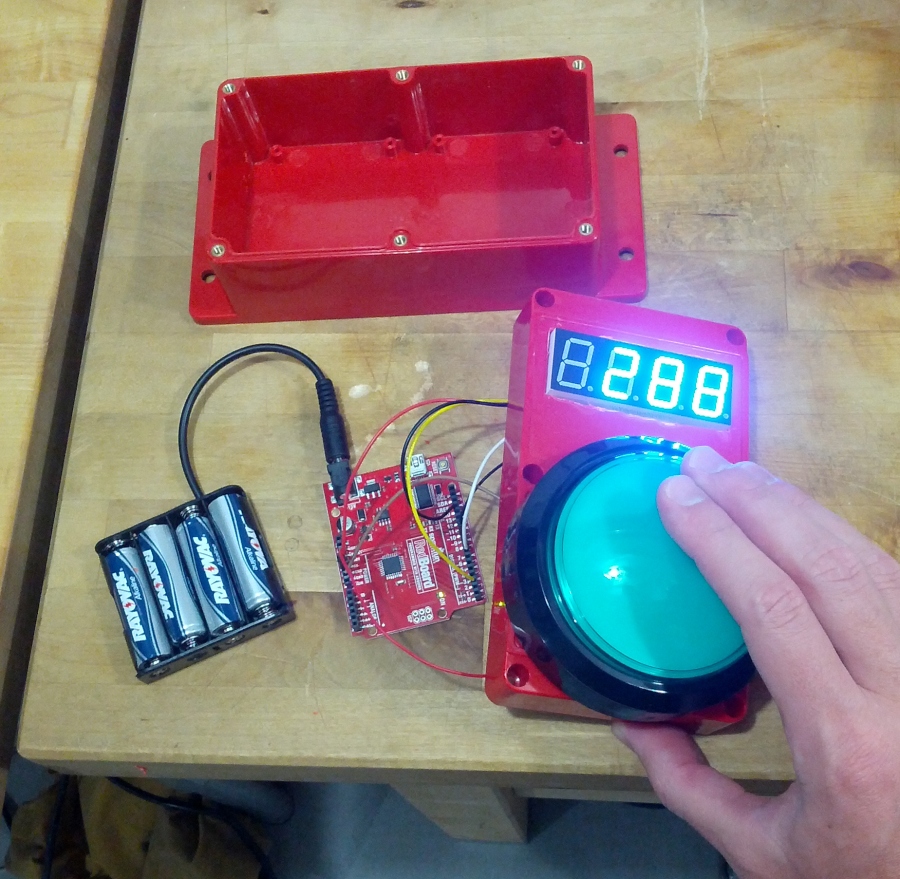
A few holes were drilled on the face that points down to allow for a USB cable and a power cable. The RedBoard is hotglued in place, the display is hotglued into the slot, and jumper wires provide the necessary connections. If this timer was being installed outside of SparkFun, we would solder and screw everything down, but this timer has survived quite a lot of abuse already!
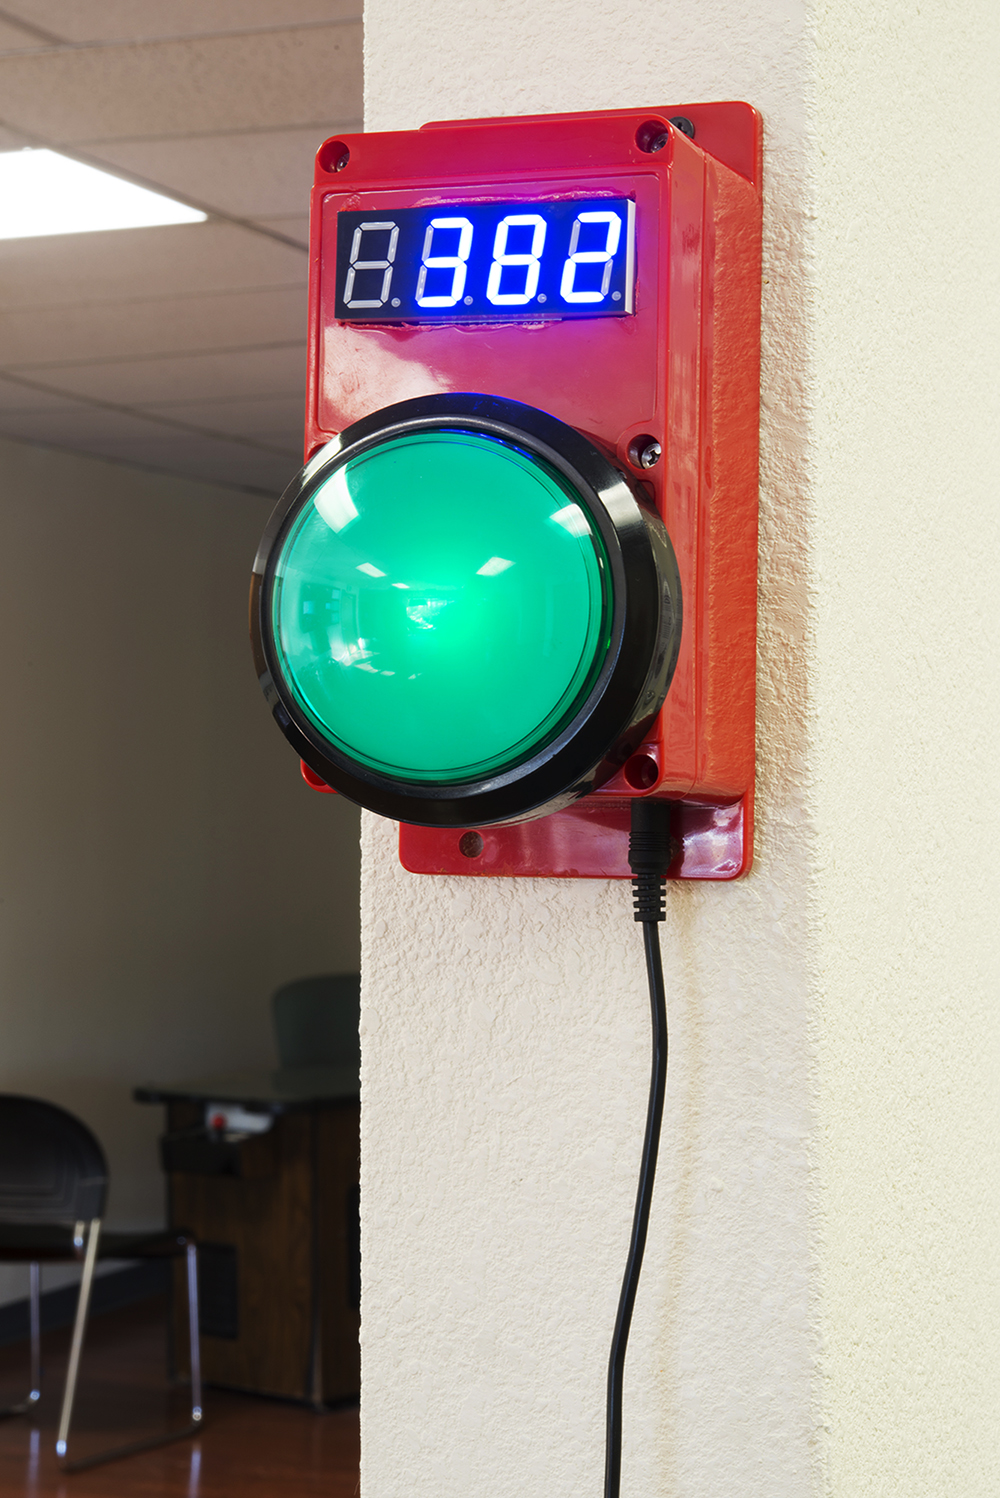
The unit can run off a battery pack for a few days, but, since we are permanently installing the timer near the kegerators at work, a 5V wall adapter provides all the power we need.