Raspberry Pi 3 Starter Kit Hookup Guide
Introduction
Now that the Raspberry Pi 3 Model B and the Pi 3 Model B+ are the latest and greatest in the line of Raspberry Pi Single Board Computers, what's new? This hookup guide goes through the same process of getting going that worked with the Pi 2, but from a Pi 3 point of view.
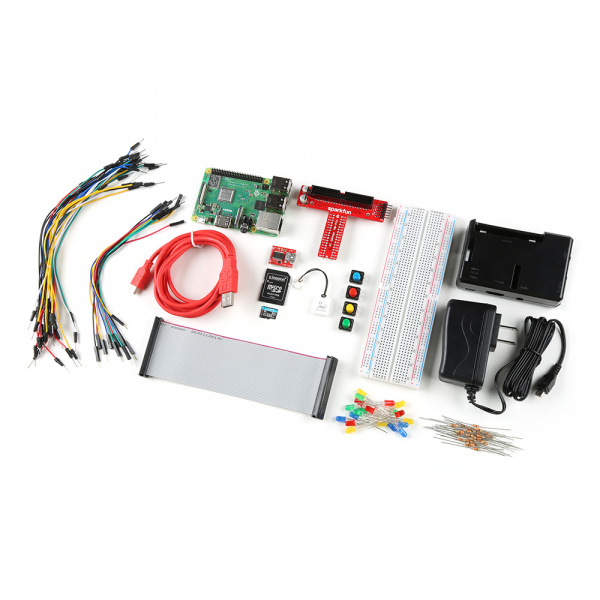
Raspberry Pi 3 B+ Starter Kit
KIT-23090Covered in This Tutorial
- Kit Assembly
- Getting an OS
- Methods of working with the pi
- Configuring the Pi
- Resources for working with the GPIO
Materials Required
You'll need a mouse, keyboard, and monitor to begin with. Once configured, the pi can be operated from its own peripherals or another computer connected over the internet.
As a desktop, these materials are required:
- Pi 3 Starter kit -or- Pi 3/2 Accessory Kit and your own Pi
- USB Mouse
- USB Keyboard
- HDMI monitor/TV/adapted VGA
After configuration, 'headless' operation over Telnet/SSH requires:
- Pi 3 Starter kit -or- Pi 3/2 Accessory Kit and your own Pi
- 2nd computer connected via internet
- Telnet/ssh terminal software
You'll also need an internet connection to get resources! This link can be wired or wifi and must be available for the Pi. For wireless connections, you can use the on board WiFi antenna.
Suggested Reading and Viewing
You may want to check out the following tutorials and videos before continuing.
- Serial Terminal Basics
- Raspberry gPIo -- Also linked-in later
- Pi Wedge Hookup Guide
- Getting Started With The Raspberry Pi -- video series
