Qwiic Speaker Amp (TPA2016D2) Hookup Guide
Contributors:
 QCPete,
  bboyho
QCPete, bboyho 
Resources and Going Further
Now that you've successfully got your Qwiic Speaker Amp (TPA2016D2) up and running, it's time to incorporate it into your own project! For more information, check out the resources below:
- Schematic (PDF)
- Eagle Files (ZIP)
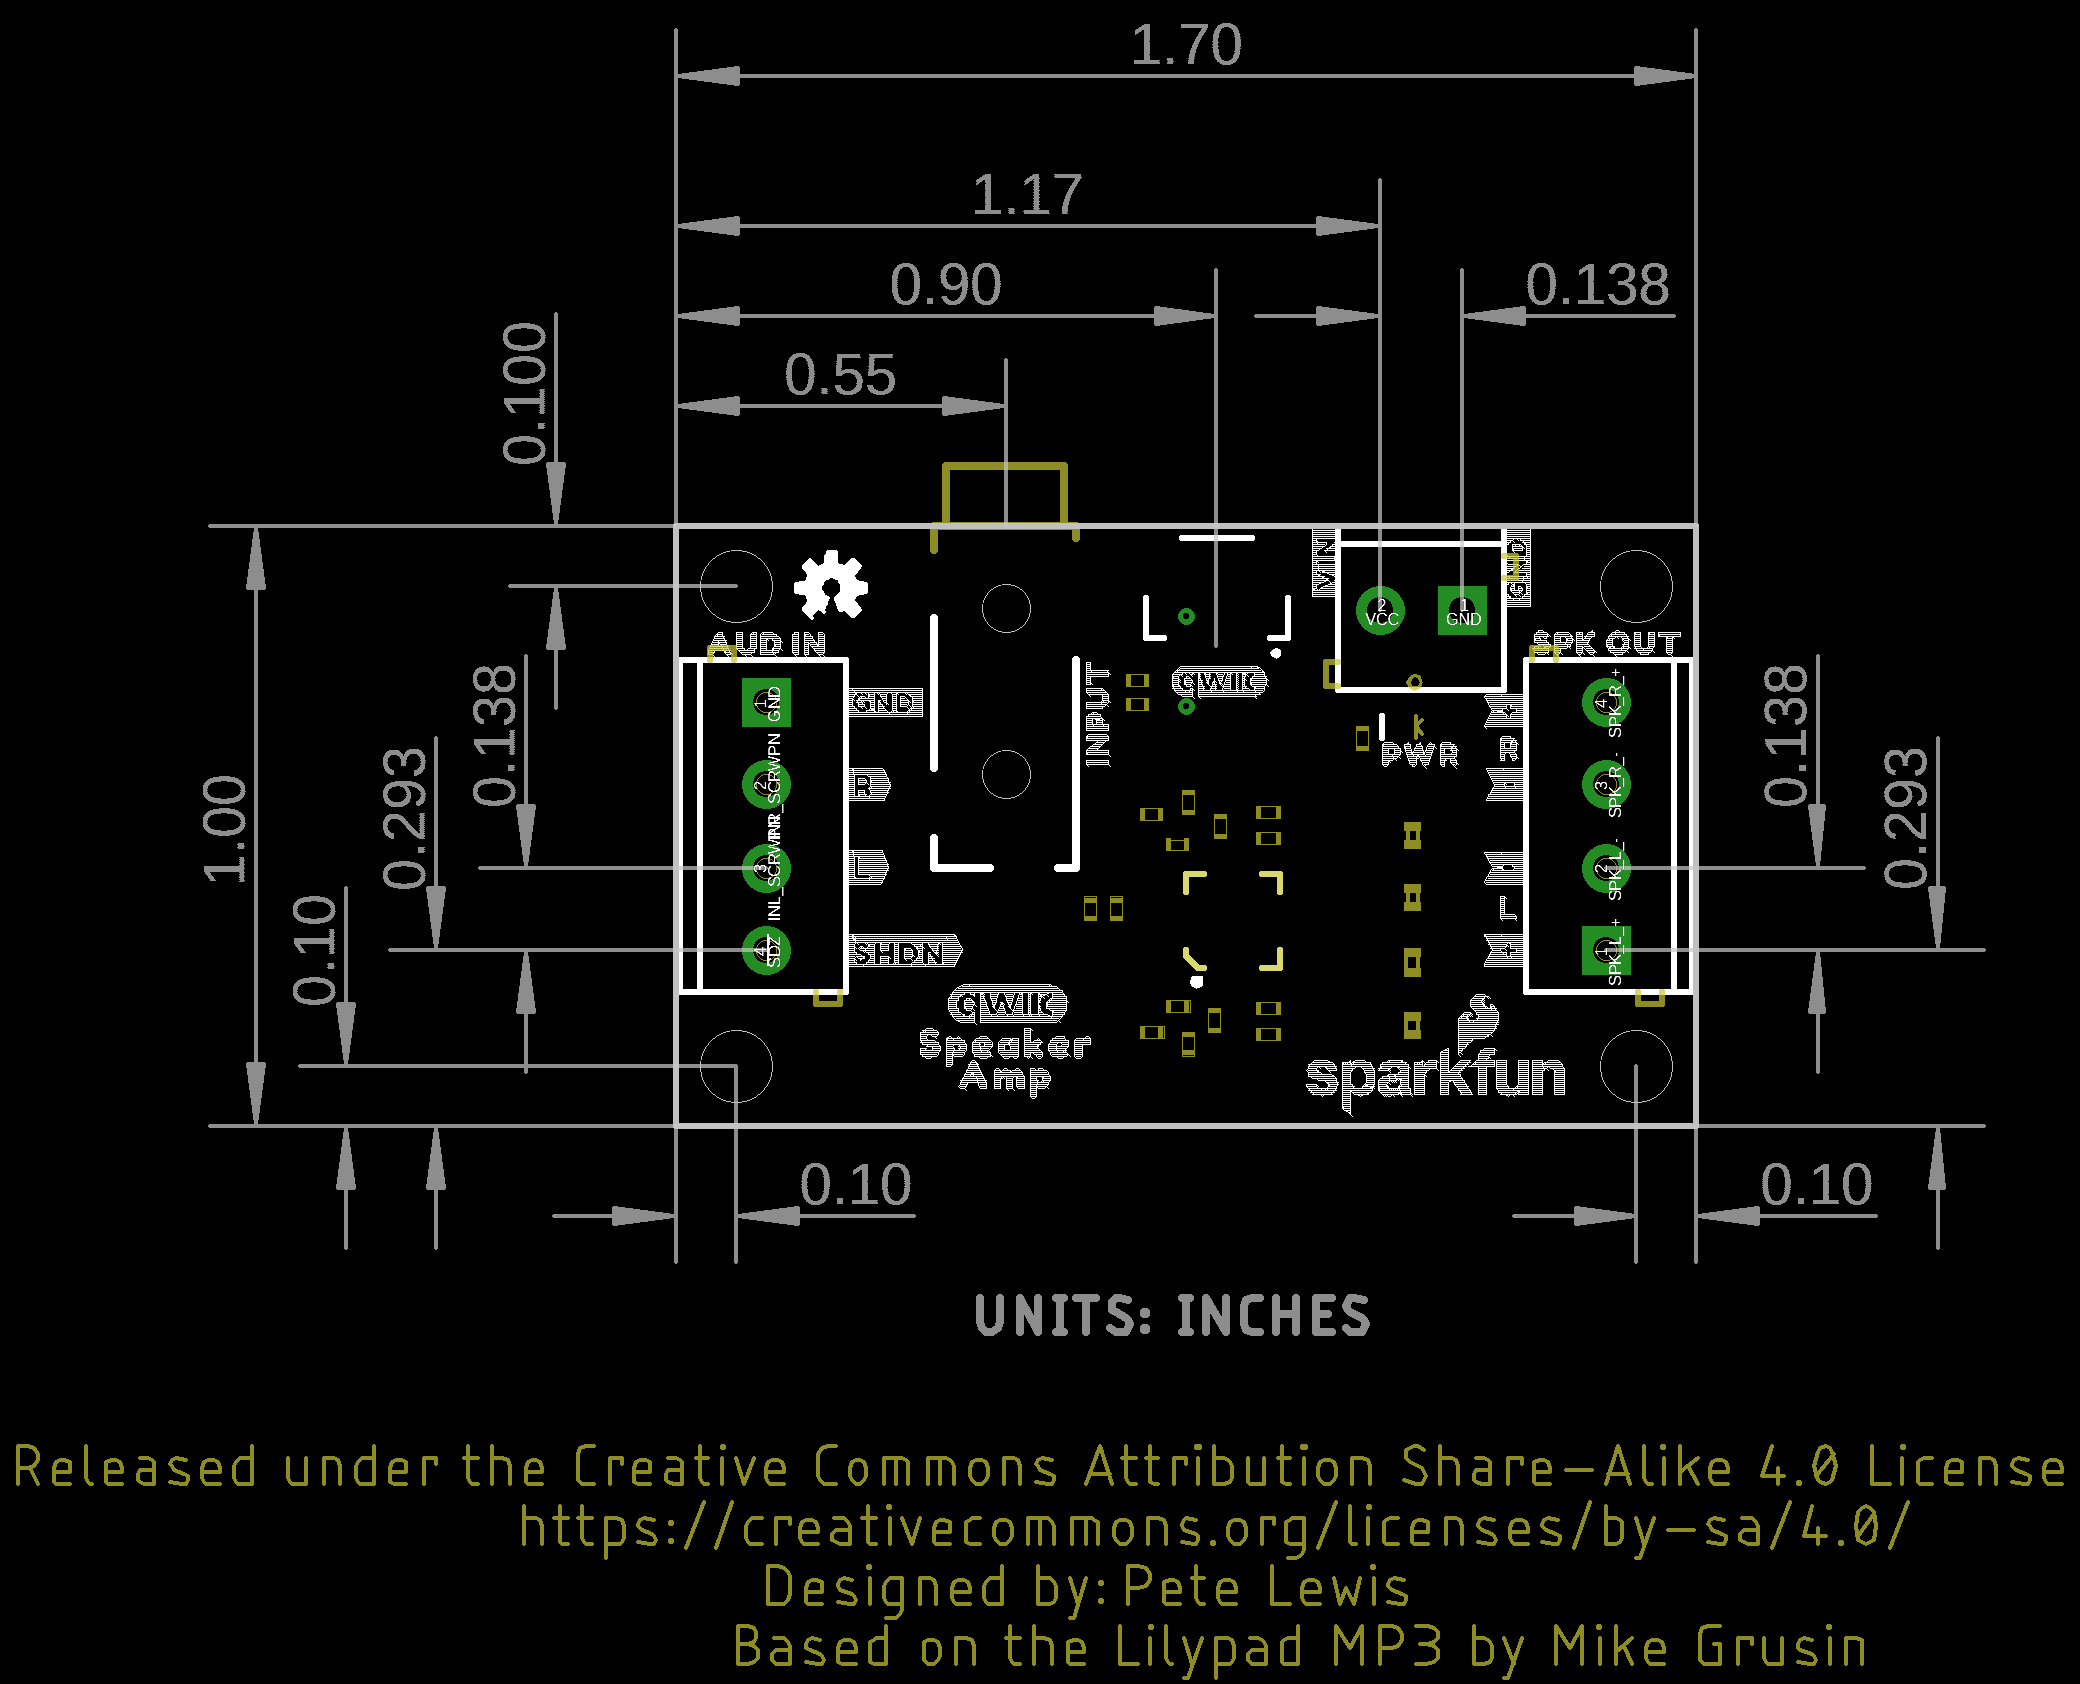
- Board Dimension (PNG)
- Fritzing Part (FZPZ)
- Datasheet (PDF) (TPA2016D2)
- Arduino Library
- GitHub Hardware Repo
- SFE Showcase
Need some inspiration for your next project? Check out some of these related tutorials for ideas. Add the Qwiic Speaker Amp in your next portable projects such as sound effects for your spooky Halloween pumpkin, wearable costumes, props, talking greeting cards, or USB speakers.
RN-52 Bluetooth Hookup Guide
A hookup guide to get you started with the RN-52 Audio Bluetooth Module Breakout Board.
SparkFun Inventor's Kit for Photon Experiment Guide
Dive into the world of the Internet of Things with the SparkFun Inventor's Kit for Photon.
MIDI Shield Hookup Guide
How to assemble the SparkFun MIDI Shield, plus several example projects.
Proto Pedal Example: Analog Equalizer Project
Building a gyrator-based analog equalizer using the Proto Pedal.