Qwiic Speaker Amp (TPA2016D2) Hookup Guide
 QCPete,
  bboyho
Example 2: Enable Channel
Let's upload the sketch to control the channels of the Qwiic Speaker Amp using an Arduino microcontroller.

From the menu, select the following: File > Examples > Examples from Custom Libraries | SparkFun TPA2016D2 Arduino Library > Example_02_Enable_Channel.
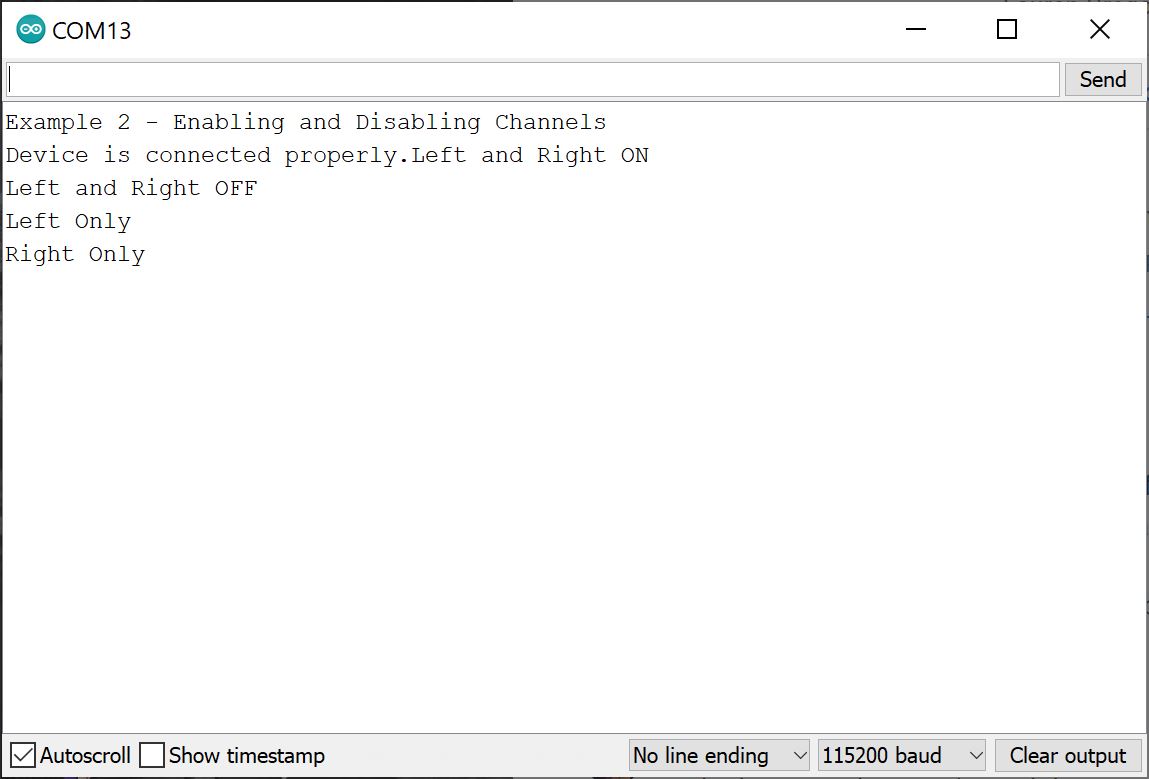
Or you can copy and paste the following code in the Arduino IDE. Select the correct board definition from the menu (in this case, Tools > Boards > Arduino Uno). Then select the correct COM port that the board enumerated to (in this case, it was COM13). Hit the upload button.
language:c
/******************************************************************************
  Example _02_Enable_Channel.ino
  Enables and Disables each channel individually on the TPA2016D2 speaker amp.

  SparkFun TPA2016D2 Arduino Library
  Pete Lewis @ SparkFun Electronics
  September 8, 2022
  https://github.com/sparkfun/SparkFun_TPA2016D2_Arduino_Library

  This code was originally created by Mike Grusin at SparkFun Electronics
  Included with the LilyPad MP3 example code found here:
  Revision history: version 1.0 2012/07/24 MDG Initial release
  https://github.com/sparkfun/LilyPad_MP3_Player

  Do you like this library? Help support SparkFun. Buy a board!

    SparkFun Qwiic Speaker Amp - TPA2016D2
    https://www.sparkfun.com/products/20690

  Development environment specifics:

    IDE: Arduino 1.8.19
    Hardware Platform: SparkFun Redboard Qwiic
    SparkFun Qwiic Speaker Amp - TPA2016D2 Version: 1.0

  Hardware Connections:
  Use a qwiic cable to connect from the Redboard Qwiic to the Qwiic Speaker Amp.
  Connect audio-in, speakers, and power to the Qwiic Speaker Amp.

    For information on the data sent to and received from the amplifier,
    refer to the TPA2016D2 datasheet at:
    http://www.ti.com/lit/ds/symlink/tpa2016d2.pdf

  This program is distributed in the hope that it will be useful,
  but WITHOUT ANY WARRANTY; without even the implied warranty of
  MERCHANTABILITY or FITNESS FOR A PARTICULAR PURPOSE. See the
  GNU General Public License for more details.

  You should have received a copy of the GNU General Public License
  along with this program.  If not, see <http://www.gnu.org/licenses/>.
******************************************************************************/

#include <Wire.h>
#include <SparkFun_TPA2016D2_Arduino_Library.h> //Click here to get the library: http://librarymanager/All#SparkFun_TPA2016D2
TPA2016D2 amp;

void setup()
{
  Serial.begin(115200);
  Serial.println("Example 2 - Enabling and Disabling Channels");

  Wire.begin();

  if (amp.begin() == false) //Begin communication over I2C
  {
    Serial.println("The device did not respond. Please check wiring.");
    while(1); //Freeze
  }
  Serial.print("Device is connected properly.");
}

void loop()
{
  Serial.println("Left and Right ON");
  amp.enableRightSpeaker();
  amp.enableLeftSpeaker();
  delay(3000);

  Serial.println("Left and Right OFF");
  amp.disableRightSpeaker();
  amp.disableLeftSpeaker();
  delay(3000);

  Serial.println("Left Only");
  amp.disableRightSpeaker();
  amp.enableLeftSpeaker();
  delay(3000);

  Serial.println("Right Only");
  amp.enableRightSpeaker();
  amp.disableLeftSpeaker();
  delay(3000);
}
Hit the play button on your audio device to begin sending audio to amplifier and speakers. Make sure that the volume on your device is turned up as well. The example turn on and off each channel every 3 seconds. Open the Arduino Serial Monitor at 115200 if you need to see the serial output when the channels are enabled/disabled.