Qwiic Scale Hookup Guide
 Nate
Nate 
Hardware Assembly
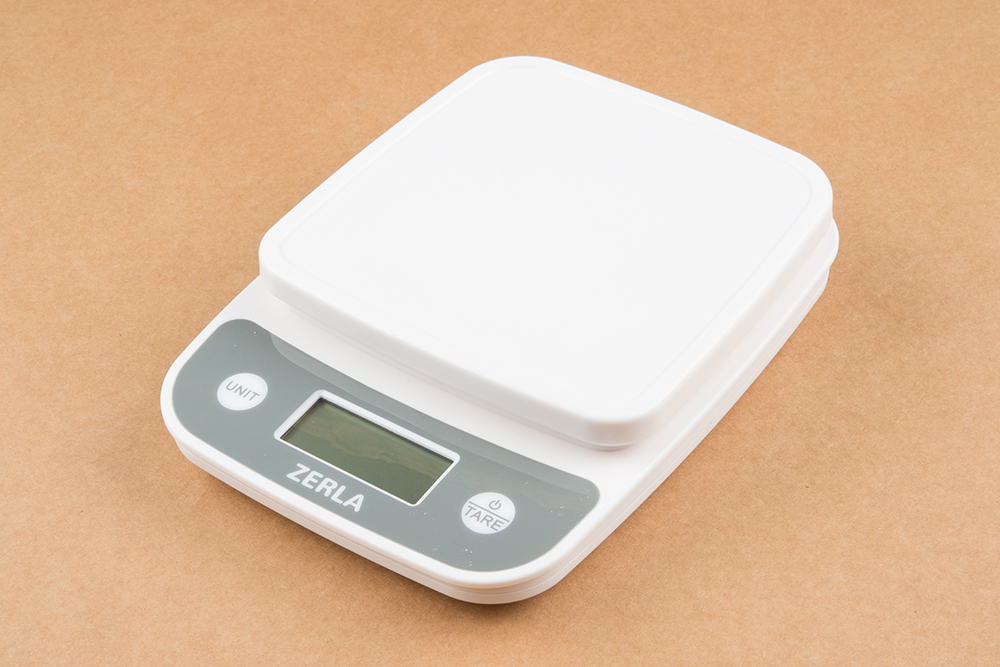
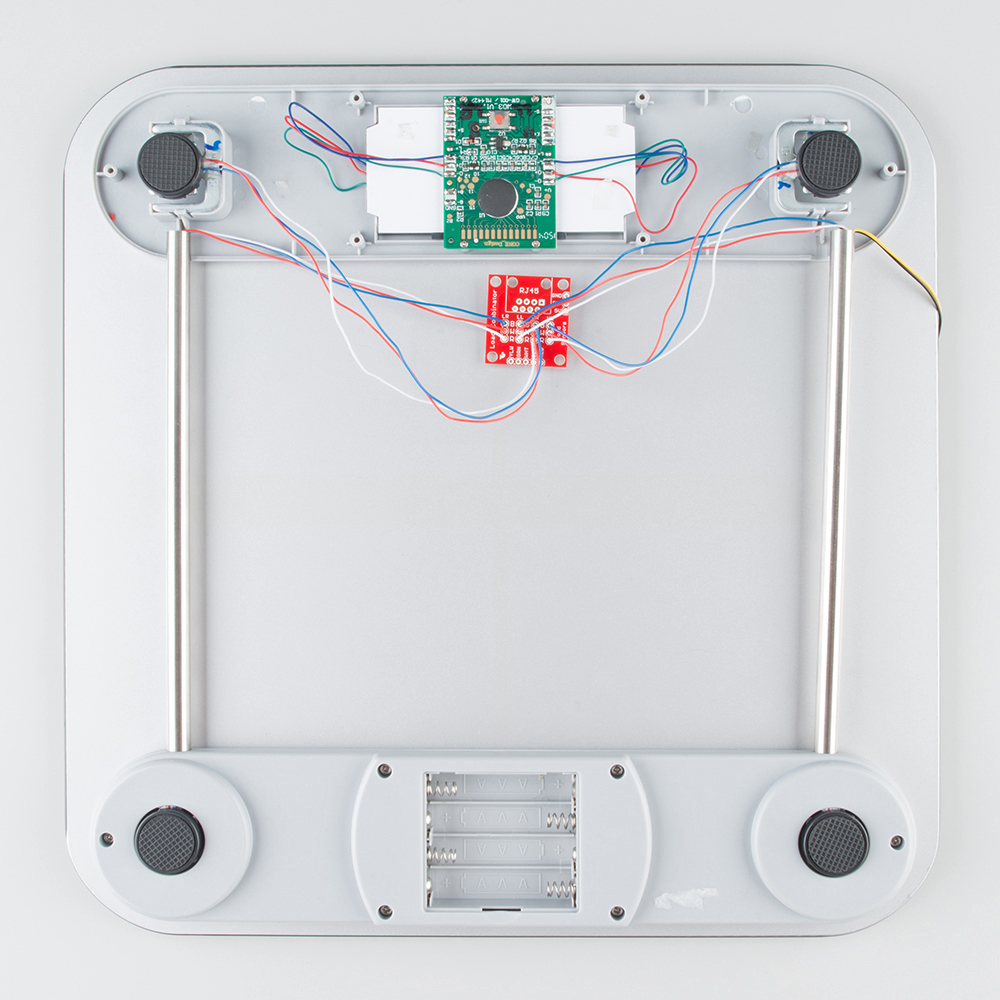
Below we disassemble a small kitchen scale with a common load cell to demonstrate how to attach the Qwiic Scale. Modifying a bathroom scale (for larger maximum weight) with four individual point load cells is possible but requires the routing of many more wires. We recommend a scale with a bar type load cell (most kitchen scales have this) for your first Qwiic Scale project.
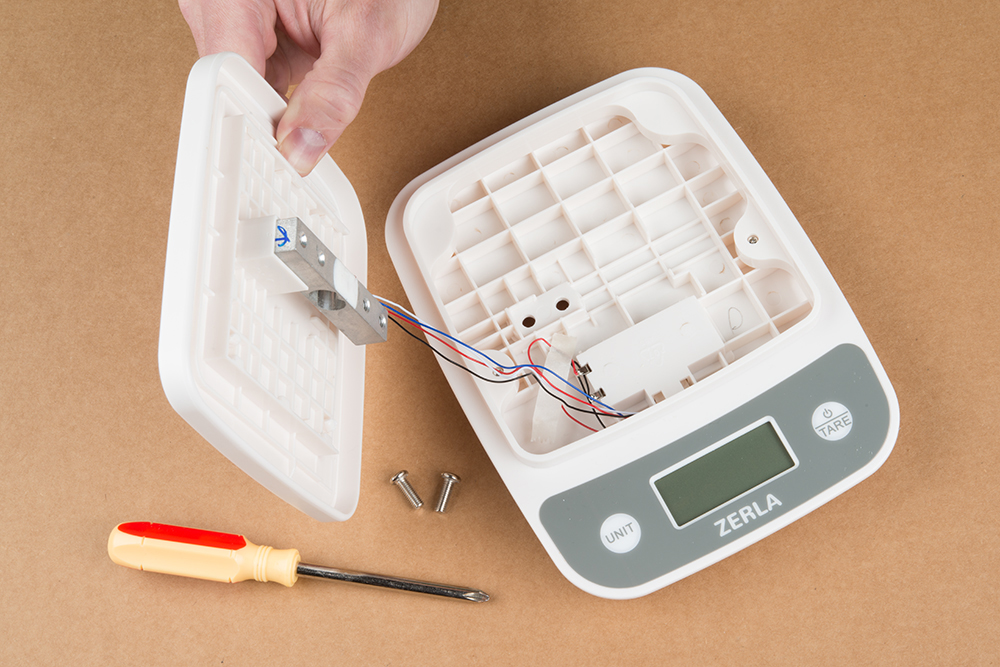
Remove any sticker and cover to get access to two screws that secure the bar load cell to the floating platform.

This will release the platform from the base. Note the four wires connecting the load cell to the front area of electronics.
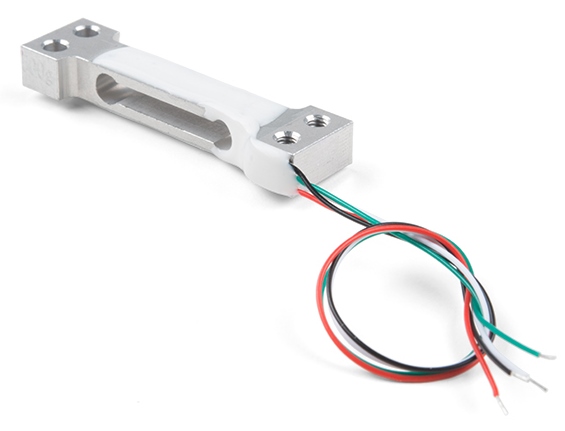
Most load cells have four wires colored red, black, white, and green. If your load cell doesn’t, that’s ok! Checkout our troubleshooting section for how to suss out the correct connection.
Are you hacking into a bathroom scale? These often use four individual cells that need to be combined into one complete load cell. We created the Load Cell Combinator to make this a lot easier. Once you have your combinator in place, you should have the four wires (Red, Black, White, Green) coming out of the combinator ready to connect to Qwiic Scale.
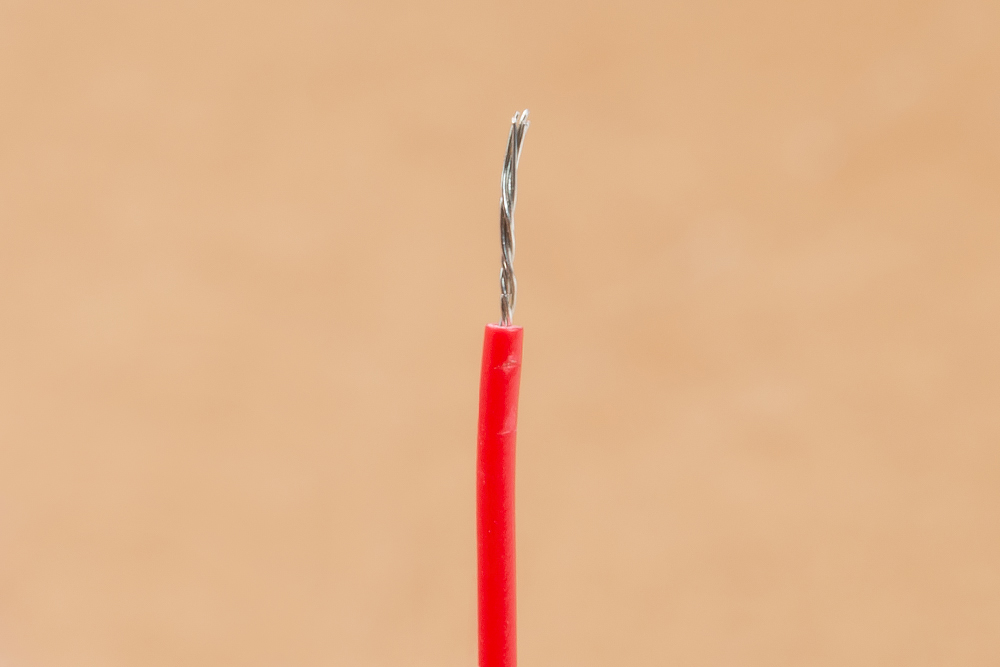
If you are hacking into a kitchen scale or load cell with wires that are not stripped, use a pair of wire strippers to remove about ¼” of insulation.

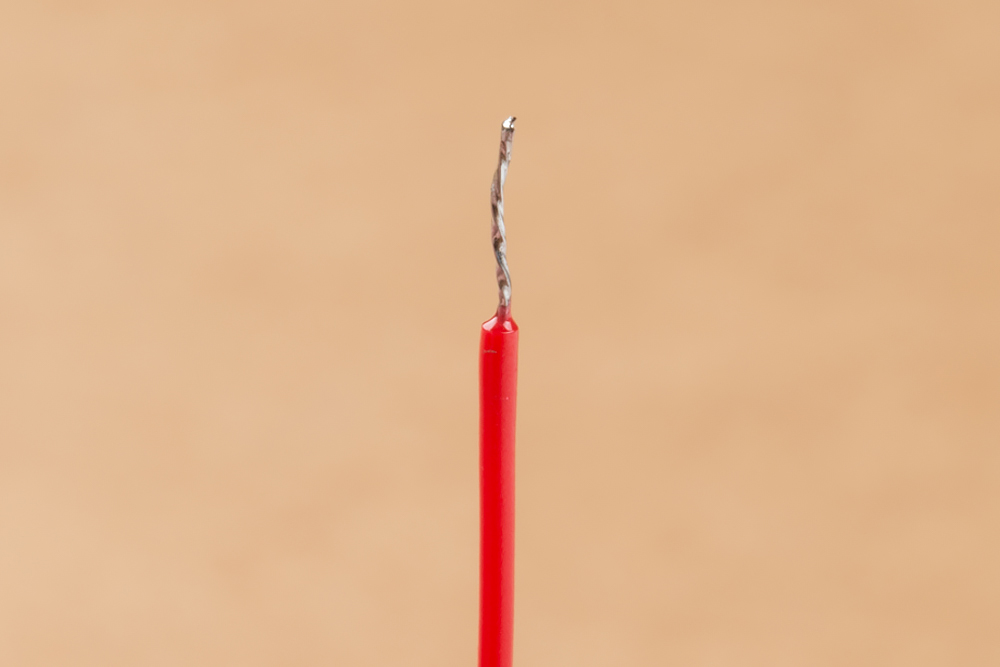
Most load cells have stranded wire as opposed to solid core. Stranded wire helps reduce breaking wires when bent back and forth. The down side to stranded wire is that it tends to go everywhere when you try to insert it into a hole such as the spring terminal on Qwiic Scale. Before trying to insert the wire give the end a few twists with your fingers to get all the wires bent back together.
For extra points, after you’ve twisted the end of the wire hit it with a dab of molten solder - this will lock the wires into place. This is called 'tinning' and helps a lot when working with stranded wire but is not required.
Now insert the first red wire into the spring terminal. If the arm returns to level with terminal, then the terminal is correctly pinching the wire. Give the wire a very light tug - it should hold in place.
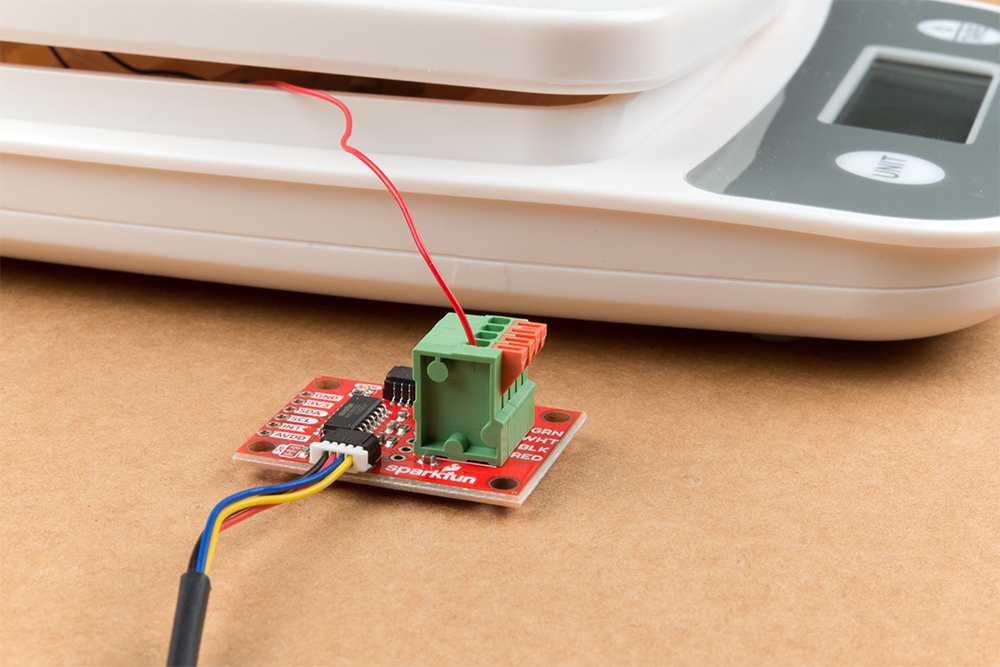
If the arm is slightly depressed that means the wire has been inserted too deep and the terminal is pinching on the insulation around the wire. Press on the arm again and pull the wire slightly out until you hit the soft spot where the terminal pinches on wire, not the insulation.
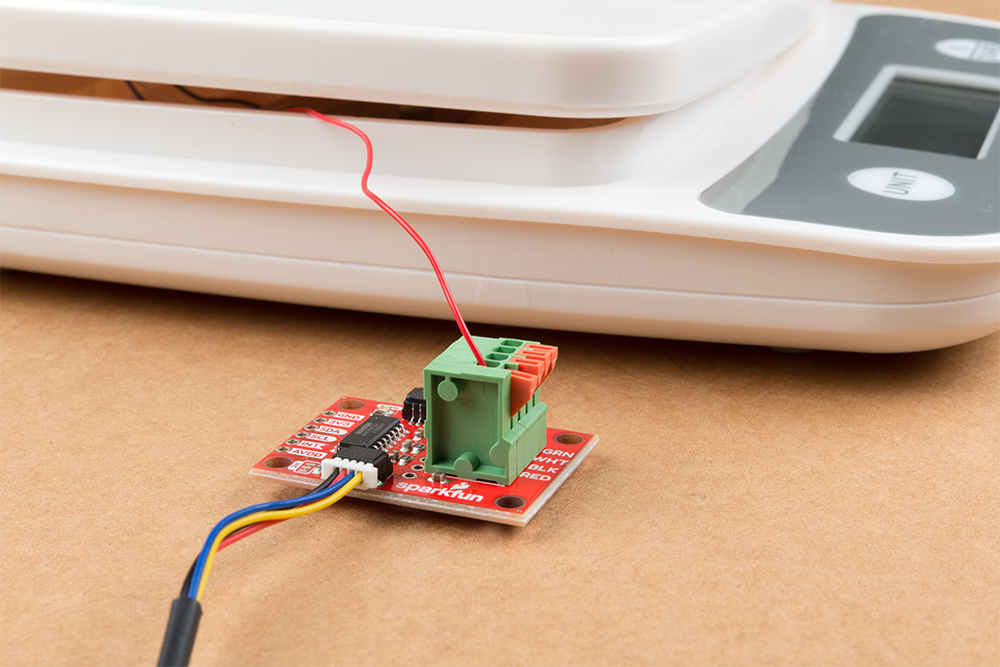
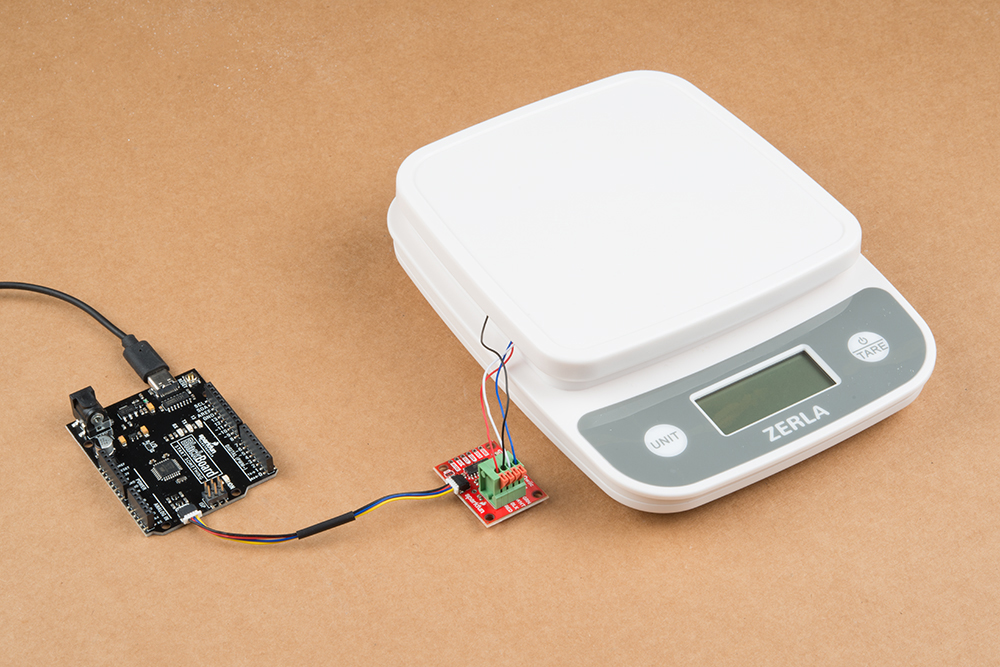
Insert all four wires according to the color of wire and the silkscreen indicator on the Qwiic Scale PCB. Now attach Qwiic Scale to your RedBoard using a Qwiic cable or other microcontroller with a Qwiic Breadboard Cable. You're ready to start coding!