Qwiic Micro OLED Hookup Guide
Contributors:
 Englandsaurus
Englandsaurus 
Hardware Assembly
If you haven't yet assembled your Qwiic Shield, now would be the time to head on over to that tutorial. With the shield assembled, SparkFun's Qwiic environment means that connecting the screen could not be easier. Just plug one end of the Qwiic cable into the OLED display, the other into the Qwiic Shield and you'll be ready to start displaying images on your little display.
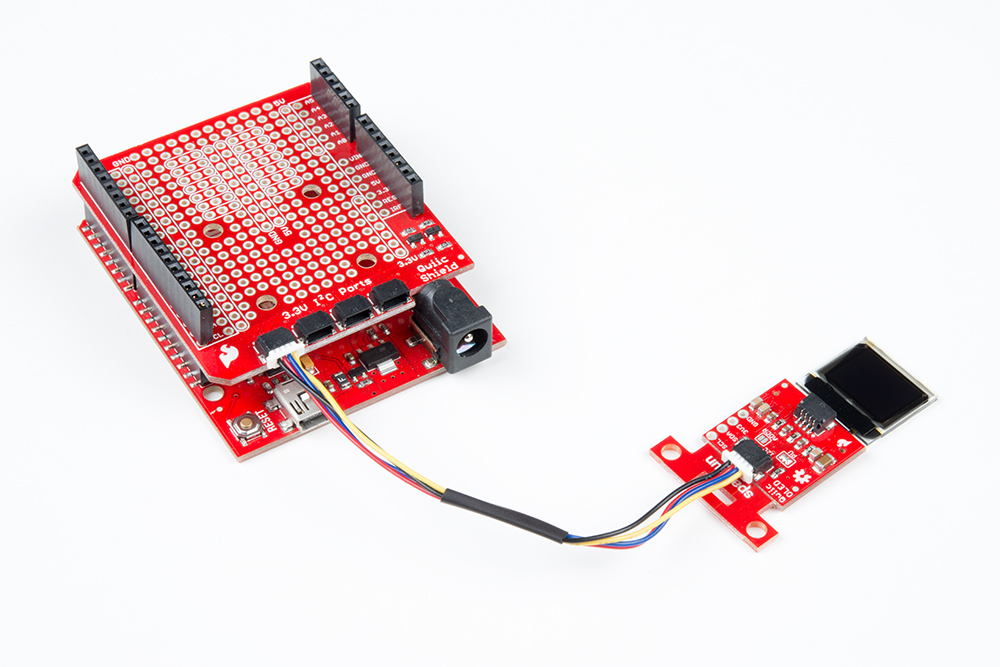
If you have a built-in Qwiic connector, you can skip the hardware assembly of the Qwiic Shield and simply insert a Qwiic cable between the two boards. Have more than one Qwiic-enabled device? You can daisy chain it to the board as well! Below is an example with the RedBoard Qwiic, SAM-M8Q, and the Qwiic Micro OLED daisy chained together.

Note: The initial launch of the Qwiic micro OLED breakout board had the OLED loosely attached to the breakout board. For users that received those boards, be careful handling it! You can either use your own enclosure for the OLED display, or you can use some double sided foam tape for a less permanent solution.
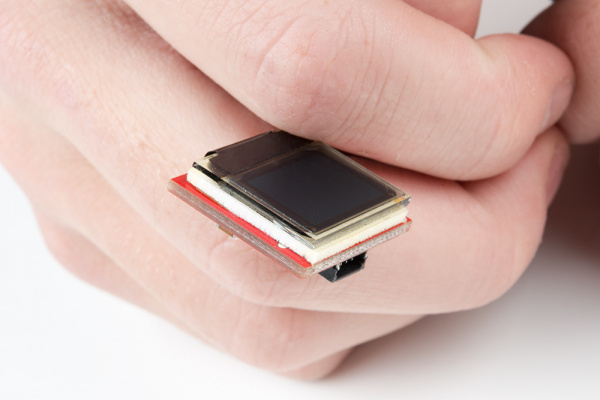
The current production of the boards includes the double sided foam tape.

The current production of the boards includes the double sided foam tape.