Keypads are very handy input devices, but who wants to tie up 7 GPIO pins, wire up a handful of pull-up resistors, and write firmware that wastes valuable processing time scanning the keys for inputs? Let’s make the development process easier! The SparkFun Qwiic Keypad comes fully assembled and uses the simple Qwiic interface. No soldering, no voltage translation, no figuring out which I2C pin is SDA or SCL, just plug and go!
The SparkFun Qwiic Keypad comes fully assembled and makes the development process for adding a 12 button keypad easy.
$13.50
The Qwiic Keypad reads and stores the last 15 button presses in a First-In, First-Out (FIFO) stack, so you don’t need to constantly poll the keypad from your microcontroller. This information, then, is accessible through the Qwiic interface. Qwiic Keypad even has a software configurable I2C address so you can have multiple I2C devices on the same bus.
Required Materials
The SparkFun Qwiic Keypad does need a few additional items for you to get started; a Qwiic enabled microcontroller and a Qwiic cable. You may already have a few of these items, so feel free to modify your cart based on your needs.
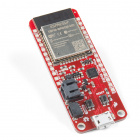
The SparkFun ESP32 Thing Plus is the next step to get started with Espressif IoT ideations while still enjoying all the ameni…
Retired
Note: If you want to do the Example 5, then you will need to solder and connect a wire to the INT and Pin 2 on the RedBoard Qwiic. You may already have a few of these items, so feel free to modify your cart based on your needs.
Handling PCB jumper pads and traces is an essential skill. Learn how to cut a PCB trace, add a solder jumper between pads to reroute connections, and repair a trace with the green wire method if a trace is damaged.
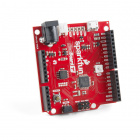
This tutorial covers the basic functionality of the RedBoard Qwiic. This tutorial also covers how to get started blinking an LED and using the Qwiic system.
Note: For a greater understanding of how the firmware works to multiplex the keys, check out these tutorials.
Note: If you want to do the Example 5, then you will need to solder and connect a wire to the INT and Pin 2 on the RedBoard Qwiic. If you are unfamiliar with through hole soldering or using interrupts, please check out these additional reading suggestions.
What is an interrupt? In a nutshell, there is a method by which a processor can execute its normal program while continuously monitoring for some kind of event, or interrupt. There are two types of interrupts: hardware and software interrupts. For the purposes of this tutorial, we will focus on hardware interrupts.
The Qwiic Keypad utilizes the Qwiic connect system. We recommend familiarizing yourself with the Logic Levels and I2C tutorials (above) before using it. Click on the banner above to learn more about our Qwiic products.
 QCPete, santaimpersonator
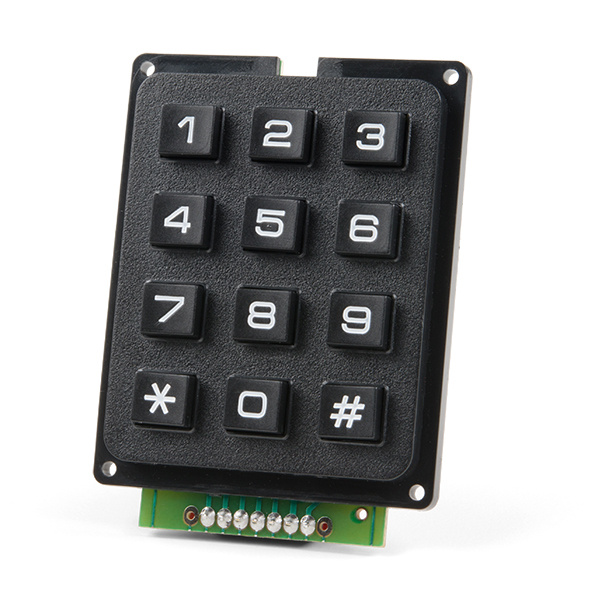


