Contributors:
santaimpersonator
Introduction
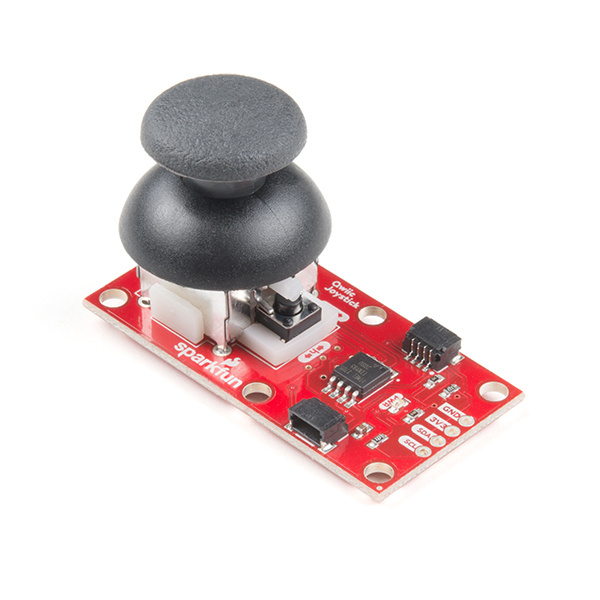
Now, you can easily add an HID/controller to your project! The SparkFun Qwiic Joystick combines the convenience of the Qwiic connection system and an analog joystick that feels reminiscent of the thumbstick from a PlayStation 2 controller.
COM-15168
The SparkFun Qwiic Joystick combines the convenience of the Qwiic connection system and an analog joystick.
Thanks to an ATtiny85 on the Qwiic Joystick, all the necessary bits are taken care of and your microcontroller only needs to look for your inputs in the registers of the I2C device.
Required Materials
The Qwiic Joystick does need a few additional items for you to get started. The RedBoard Qwiic is for the Arduino examples and the Qwiic Hat is for the Raspberry Pi example (see note below). You may already have a few of these items, so feel free to modify your cart based on your needs.
KIT-15081
To make it even easier to get started, we've assembled this Qwiic Cable Kit with a variety of Qwiic cables from 50mm to 500mm…
DEV-15123
The SparkFun RedBoard Qwiic is an Arduino-compatible development board with a built in Qwiic connector, eliminating the need …
DEV-14459
The SparkFun Qwiic HAT for Raspberry Pi is the quickest and easiest way to make your way into the Qwiic ecosystem and still u…
DEV-14643
The Raspberry Pi 3 B+ is here to provide you with the same Pi as before, but now with gigabit and PoE capable Ethernet!
WIG-14271
With Single-Board Computers (SBCs) on the rise, it is a good idea to have an easy way to interface with them. Operating on a …
COM-13945
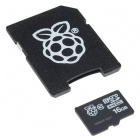
This is an class 10 16GB micro SDHC card that is pre-installed with the NOOBS operating system for the Raspberry Pi. This SD …
Retired
KIT-14035
The pi-topCEED is a DIY desktop computer that helps you start learning how to code, create awesome devices and take your know…
Retired
Suggested Reading
If you're unfamiliar with jumper pads, I2C, or Python be sure to checkout some of these foundational tutorials.
Logic Levels
Learn the difference between 3.3V and 5V devices and logic levels.
I2C
An introduction to I2C, one of the main embedded communications protocols in use today.
How to Work with Jumper Pads and PCB Traces
Handling PCB jumper pads and traces is an essential skill. Learn how to cut a PCB trace, add a solder jumper between pads to reroute connections, and repair a trace with the green wire method if a trace is damaged.
RedBoard Qwiic Hookup Guide
This tutorial covers the basic functionality of the RedBoard Qwiic. This tutorial also covers how to get started blinking an LED and using the Qwiic system.
Raspberry Pi SPI and I2C Tutorial
Learn how to use serial I2C and SPI buses on your Raspberry Pi using the wiringPi I/O library for C/C++ and spidev/smbus for Python.
Qwiic HAT for Raspberry Pi Hookup Guide
Get started interfacing your Qwiic enabled boards with your Raspberry Pi. This Qwiic connects the I2C bus (GND, 3.3V, SDA, and SCL) on your Raspberry Pi to an array of Qwiic connectors.
The Qwiic Joystick utilizes the Qwiic connect system. We recommend familiarizing yourself with the Logic Levels and I2C tutorials (above) before using it. Click on the banner above to learn more about our Qwiic products.
