Qwiic Joystick Hookup Guide
Hardware Assembly
Arduino Examples
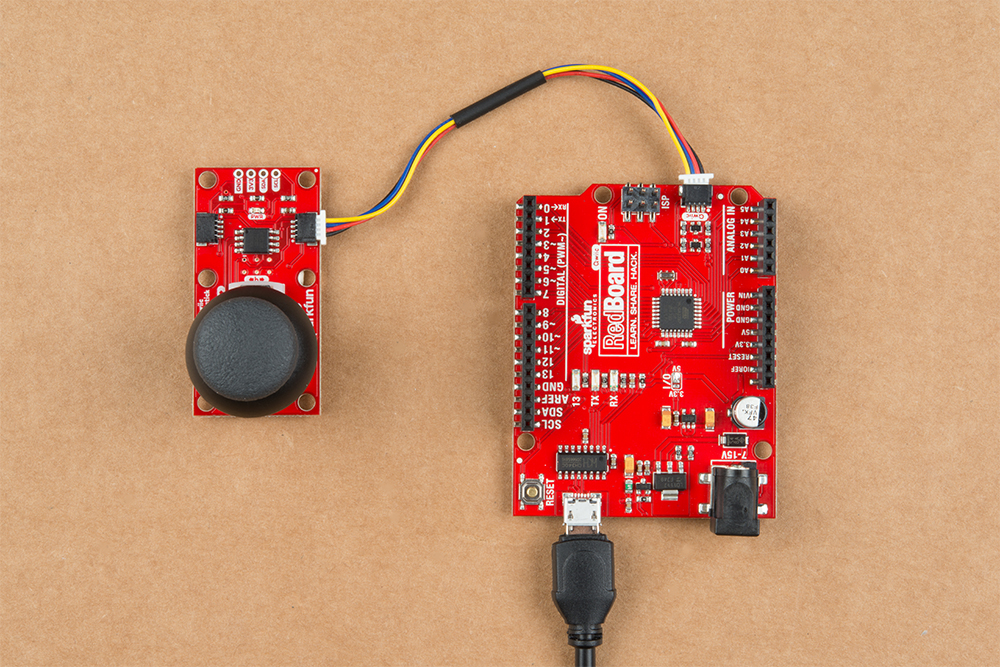
With the Qwiic connector system, assembling the hardware is simple. All you need to do is connect your Qwiic Joystick to the RedBoard Qwiic with a Qwiic cable. Otherwise, you can use the I2C pins of your microcontroller; just be aware of logic levels, that the operating voltage of the ATtiny85 ranges from 1.8 to 5.5V, and the EEPROM needs at least 2V or it will get corrupted .
Note: This tutorial assumes you are familiar with Arduino products and you are using the latest stable version of the Arduino IDE on your desktop. If this is your first time using the Arduino IDE, please review our tutorial on installing the Arduino IDE.
It is best to power the board at the recommended 3.3V of the Qwiic system. However, if you have a board with firmware version 2.3 and happen to accidentally corrupt the EEPROM and inject a new, random I2C address. There is a way to replace the I2C address and store it in the EEPROM again. Follow the following steps exactly, you will need to use the Arduino Library from below:
- Connect the Qwiic Joystick to a RedBoard Qwiic with a Qwiic cable.
- Run Example 3 to find the current I2C address.
- Modify Example 2 to use the I2C address you just found.
- Run Example 2 and change the I2C address back to the default address.
- Unplug and the Qwiic Joystick and plug it back in. The EEPROM should be reset to the default I2C address and be ready to use again.
Raspberry Pi Example
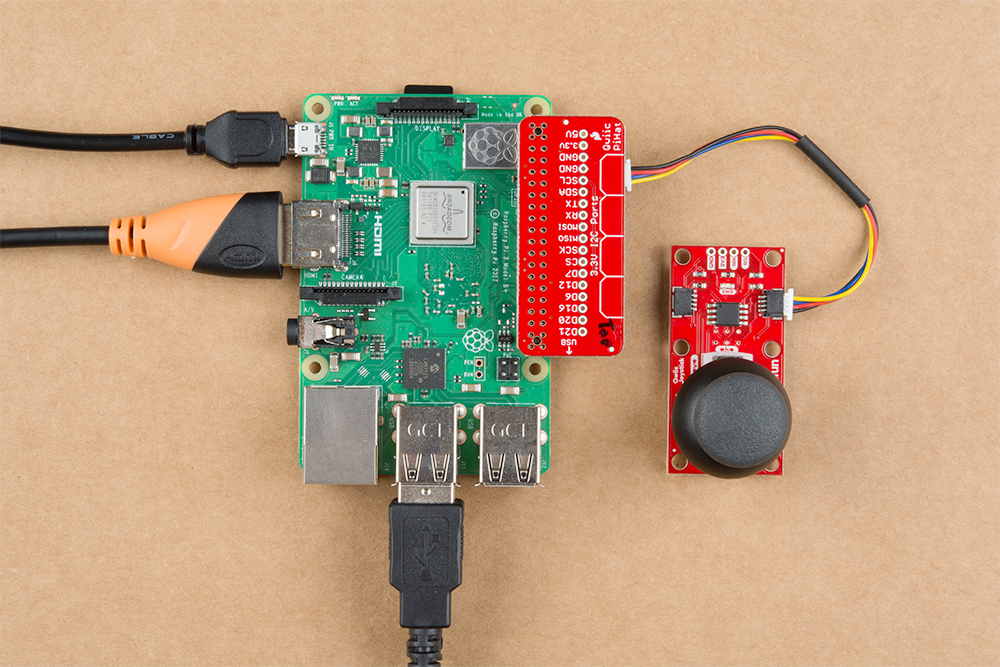
With the Qwiic connector system, assembling the hardware is simple. You will need a Qwiic cable, a SparkFun Qwiic HAT for Raspberry Pi, and a Raspberry Pi setup with the Raspbian OS, monitor, and standard peripherals. (*If you are unfamiliar with the Qwiic Hat, you can find the Hookup Guide here.)
Note: This tutorial assumes you are familiar with using a Raspberry Pi and you have the latest (full... with recommended software) version of Raspbian OS your Raspberry Pi. You can download the latest version of the Raspbian OS from the Raspberry Pi Foundation website. As of Feb. 13th 2019, we recommend the Raspbian Stretch with desktop and recommended software option.
If this is your first time using a Raspberry Pi, please head over to the Raspberry Pi Foundation website to use their quickstart guides. We have listed a few of them here: