Programming the SparkFun Edge with Arduino
Set Up for Success
Required Materials
To follow along with this tutorial, you will need the following materials.
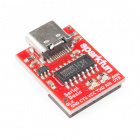
NOTE: You can also use the USB-micro version of the Serial Basic Breakout, and a micro-USB cord, as well as the FTDI version (as opposed to the CH310 version listed), which may be a better option on macOS.
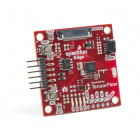
Before going on, you’ll want to make sure you’ve gone through the original SparkFun Edge Hookup Guide. Setting up the Ambiq Apollo3 SDK isn’t necessary for this tutorial, however, you will want to roll up your sleeves and dig into it at some point to utilize the full potential of this board.
At this point it is assumed that you have the Arduino IDE installed on your machine, but if not, or if you need to upgrade to the latest release, you can get that from Arduino’s website.
Installing the Libraries
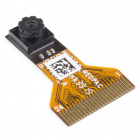
The examples utilize the TensorFlowLite Arduino library, which is installed using the Arduino Library Manager, and the Person Detection example also uses the Himax HM01B0 Camera Library.
To install this library, use the following steps:
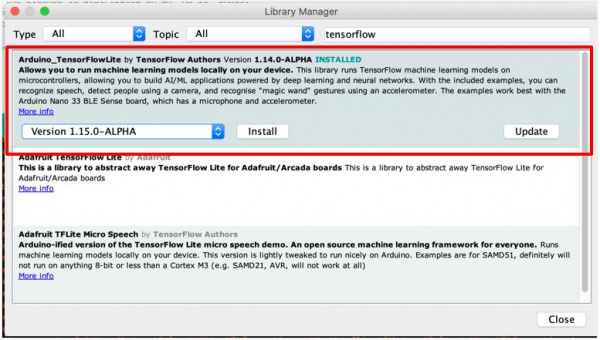
- In Arduino, select the "Manage Libraries..." menu item. Tools > Manage Libraries...
- In the Library Manager interface, search for tensorflow
- Select the library Arduino_TensorFlowLite by TensorFlow Authors
- Select the non-precompiled version of the library
- Select the Install button to install the library
NOTE: It is imperative that you install the non-precompiled version of the library. Installing the pre-compiled library will only lead to failure and sadness.
To install the Himax HM01B0 Camera Library:
- While still in the Library Manager interface, search for Himax
- Select the SparkFun Himax HM01B0 Camera Library
- Select the Install button to install the library
- Close the dialog window
Installing the SparkFun Boards Package
To install the necessary boards package, use the following steps:
- In Arduino, open the Preferences menu item. File > Preferences, (macOS) Arduino > Preferences
- Add the following path to the Additional Boards Manager URLs: path in preferences.
https://raw.githubusercontent.com/sparkfun/Arduino_Boards/master/IDE_Board_Manager/package_sparkfun_index.json - Select the OK button to save the preferences.
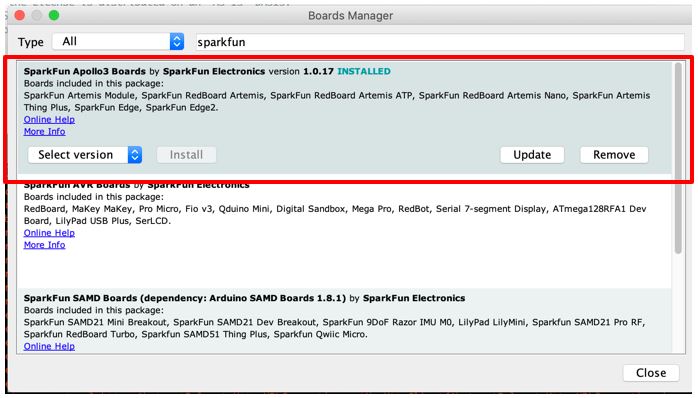
Once the location of the SparkFun boards package is set in the preferences, the board definition package for the SparkFun Apollo3 boards must be installed. To install package, use the following steps:
- In Arduino, open the Board Manager. Tools > Board "..." > Manage Boards...
- Search for Apollo3
- Select the SparkFun Apollo3 Boards package
- Select the Install button to install the library
- Close the dialog window
