Pokémon Go Patches with EL Panels
 Gella
Gella 
Preparing Your Stencil
Before we begin building, we'll need a stencil design. If cutting on a machine, you will need a vector line drawing of your logo/image. If you do a google search for 'Pokémon GO Team Logo Vector,' you will most likely find some files that other generous folks have created to download. They are often in .svg or .ai format, which may not import directly into your cutting machine's software (see below for special considerations for each machine).
You can also use Software like Adobe Illustrator®, CorelDraw®, or Inkscape to trace an image and export for your machine.
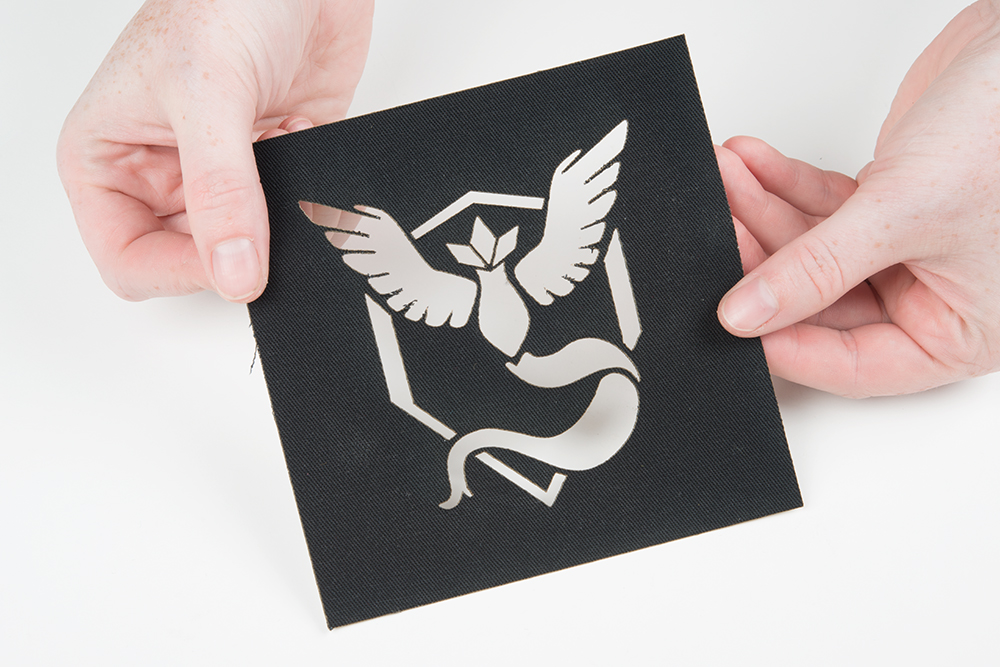
For all stencils, size your image to ~3.75" x 3.75" to make sure it stays within the boundary of the EL Panel (10cm or ~3.9" square). Adjust any lines so that the space between cuts is thick enough that the fabric doesn't tear or warp when removing from the cutting surface or installing.
Cutting Machine Tips
Silhouette Machines -
Unfortunately you cannot import .svg files into their software unless you upgrade to Silhouette Studio® Designer Edition. The premium software allows you to import files directly from Adobe Illustrator® or CorelDraw®. You can also download a plug-in called Silhouette Connect™.
If you don't want to upgrade the software, you can also export your files as .dxf and import them.
Here are some additional resources for the Silhouette:
Cricut Machines -
If you have a Cricuit machine, you'll use a web-based software called Cricuit DesignSpace. It will import both .svg and .dxf files, but they may need some clean up before use.
Note: Newer cutting mats can be sticky and transfer some adhesive to your fabric. Be careful when removing from the mat not to tear or warp the fabric. Using specialty spatula tools that come with the machines help to remove small parts of the cut without damaging the fabric.
Laser Cutter
Import your vector as you would any other print. Attaching the fabric to a piece of scrap cardboard with some clear tape will make it easier to remove the stencil from the bed.
It may be necessary to adjust the graphics to avoid small areas where strain may tear the fabric. In the example below, the spaces between parts of the stencil were too thin, and tore when removing from the machine. Practice on a test piece of fabric first.
