Photon RedBoard Hookup Guide
 jimblom
Getting Started
The Photon can be powered over either USB (using a Micro-B Cable) or with a 4.5-15V barrel jack power supply (like either our 5V and 9V wall warts). To begin using your Photon RedBoard, plug it in!
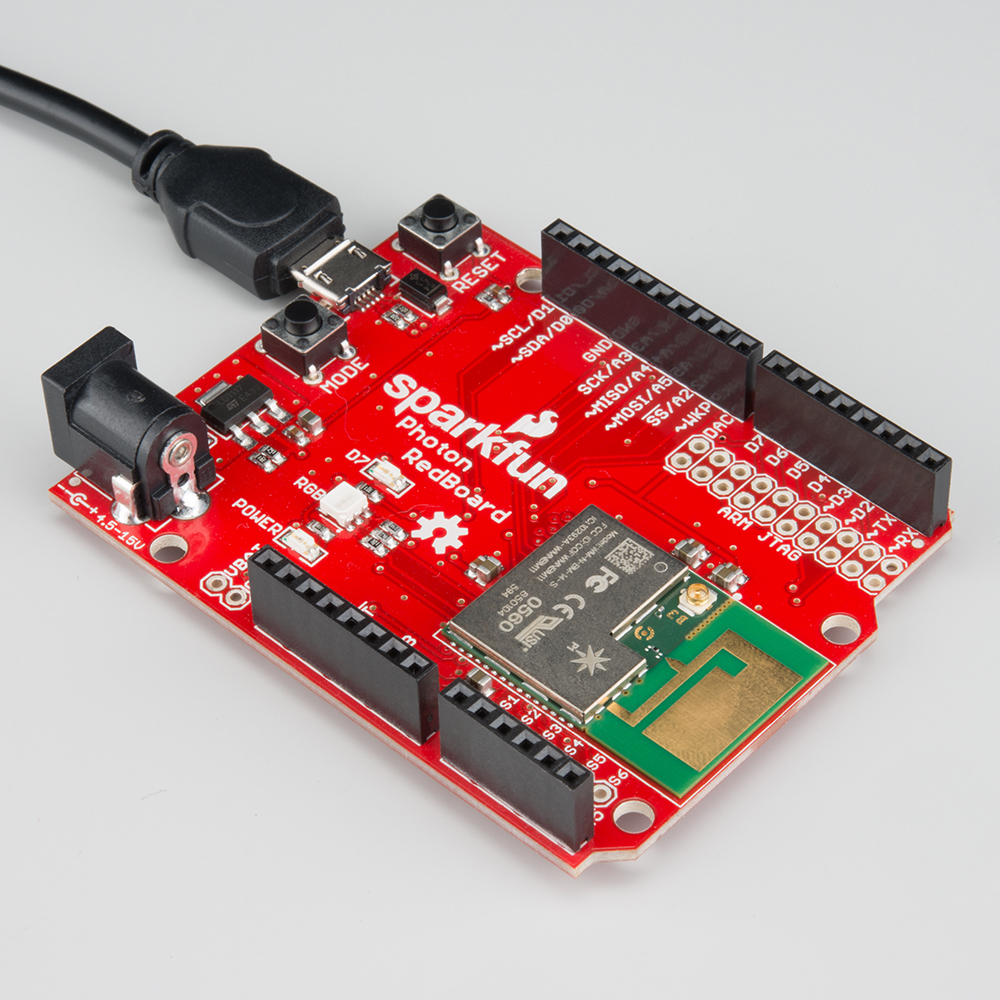
The red "POWER" LED should illuminate to indicate the Photon RedBoard is on. Once that's verified, it's time to set up WiFi.
Configuring WiFi, Connecting to Your Particle Account
To use the Particle cloud -- and their online IDE -- you'll need a Particle account. Head over to build.particle.io to sign up, if you haven't already.
When you power on a Photon RedBoard for the first time, it should boot up into listening mode -- indicated by a blinking, blue LED. It'll remain in listening mode until configured with your WiFi network and password.
There are a handful of ways to configure a Photon's WiFi credentials, including with the Particle smartphone app (iOS8+ or Android), or through a serial terminal. Unless you're very comfortable with serial terminals -- or just don't have a smartphone nearby -- we recommend using the app.
Both methods are described below, click one of the headings to expand your section of interest:
Step 1: Download the Particle App
The Partice app is available for both iOS (8.0 and up) and Android phones: iPhone | Android.
Step 2: Follow the in-app directions to connect your Photon
1. After opening the app, press "Get Started", to arrive at the device list screen. Scroll to the bottom and select Setup a Photon...
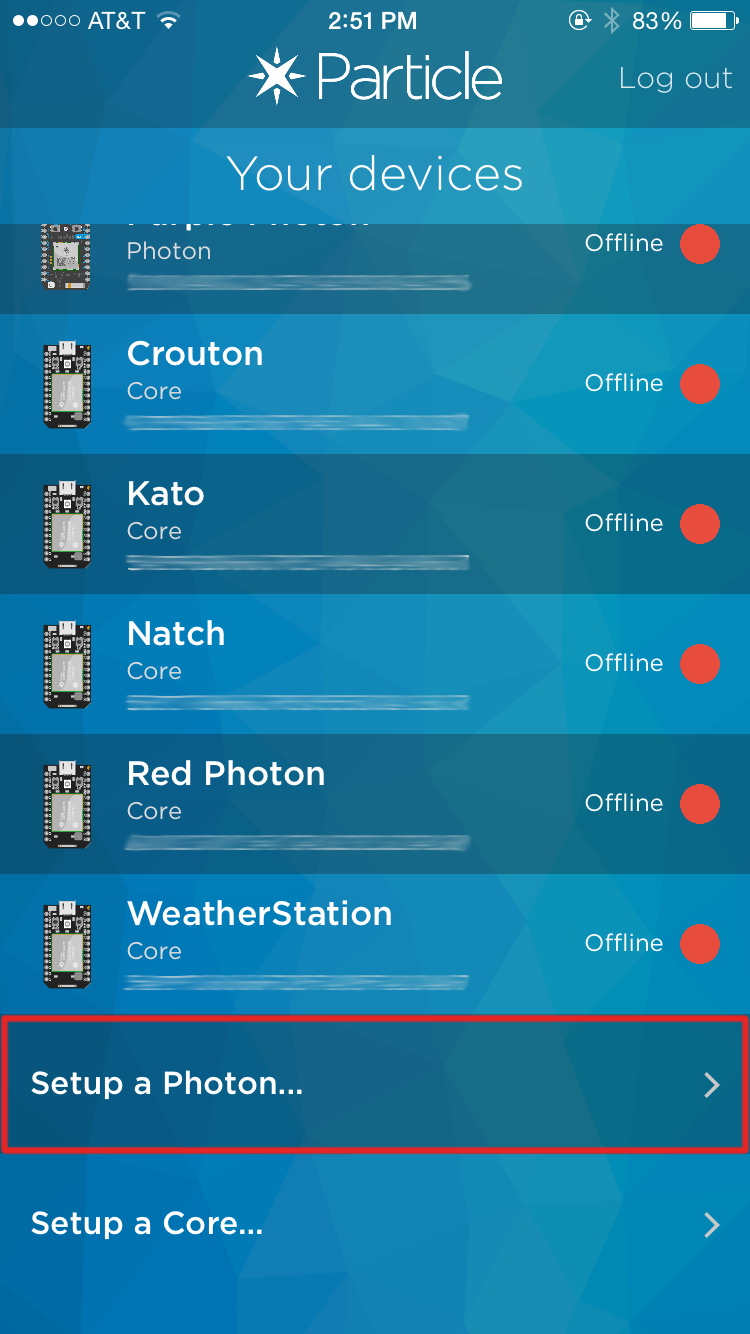
Select "Setup a Photon..." to begin setting up your Photon RedBoard.
2. Verify that your Photon RedBoard's RGB LED is blinking blue, then select "READY" on the next screen.
3. Navigate to your phone's WiFi settings and find a network named something like Photon-9XYZ (with a random set of four characters as the suffix). Select it.
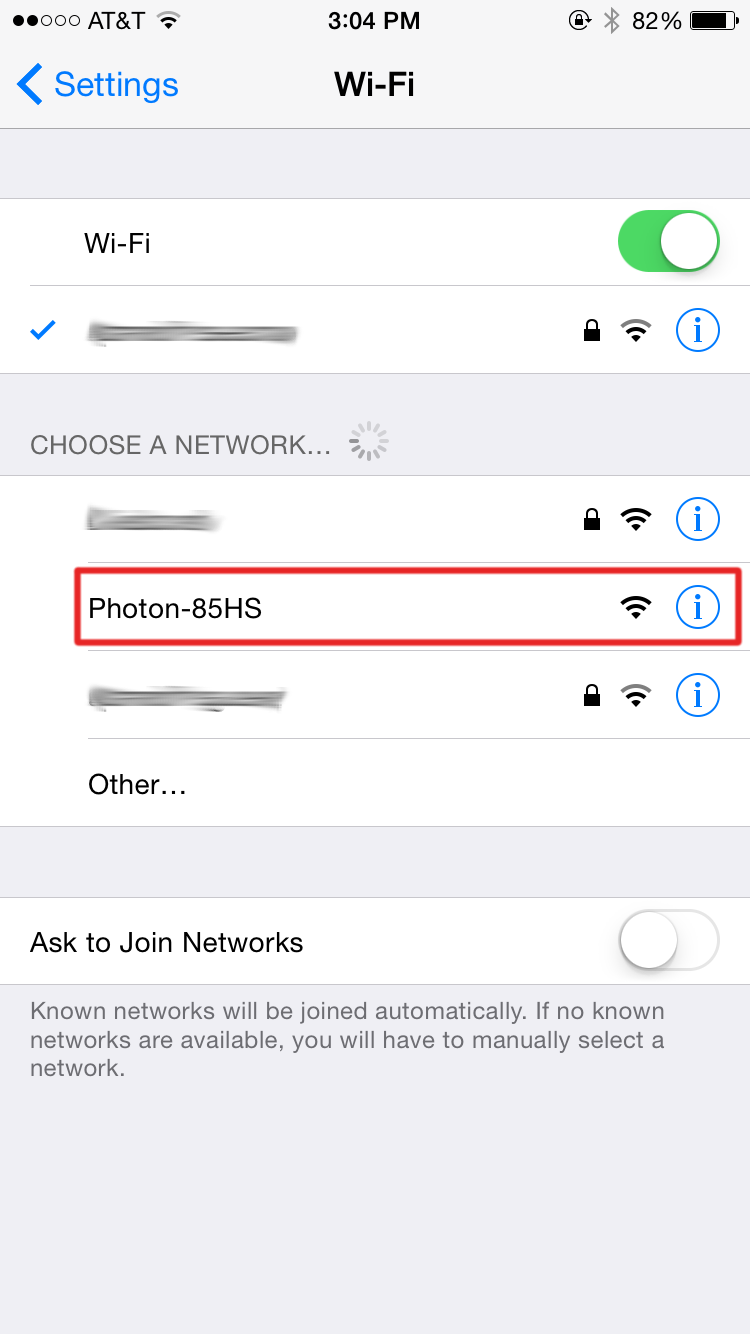
Your Phone should find a network name prefaced with "Photon-", connect to it.
4. Switch back to the Particle app. After a few seconds, the app should present you with a list of WiFi networks. Select the network you want to connect your Photon RedBoard to. On the next screen type in the network's password.
5. The penultimate screen will show the Photon RedBoard's progress as it connects to your WiFi network and the Particle cloud.
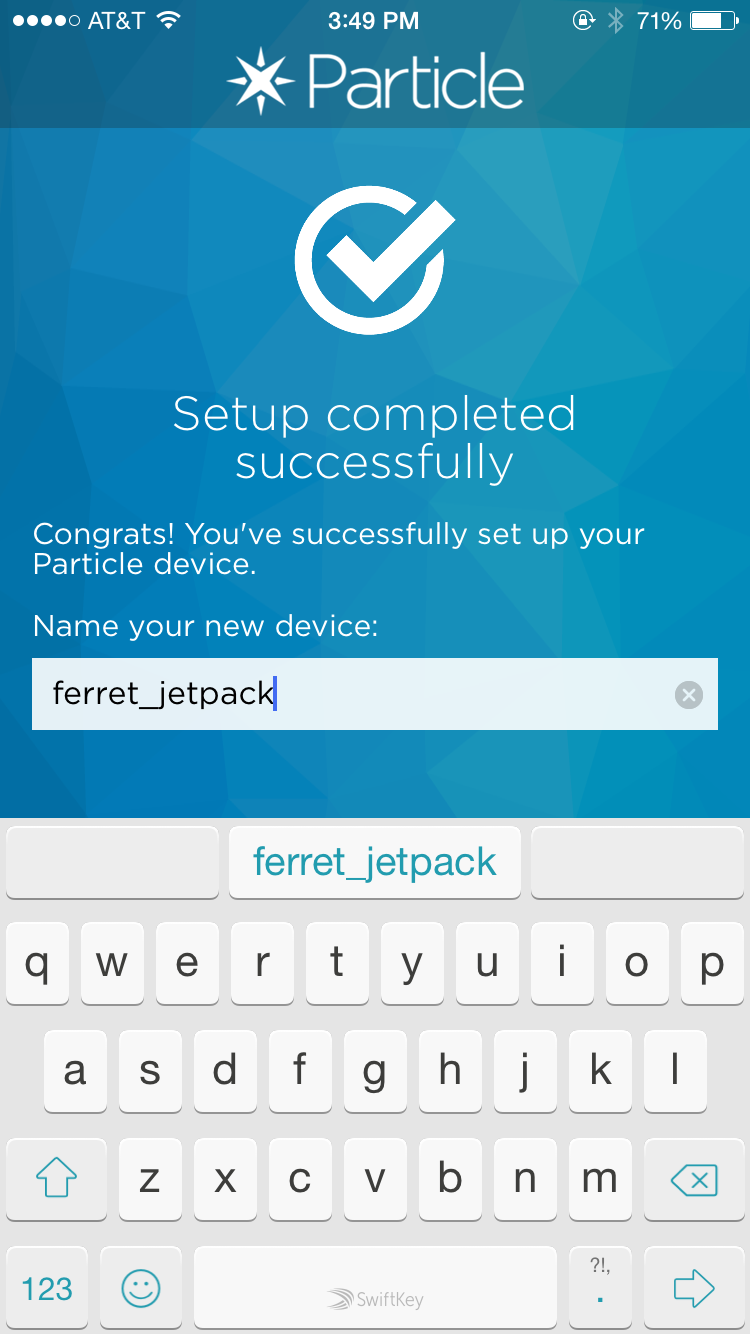
6. Finally, create a name for your Photon. You can go with Particle's (wonderfully random) suggestion, or one of your own.
If, for some reason or another, you can't use the Particle app to commision your Photon RedBoard, one alternative is using a Serial Terminal.
particle setup command to run through device setup.1. Open a serial terminal program (check out our Serial Terminal Basics tutorial for suggestions) to your Photon's serial port. On Windows, the port should look something like COM#. On Mac, the port will be something like /dev/tty.usbmodem####.
2. Type i to get your Photon's Device ID. Copy it down – at least temporarily.
3. Type w to enter WiFi configuration. Then follow along with the prompts to enter you WiFi network's name and password.
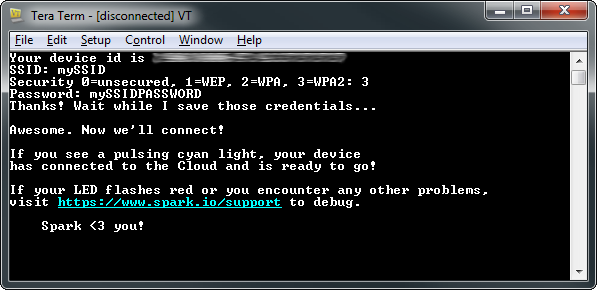
Type 'i' to get your Photon's Device ID, then 'w' to configure its WiFi.
4. Go to the Particle Build IDE. Create an account if you haven't already, or log in.
5. Hop over to the "Devices" tab. Select Add New Device, and paste in your Photon RedBoard's Device ID.
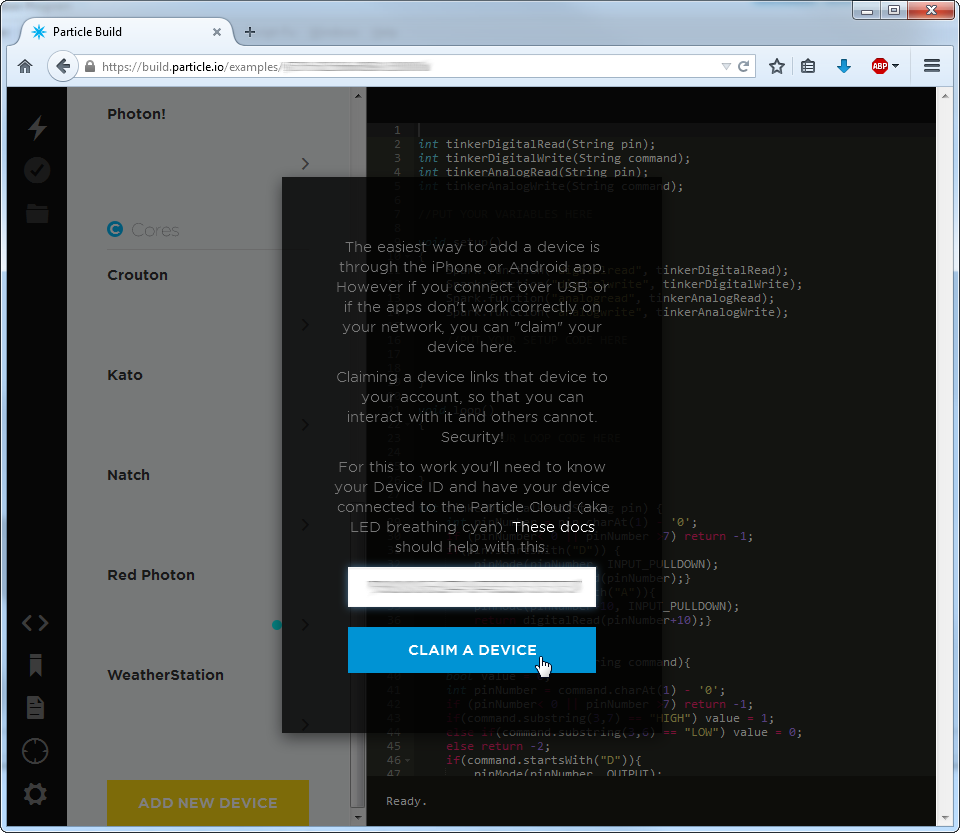
Paste your Photon's Device ID into the Build IDE.
6. Name your new Photon RedBoard
7. Your Photon RedBoard will initially appear under the "Other" section, but after reloading the IDE, it should find its home under the "P1s" section.
Tinkering
The Photon RedBoard ships with the Tinker application installed. If you have a smartphone, this is a great tool for verifying your RedBoard's functionality, and to get a feel for the basics of electronics.
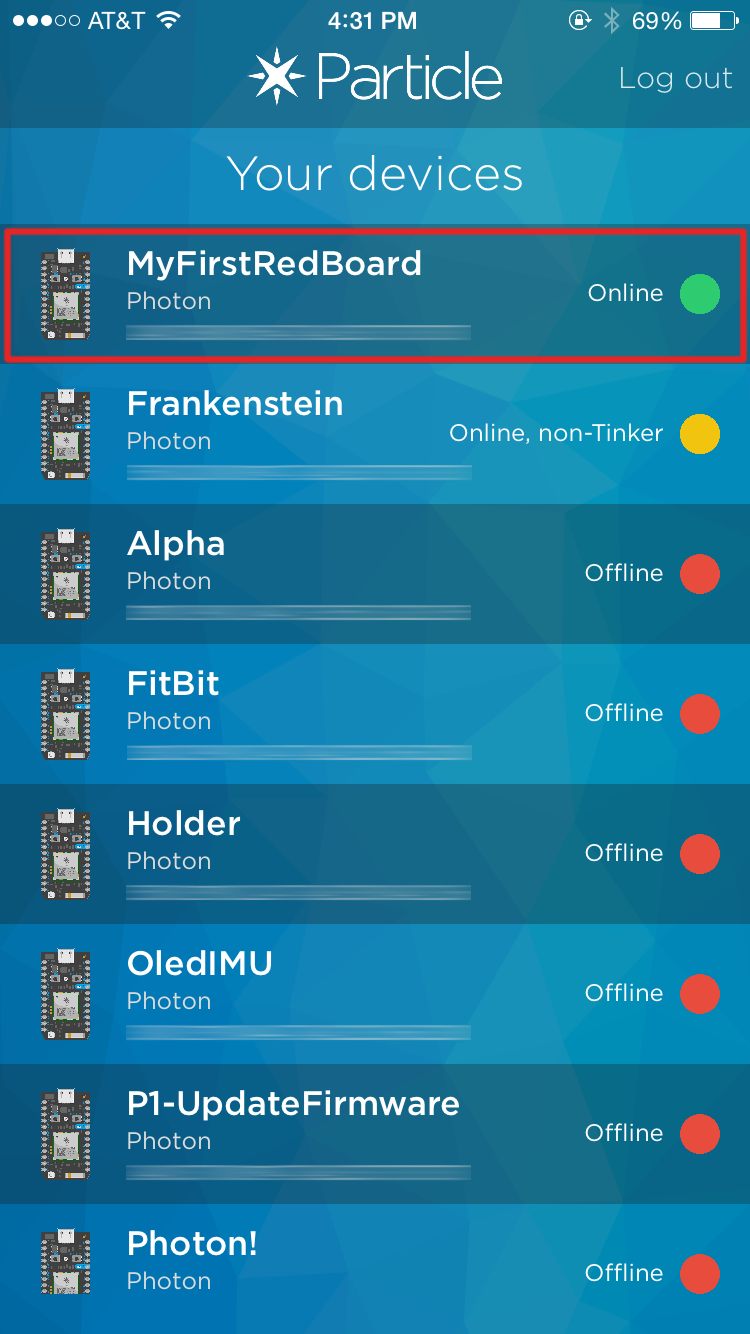
Load up the Particle app -- now that your RedBoard is commissioned and connected to your account, it should show up in your device list. And it should have a green dot next to it, indicating it's running the Tinker application. Click the device to enter Tinker.
The RedBoard has an LED attached to D7 -- perfect for tinkering with. Press "D7", then select digitalWrite to set it as a digital output. It'll initially set itself LOW. To set D7 high, click the pin again. The blue D7 LED should turn on almost instantly!

digitalWrite() pin, then set it HIGH to turn the LED on. Play around with the other pins. Try analog reading! See what voltage those pins are floating at. Or attach some external LEDs and try analog writing!