Photon OLED Shield Hookup Guide
 b_e_n
b_e_n 
Introduction
Want your Photon projects to display sensor readings, play pong, or draw little doodles? The Photon OLED Shield might be the perfect fit, and we're going to show you how to use it.
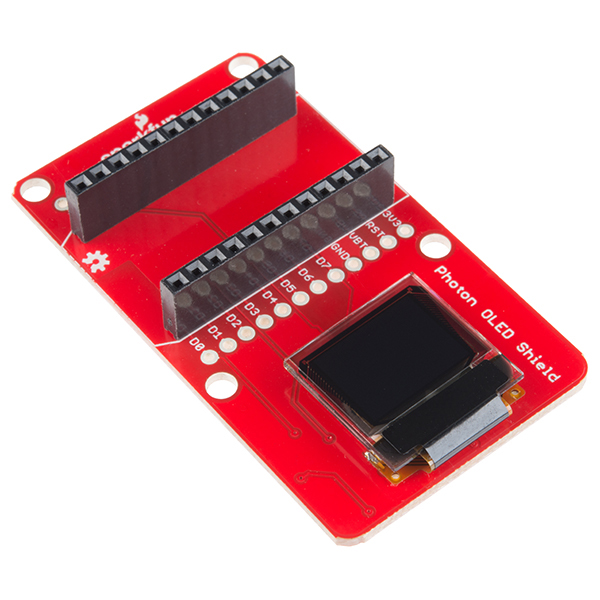
If the OLED screen in the picture above looks familiar, it's probably because we use the same component in our Microview and Micro OLED Breakout products, as well as the OLED Block for the Edison. We love it for it's combination of small footprint yet surprisingly clear graphics -- the screen itself is 0.66" across, with a display area measuring 64 pixels wide by 48 pixels tall.
Covered in this Tutorial
This tutorial will cover the functionality of the OLED shield, how to hook it up in your project, and how to program with it using the SparkFun Micro OLED Library.
Required Materials
All you need to get started with the Photon OLED Shield is a Photon, a micro-USB cable, and the OLED shield. You'll also want to sign up for an account on particle.io and register your photon. Instructions on how to do this can be found at docs.particle.io.

SparkFun Photon Micro OLED Shield
DEV-13628
Particle Photon (Headers)
WRL-13774Suggested Reading
- Serial Peripheral Interface (SPI) -- SPI is the preferred method of communication with the display.
- I2C -- Alternatively, I2C can be used to control the display. It uses less wires, but is quite a bit slower.