Nintendo Switch Macro Recording on the Raspberry Pi
 PNP Marcus
Hardware Setup
Raspberry Pi 4 Kit Hookup Guide
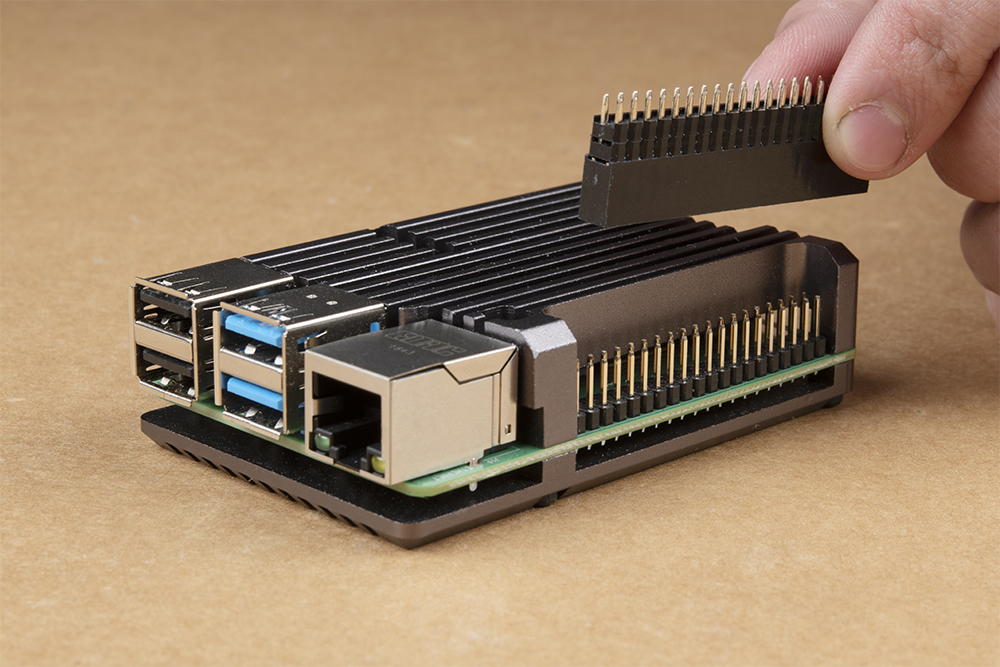
If you have already set up and configured your Pi for the Top pHAT, you can (obviously) skip this step. Assembly for the Top pHAT is fairly straightforward. It plugs directly into the GPIO pins of a Raspberry Pi. Most importantly, users need to pay attention to the orientation of the pHAT and double check that the pins are lined up properly. Below are a few examples for users to follow. For my project, I'm using the Pi 4 Model B, though the project should work on most Pis with bluetooth. Be sure to buy a header if your Pi requires it for clearance on the Top pHAT.
First, you'll want to connect a female header if needed, like so:
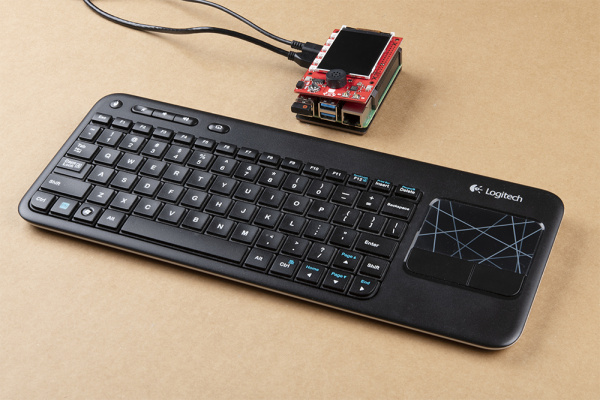
Next, snap on the Top pHAT, and connect your keyboard and mouse. Initially, you will also want to connect to an external display using one of the HDMI ports. Finally, connect the USBC power adapter and plug it in to an outlet.
Once your Pi boots, we can configure it for the Top pHAT and install Joycontrol-ms and its dependencies.