MP3 Player Shield Hookup Guide V15
 jimblom,
  Byron J.
 Introduction
Are you looking to add some grooves to your project. Does your haunted house or Halloween costume need some sound effects embedded into it? Do you just want to be able to say you built your own MP3 player? The MP3 Player Shield is an easy way to add music or sound effects to your project.
In this tutorial we'll examine all of the ins and outs of the MP3 Player Shield. Then we'll go on to introduce some example code. Hopefully, after reading through this tutorial, you'll be inspired to make the next, great MP3 Shield Music Box or another rockin', music-playing Arduino project.
Requirements
To follow along with this tutorial you'll need the following items:
- An MP3 Player Shield, of course. The star of the show.
- µSD Card and a computer with a means to get music files onto it.
- An Arduino Uno, RedBoard, Arduino Pro or any other Arduino-compatible board.
- Headphones with a 3.5mm jack termination or an active speaker.
- Some MP3 files to groove to.
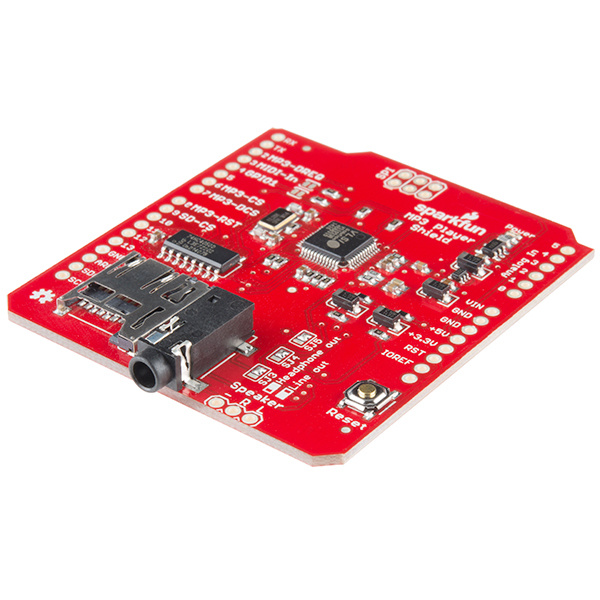
Check Your Hardware Version
This hookup guide describes output configuration features that were added to the V1.5 revision of the MP3 shield.
If you're not sure which version you've got, there's a version number on the bottom copper layer, underneath the headphone jack, as shown below. This guide is for boards marked "V15" (The decimal is omitted from the copper, so the version 1.5 PCB is marked 15).
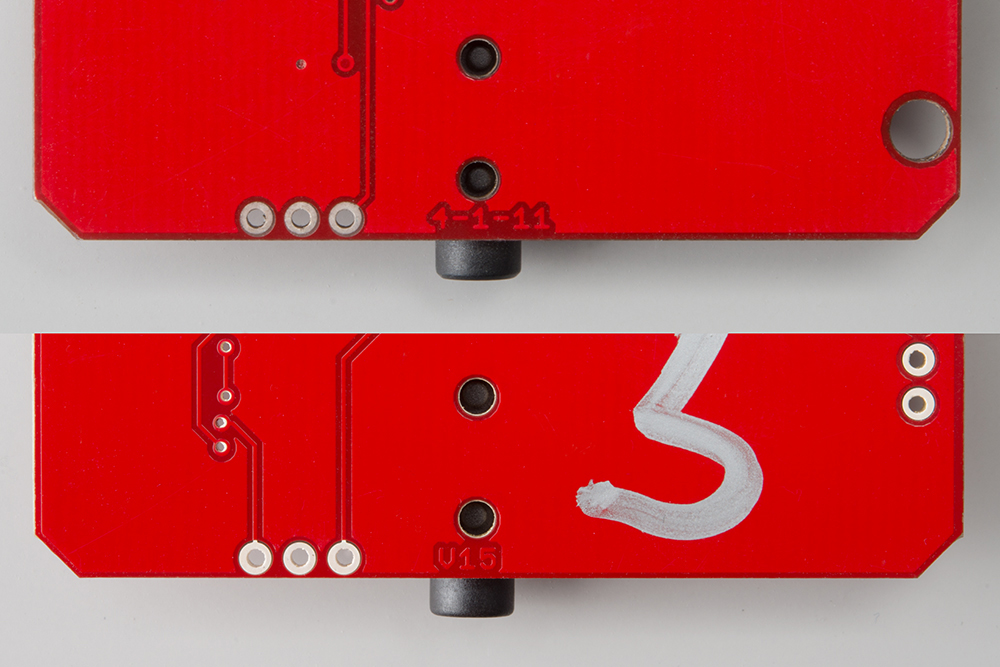
Below: Current Revision (V15)
If you have an older version of the MP3 shield, marked with the date code "4-1-11", you can find the matching hookup guide here. The most significant difference is that the V15 board adds the components to enable the AC-coupled line output.
Suggested Reading
Before launching into this tutorial, there are a few basic concepts you should be familiar with. If the subject of these tutorials sounds foreign to you, read about it before continuing on with this hookup guide.
- What is an Arduino?
- Arduino Shields
- How to Install an Arduino Library
- Serial Peripheral Communication (SPI)