MP3 Player Shield Hookup Guide V15
 jimblom,
  Byron J.
Assembly & Preparation
Before we get to uploading code and streaming some tunes, there are some a few preparation steps to take care of first. You'll need to solder something to the shield, and prepare a µSD card.
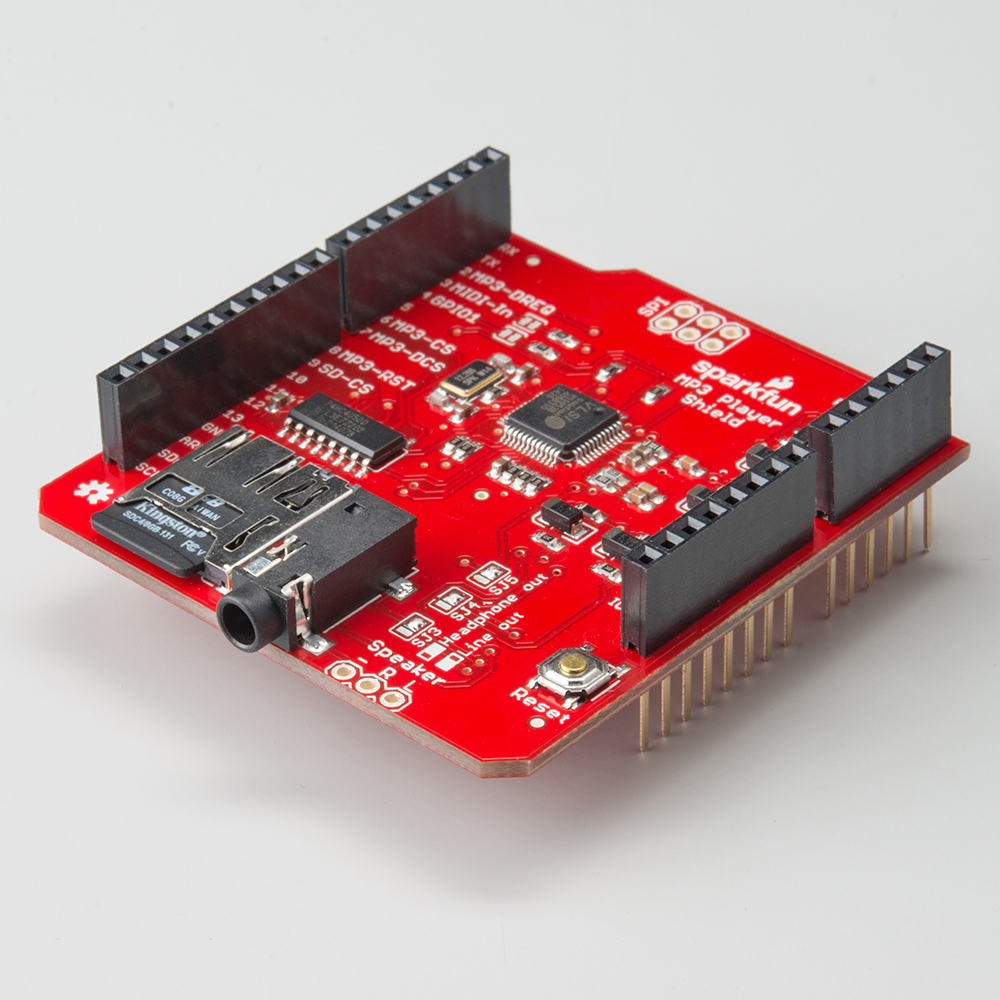
Adding Headers
To get started with the shield, you'll need to solder on some headers. If you're looking to keep the shields stackable, our R3 stackable header set might be the best option. Otherwise, straight male headers work as well.
Check out our shield assembly guide for more help in adding headers to your shield.
MP3 File and µSD Card Setup
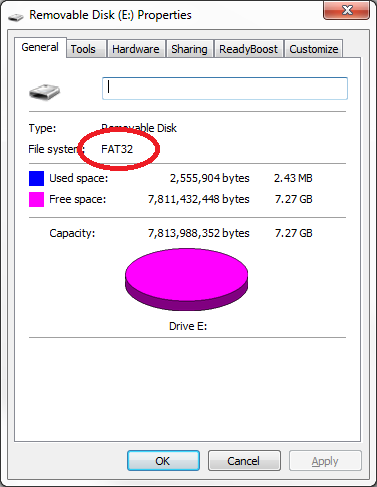
In this phase of the hookup, you may also want to start preparing your µSD card. First, make sure it's formatted correctly. The SDFat Arduino library we'll be using only supports cards formatted for FAT16 or FAT32. Your card is probably already formatted to one of these standards, but it doesn't hurt to double check.
You may also want to prepare your music files. The VS1053B is capable of playing MP3, AAC, WMA, MIDI, and Ogg Vorbis audio files. The VS1053B supports a variety of samplerates and bitrates for each file type. Check out the datasheet (beginning in section 8 -- page 26), to make sure your audio files are supported. MP3's, for example, are supported at up to a 320 kbps bitrate and a 48 kHz samplerate.
Finally, before loading the audio files onto your SD card, you'll need to modify their names. The SDFat library only supports "8.3" file names -- that's eight characters before the '.' and three characters after (e.g. "track001.mp3"). Further, some of the example code we'll be using later on requires that the audio files be named using special conventions. In the MP3 trigger example the files will need to be named "track001.mp3", "track002.mp3", etc.