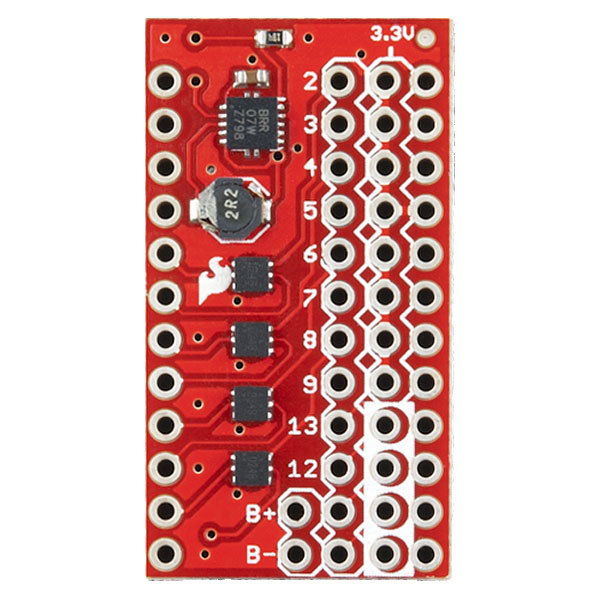
Mini FET Shield Hookup Guide
This Tutorial is Retired!
This tutorial covers concepts or technologies that are no longer current. It's still here for you to read and enjoy, but may not be as useful as our newest tutorials.
I Shall Call Him... Mini Me
The Mini FET Shield is an amazing little shield designed for the Arduino Pro Mini 3.3V 8MHz. If you've been using Arduino for some time, you may have noticed that one of the major limitations of the Arduino's digital I/O is the amount of current it can provide on each pin, which is about 40mA. That's enough current to light up a few LEDs or spin small DC motors, but to truly unleash your inner maker, you're going to need more juice to drive those really big projects.
Covered in this Tutorial
In this hookup guide, we'll go over how the Mini FET Shield functions, discuss some of the different ways you can assemble the shield, and break down some Arduino code to get you started using higher current peripherals on your mobile Arduino projects.
Required Materials
In order to use the Mini FET Shield, you will need an Arduino Pro Mini 3.3V 8MHz. Please note that shield only works with the 3.3V version of the Pro Mini and NOT the 5V version.
There will be various other parts listed throughout the tutorial. Each use case for the Mini FET Shield is unique, so all of the parts in this tutorial are merely used to demonstrate the shield's functionality and are by no means required.
Suggested Reading
Before you begin, make sure you are familiar with all these concepts and skills.
- What is an Arduino?
- Installing the Arduino IDE
- How to Install FTDI Drivers
- What is a Shield?
- Electric Power
- How to Power Your Project
- Battery Technologies
- How to Solder - Through Hole
- Working with Wire
