MicroMod SAMD51 Processor Board Hookup Guide
Contributors:
 bboyho,
  Elias The Sparkiest
bboyho, Elias The Sparkiest 
Resources and Going Further
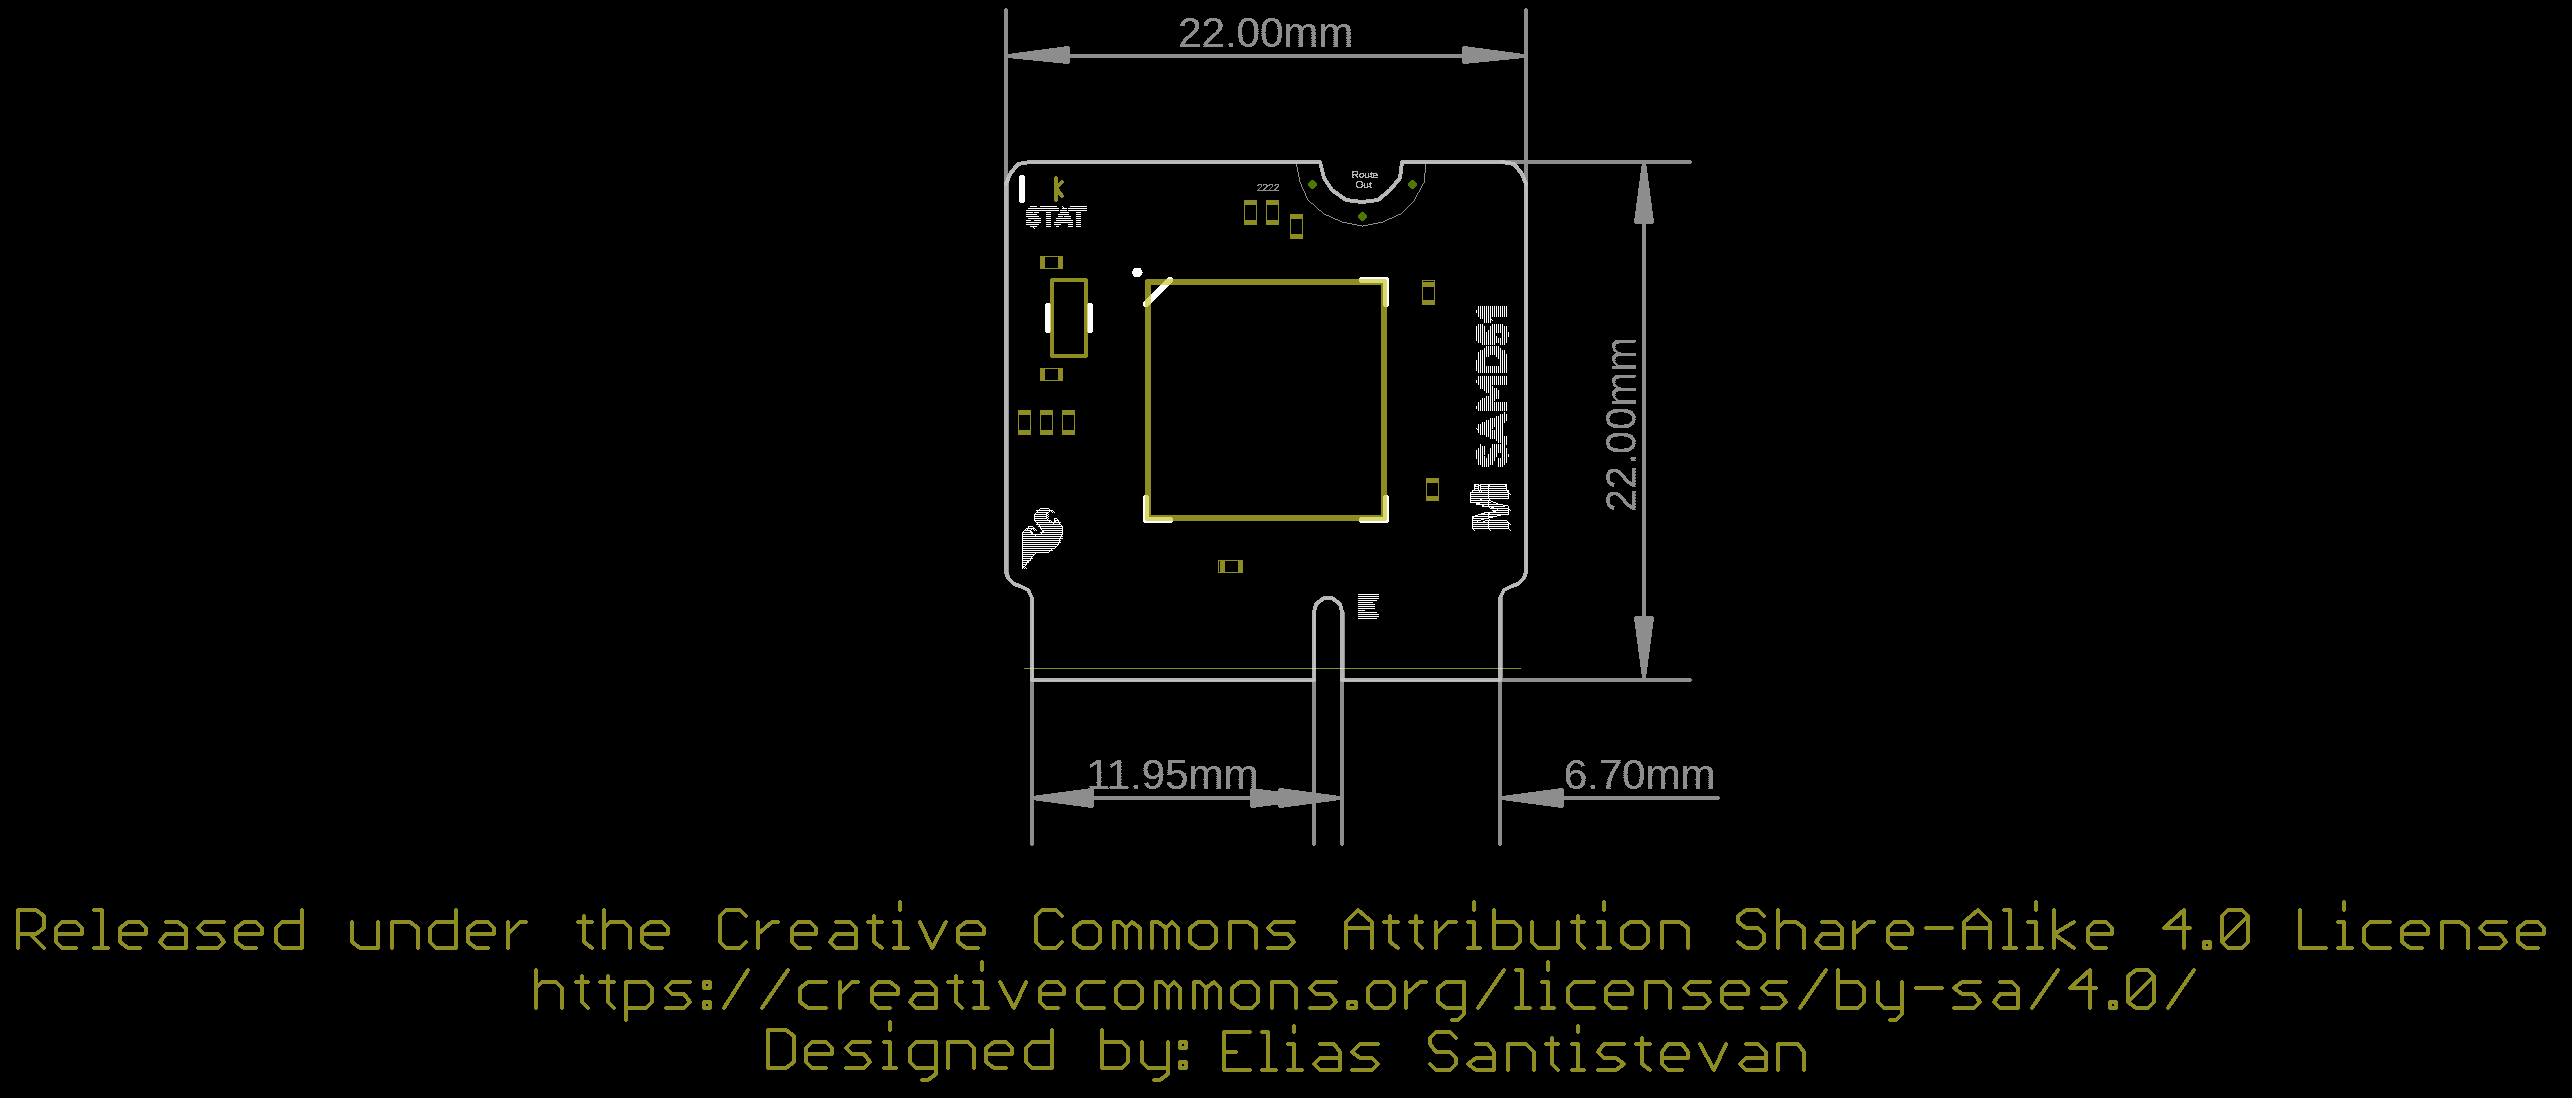
Now that you've successfully got your MicroMod SAMD51 Processor Board up and running, it's time to incorporate it into your own project! For more information, check out the resources below:
- MicroMod SAMD51 Processor Documentation
- MicroMod Documentation
- SparkFun MicroMod Interface v1.0 - Pinout (PDF)
- SparkFun MicroMod Interface v1.0 - Pin Descriptions (PDF)
- Getting Started with MicroMod
- Designing with MicroMod
- MicroMod Info Page
- MicroMod Forums
- SparkFun Eagle Libraries contains example footprints for the M.2 connector and SMD standoff
- M.2 MicroMod Connector Datasheet
- MicroMod Reflowable Standoff Datasheet
- SAMD51 Documentation
Need some inspiration for your next project? Check out some of these related tutorials using HID mouse/keyboard or adding more SERCOM Ports for your SAMD51:
Wireless Joystick Hookup Guide
A hookup guide for the SparkFun Wireless Joystick Kit.
Adding More SERCOM Ports for SAMD Boards
How to setup extra SPI, UART, and I2C serial ports on a SAMD-based boards.
Keyboard Shortcut, Qwiic Keypad
A simple project using the Qwiic Keypad and the RedBoard Turbo to create your own custom hotkey-pad.
Qwiic Pro Micro USB-C (ATmega32U4) Hookup Guide
An overview of the ATmega32U4-based Qwiic Pro Micro USB-C, how to install it, and how to use it with Arduino.
Or check out other tutorials with MicroMod:
MicroMod Data Logging Carrier Board Hookup Guide
Get started with some customizable MicroMod data logging with the Data Logging Carrier Board.
Qwiic Digital Desk Sign with MicroMod
Make a Qwiic-enabled digital desk sign with a MicroMod SAMD51 Processor Board's USB Host and a USB keyboard!
MicroMod Update Tool Hookup Guide
Follow this guide to learn how to use the MicroMod Update Tool to interact directly with the UART on the MicroMod Asset Tracker's SARA-R5. Using this board you can talk directly to the module using u-blox's m-center software as well as update the firmware using EasyFlash.
MicroMod Main Board Hookup Guide
The MicroMod Main Board - Single and Double are specialized carrier boards that allow you to interface a Processor Board with a Function Board(s). The modular system allows you to add an additional feature(s) to a Processor Board with the help of a Function Board(s). In this tutorial, we will focus on the basic functionality of the Main Board - Single and Main Board - Double.