MicroMod RP2040 Processor Board Hookup Guide
 bboyho
MicroPython Examples
The Raspberry Pi foundation has provided the necessary tools, documentation, and examples to get started with the RP2040. If you haven't already, check out the documentation on the Pico. We'll use this as a reference when using the chip on other development boards to fit your needs in this tutorial.
We'll be using the MicroPython examples from this GitHub repo using Thonny IDE.
Installing MicroPython on the RP2040
To install MicroPython on the RP2040, you will need to download the firmware from Raspberry Pi. Click below to head to the Raspberry Pi Foundation's MicroPython UF2 File for the RP2040. Click on the tab for the "Getting started MicroPython" and the button for Download UF2 File.
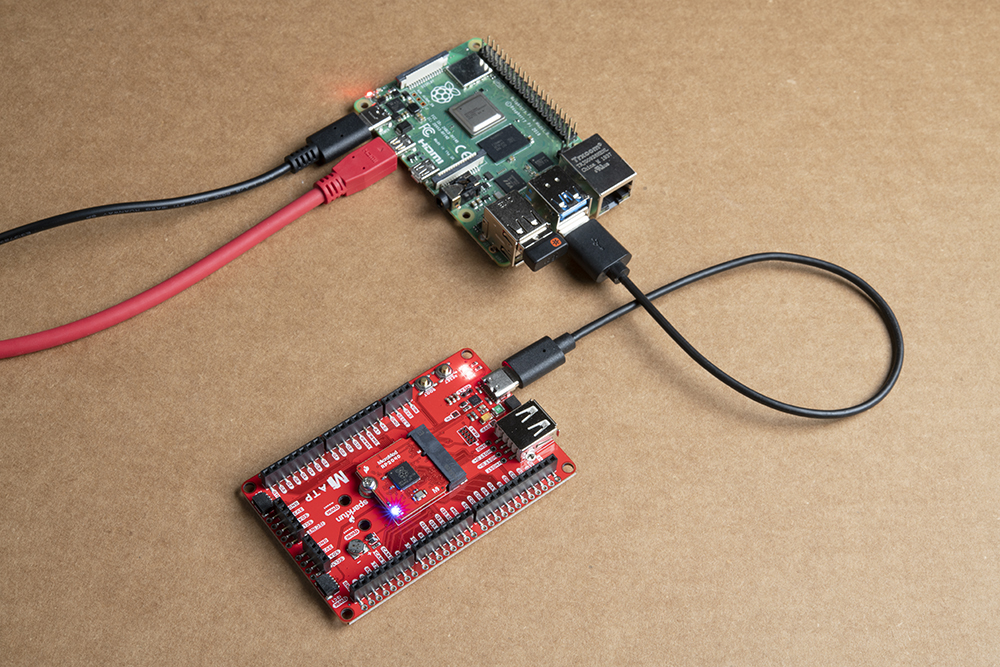
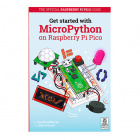
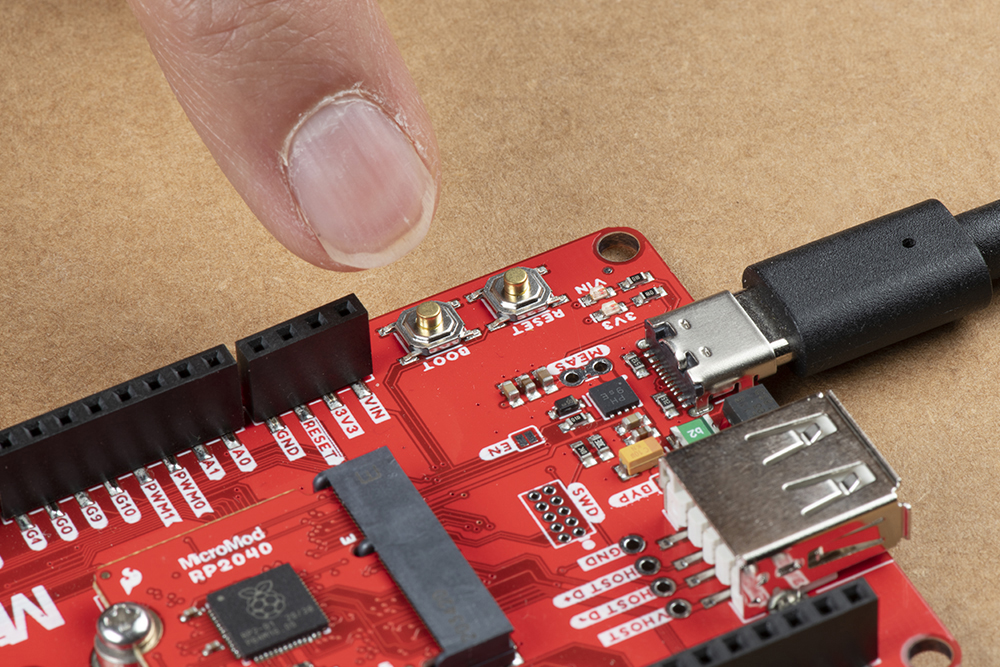
On your MicroMod carrier board, find the boot and reset button. Press and hold the boot button down with one finger.
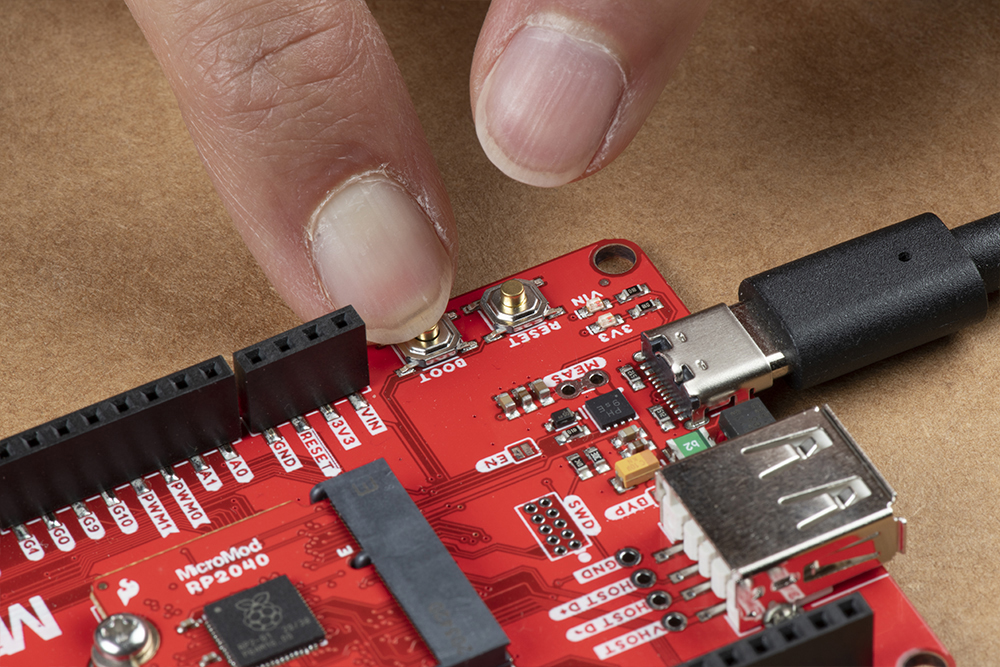
Press the reset button with momentarily with another finger.
 |
|
Release the boot button. The board should appear on your computer as a removable drive called RPI-RP2.
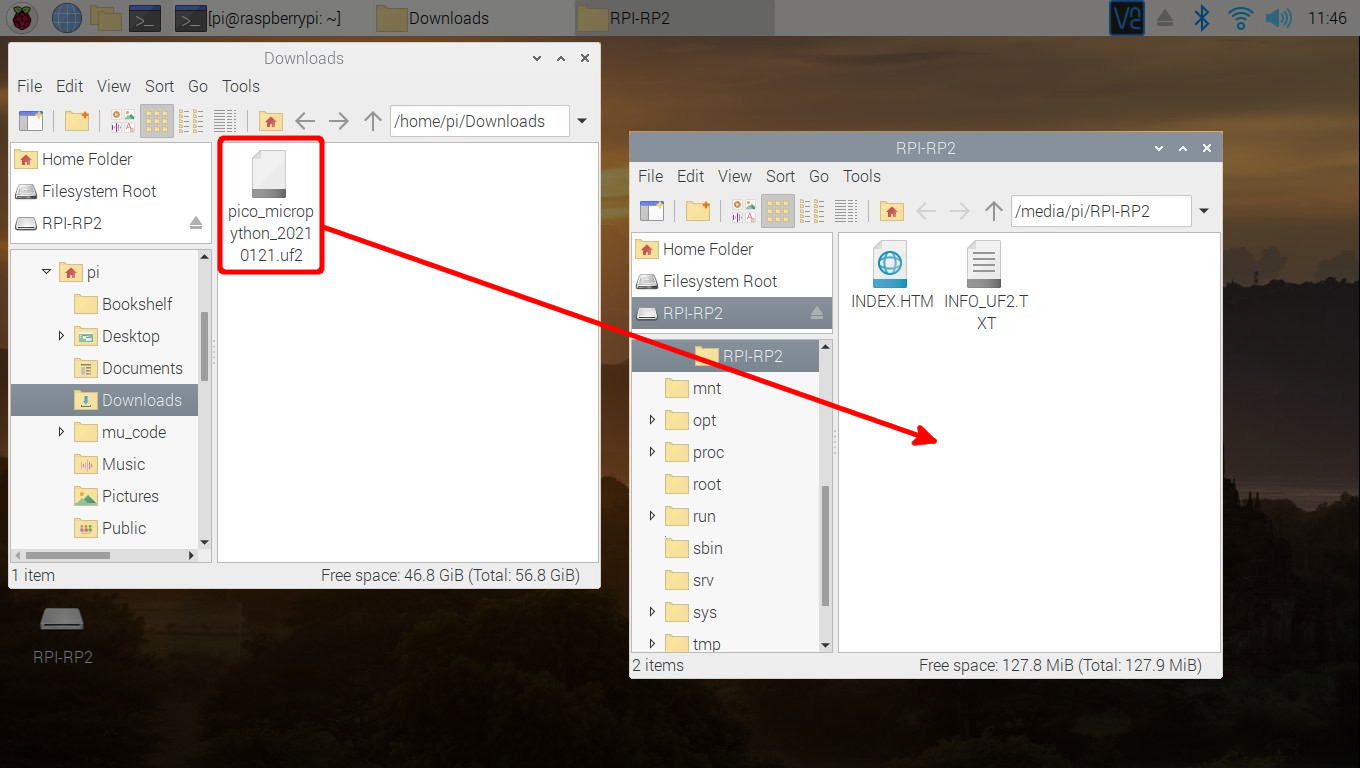
Draw and drop the UF2 file into the "removable drive". The board will automatically reboot. Below is an image highlighting the UF2 file being moved to a the removeable drive on a Raspberry Pi.
Configuring Thonny IDE
&& combines the two commands into a single line and the -y answers "yes" to any prompts.sudo apt update && sudo apt full-upgrade -y
thonny -v
INFO thonny:Thonny version: 3.3.3
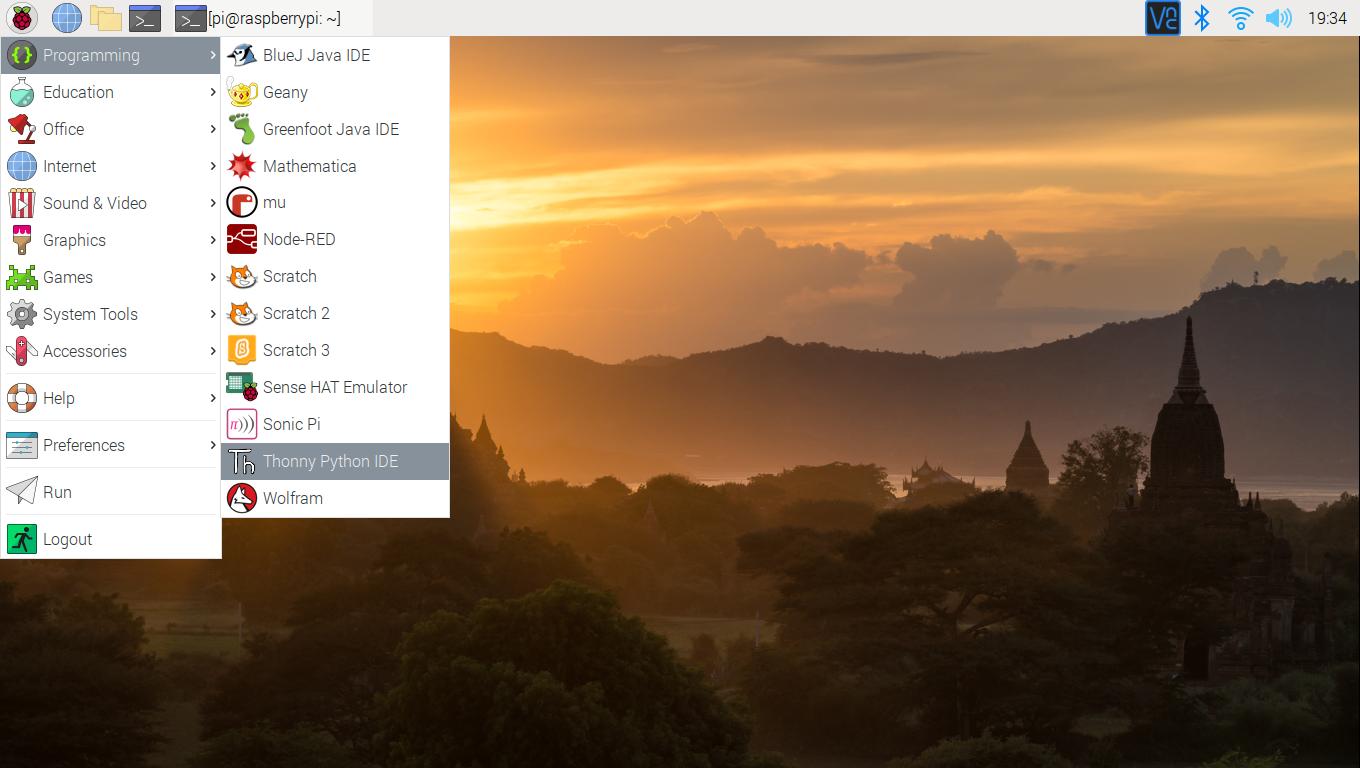
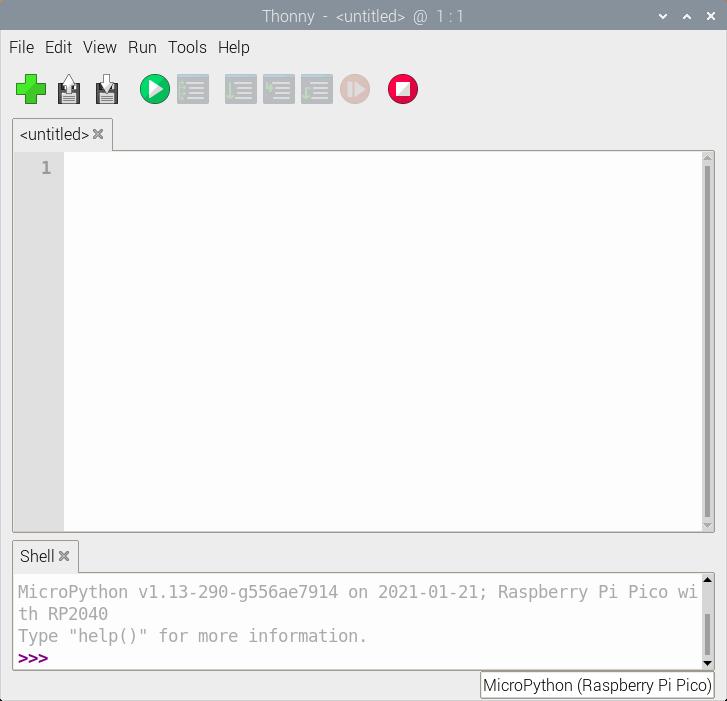
Open Thonny up from the start menu: Raspberry Pi Start Menu > Programming > Thonny Python IDE
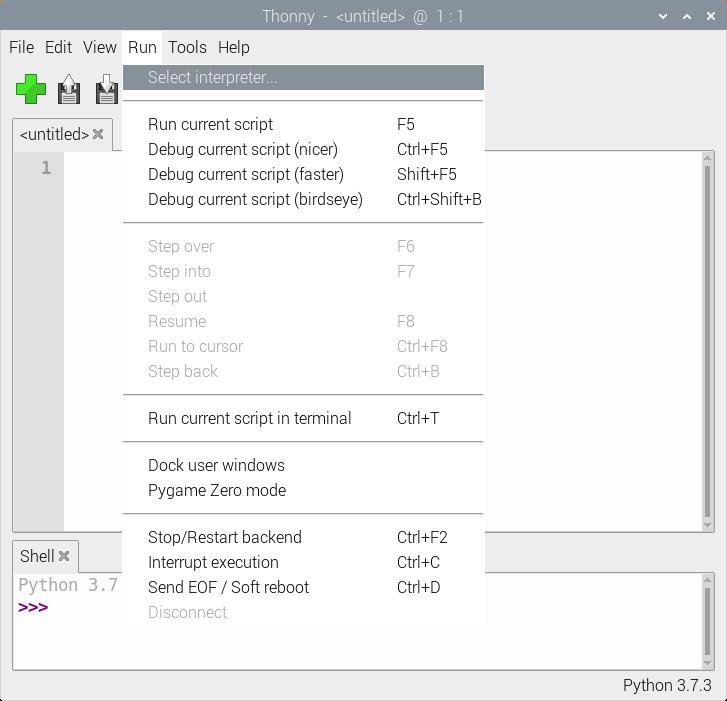
Set Thonny's interpreter for the RP2040. The "Raspberry Pi Pico" will work for the RP2040. Head to the menu and select: Run > Select Interpreter....
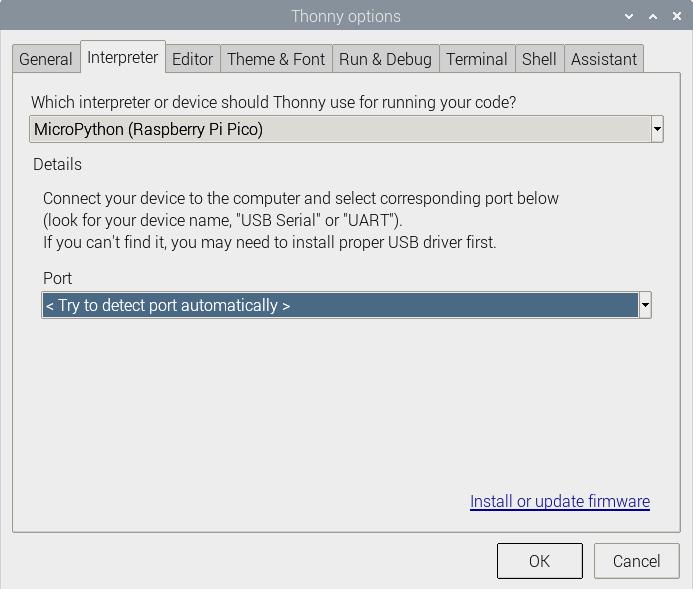
This will open a new window for the Thonny options. In the Interpreter tab, select MicroPython (Raspberry Pi Pico) as the interpreter.
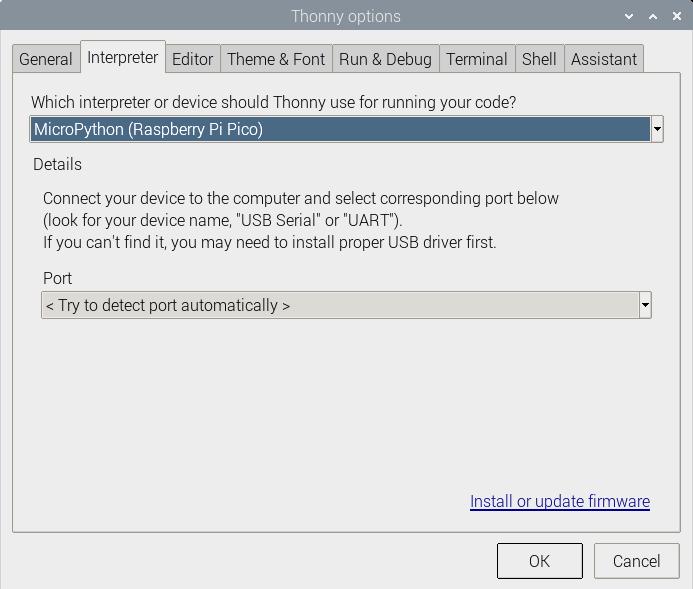
In the same window, make sure to select the option to have Thonny automatically detect the COM port for the board: Port > < Try to detect port automatically >
tty(AMA0 (/dev/ttyAMA0).
Hello World!
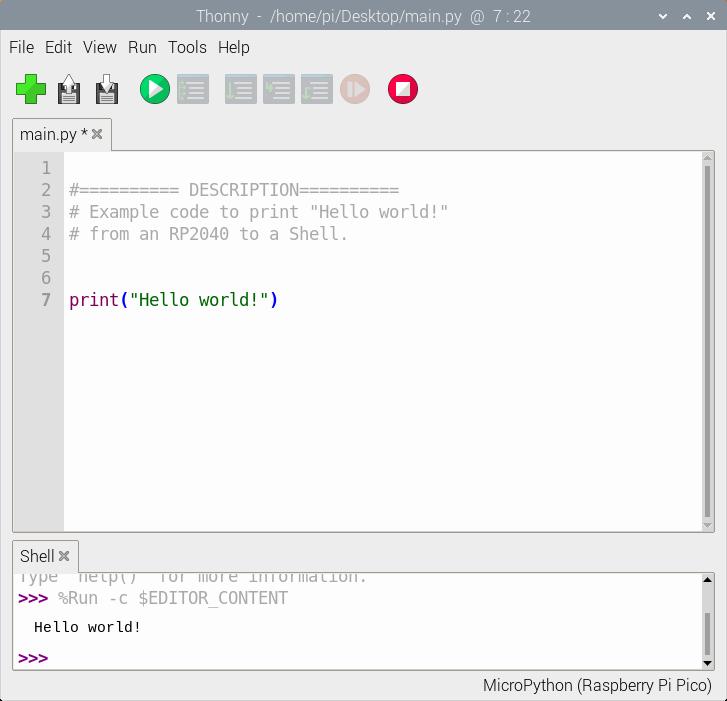
To check if this is working open the Thonny IDE, type the following into the editor. Feel free to adjust the message to whatever you prefer.
language:python
print("Hello world!")
Hit the "Run current script" button. In the Shell, you will see the following output. Sweet!
language:bash
>>> %Run -c %EDITOR_CONTENT
Hello world!

When a window pops up, select Raspberry Pi Pico.
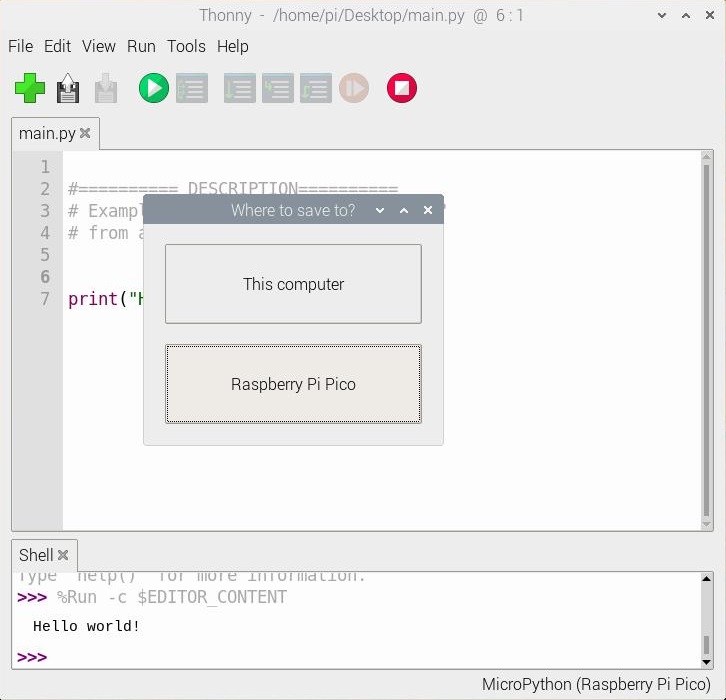
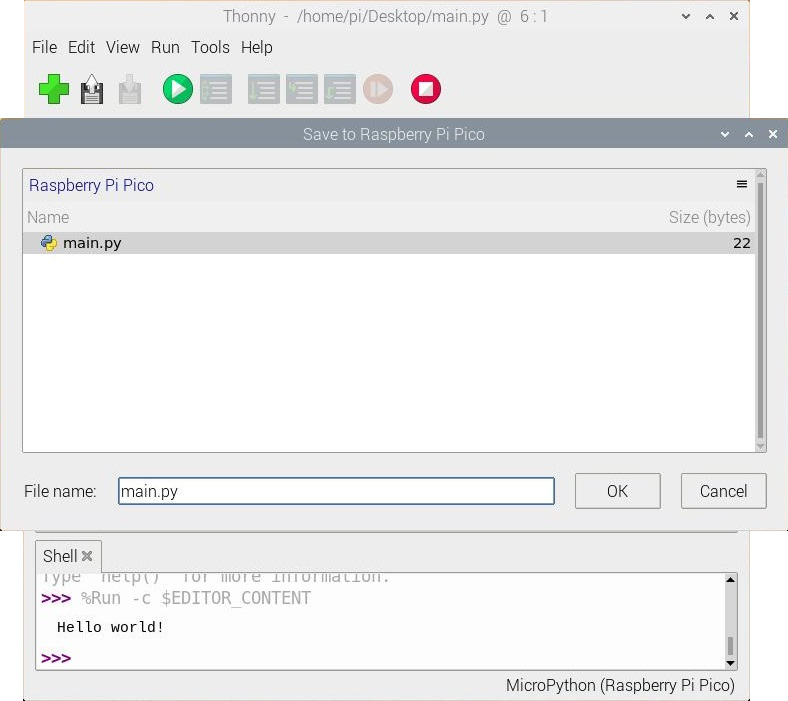
Then save the file as main.py
Just make sure to save any code that was edited on your computer (e.g. Save as... > This computer) before closing Thonny.

Blink
If you have the MicroPython examples saved, head to the following folder in your downloads .../pico-micropython-examples/blink/blink.py . Your code should look like the following. Of course, you can also copy and paste the code provided after the next paragraph as well.
language:python
# ========== DESCRIPTION==========
# The following code was originally written by
# the Raspberry Pi Foundation. You can find this
# example on GitHub.
#
#     https://github.com/raspberrypi/pico-micropython-examples/blob/master/blink/blink.py

from machine import Pin, Timer

led = Pin(25, Pin.OUT)
tim = Timer()
def tick(timer):
    global led
    led.toggle()

tim.init(freq=2.5, mode=Timer.PERIODIC, callback=tick)
Hit the "Run current script" button. Once the code runs, you will see the LED blink. If you want the board to run blink every time the board is powered up, just follow the note provided at the end the previous example.