MicroMod RP2040 Processor Board Hookup Guide
Contributors:
 bboyho
Hardware Assembly
If you have not already, make sure to check out the Getting Started with MicroMod: Hardware Hookup for information on inserting your Processor Board into your Carrier Board.
Getting Started with MicroMod
Dive into the world of MicroMod - a compact interface to connect a microcontroller to various peripherals via the M.2 Connector!
Note: While the MicroMod RP2040 Processor Board is designed to mate with M.2 Connectors that are populated on Carrier Boards, the RP2040 is not compatible specifically with the Machine Learning Carrier Board.
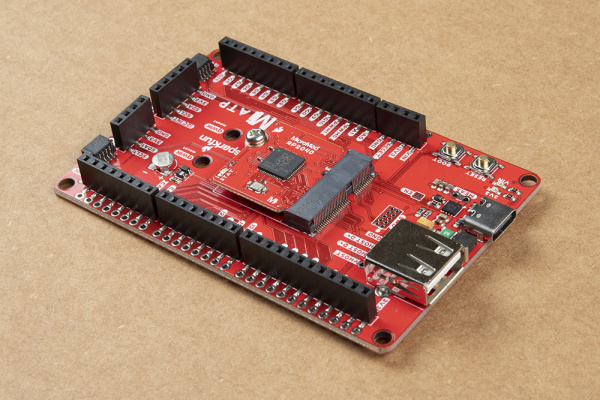
For simplicity, we'll be using the MicroMod ATP Carrier Board to program the board. At a minimum, your setup may look like the image below with the MicroMod RP2040 Processor Board.
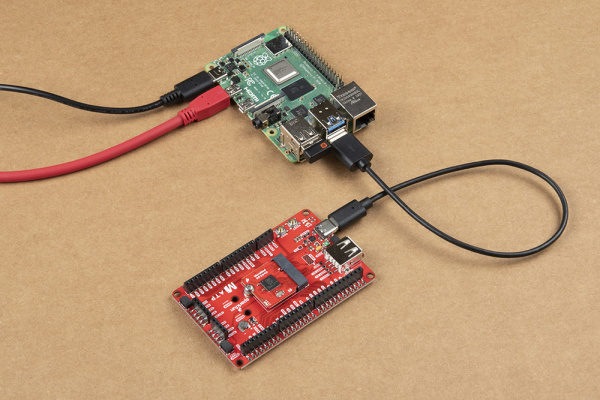
To program, you'll need a computer and a USB-C cable inserted into the MicroMod ATP Carrier Board. In this tutorial, we will use a Raspberry Pi.
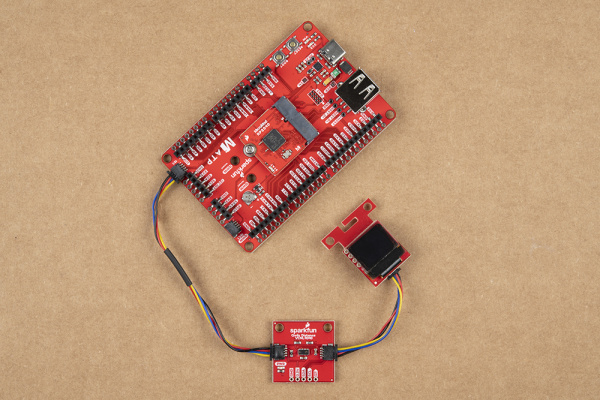
Qwiic-Enabled Device
If you decide to use a Qwiic device (because why not?!), simply insert a Qwiic cable between the two connectors. Note that not all Qwiic enabled devices have a MicroPython driver yet.


