MicroMod nRF52840 Processor Hookup Guide
 El Duderino, MAKIN-STUFF
Arduino Example: Blink
With the SparkFun MicroMod nRF52840 Processor Board Definitions added to the Arduino nRF528X mbed core, let's do some quick code examples to make sure everything went correctly during the Arduino Software Setup.
Selecting and Loading Blink
We'll start off with a basic Blink example to turn the STAT LED on and off just to make sure everything is working properly and your Processor can accept code.
Open up the Arduino IDE and select the "Blink" example by navigating to "File > Examples > 01.Basics > Blink" or by copying the code below into a blank sketch:
language:c
// the setup function runs once when you press reset or power the board
void setup() {
  // initialize digital pin LED_BUILTIN as an output.
  pinMode(LED_BUILTIN, OUTPUT);
}

// the loop function runs over and over again forever
void loop() {
  digitalWrite(LED_BUILTIN, HIGH);   // turn the LED on (HIGH is the voltage level)
  delay(1000);                       // wait for a second
  digitalWrite(LED_BUILTIN, LOW);    // turn the LED off by making the voltage LOW
  delay(1000);                       // wait for a second
}
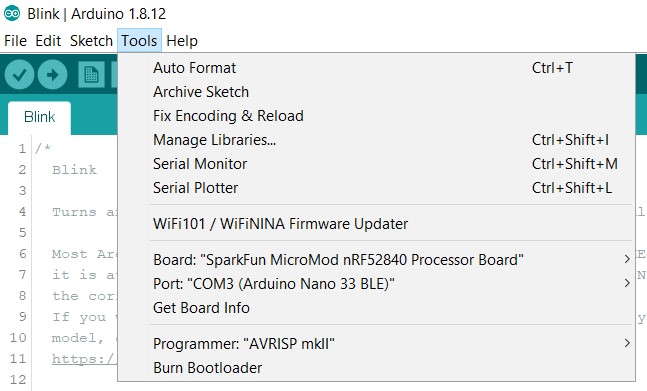
With the example opened, select your Board (SparkFun MicroMod nRF52840 Processor Board) and Port using the Tools > Board and Tools > Port menus and click the "Upload" button. Barring any issues during compilation and upload, the STAT LED on your nRF52840 Processor should be blinking on and off every second.