MicroMod Main Board Hookup Guide
 bboyho,
  Elias The Sparkiest
Hardware Hookup
If you have not already, make sure to check out the Getting Started with MicroMod: Hardware Hookup for information on inserting your Processor and Function Boards to the Main Board.
Getting Started with MicroMod
USB
To program and power the Main Board, you will need to insert the USB-C cable into the USB connector. We will leave the other end disconnected when connecting a Processor or Function board to the Main Board.
When the boards are secure, insert the other end to a computer. When you are finished programming the processor, you can use a USB battery via the USB connector or LiPo battery via the JST connector to power the board.
Processor Board
Align the Processor Board's key into its M.2 connector's socket. Insert the board at an angle (~25°), push down, and tighten the screw. In this case, we had the MicroMod Artemis Processor Board secured in the M.2 connector socket. Depending on your application, you may have a different Processor Board.
Function Boards
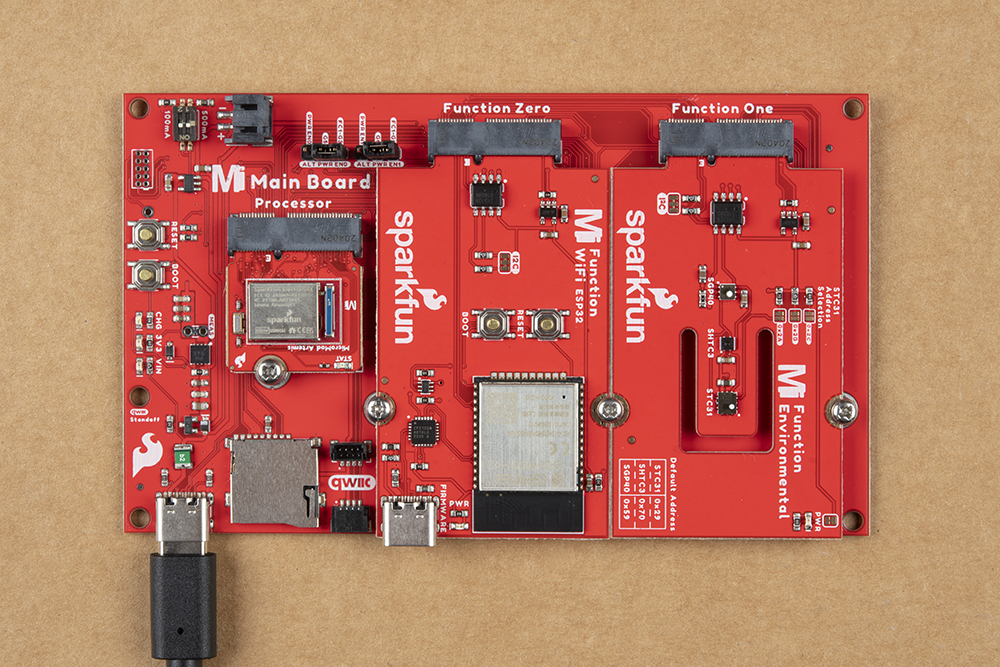
Align the Function Board's key into its M.2 connector's socket. Insert the board at an angle (~25°), push down, and tighten one of the screw to hold the board down. Attach the second screw on the other side of the board. Once the board is aligned, tighten both screws fully to secure the board. In this case, we had the Environmental Function Board secured in the M.2 connector socket. Depending on your application, you may have a different Function Board.

If you decide to have two function boards attached to the Main Board - Double, we recommend tightening the screw between the two Function Boards first to hold them down before attaching the remaining screws on either side of the Function Boards. In this case, we had the WiFi Function Board and the Environmental Function Board secured in the M.2 connector socket. Depending on your application, you may have different function boards.
Single Cell LiPo Battery
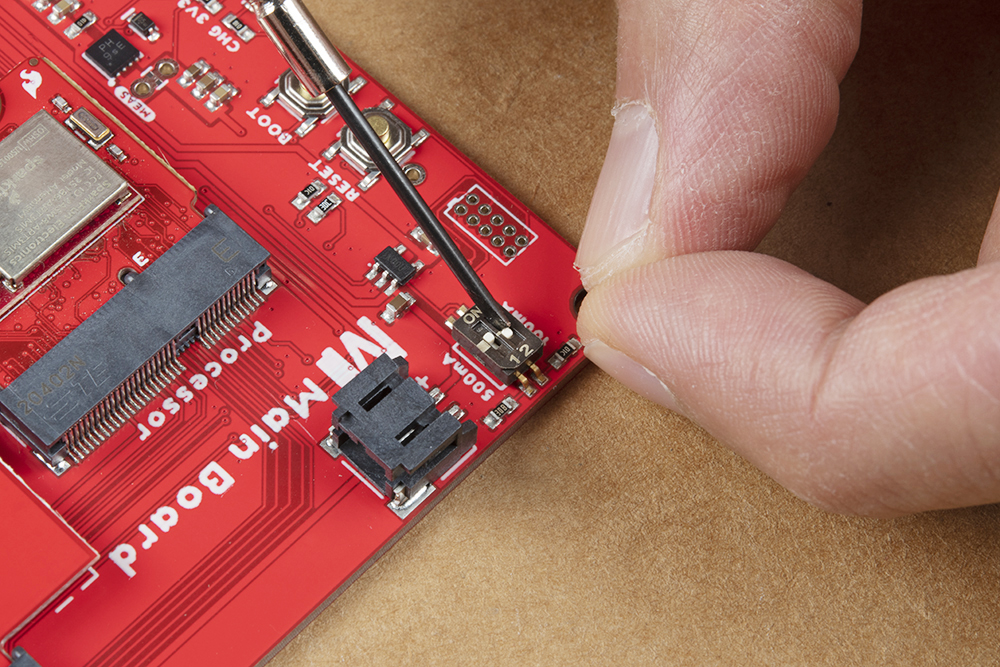
A precision flat head (or a tiny, rounded object) is needed to set the charge rate for your single cell LiPo battery. When the switch is flipped to the ON position on the 500mA side, the charge rate will be 500mA. When the switch is flipped to the ON position on the 100mA side, the charge rate will be 100mA. When the switch is flipped to the ON position on both the 100mA and 500mA sides, the charge rate will be 166mA.
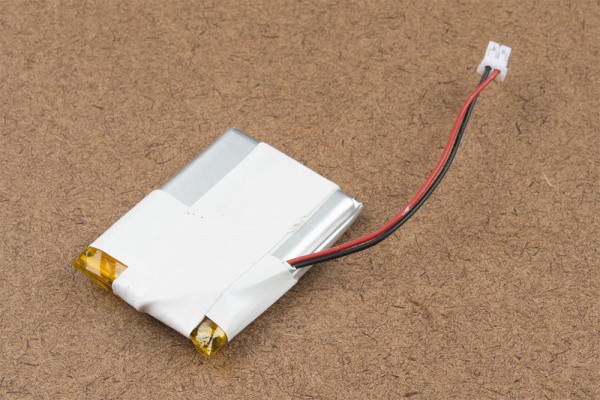
For mobile applications, attach a single cell LiPo battery to the 2-pin JST connector. Attach a USB cable to a USB port or charger when the battery is low to begin charging.
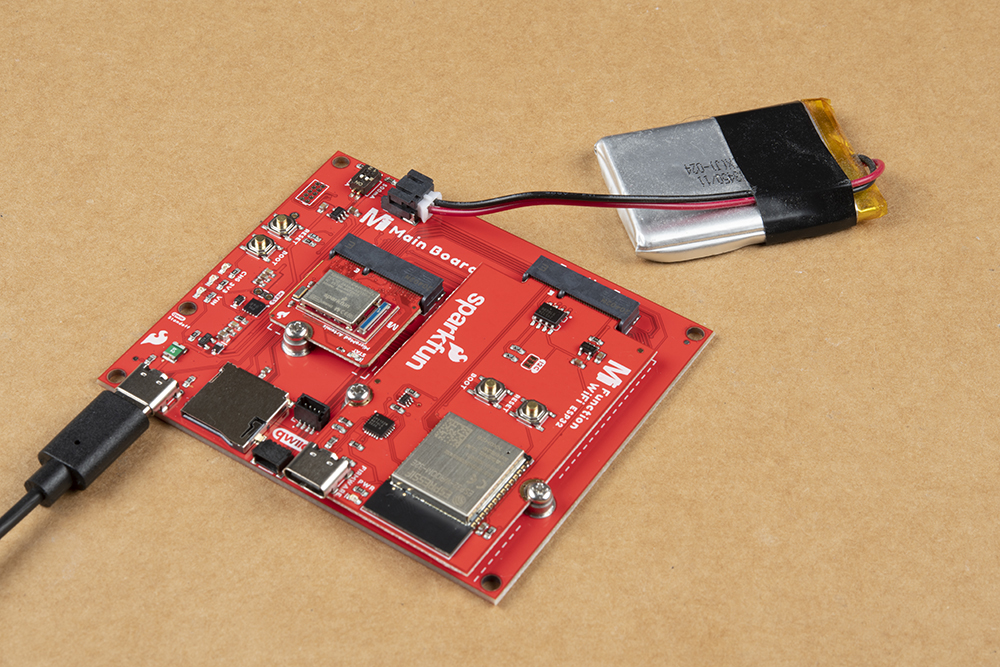
To remove the LiPo battery, you can pull the white JST connector away from the socket while also wiggling the connector side to side using your thumb and index finger.
Qwiic-Enabled Devices
To Qwiic-ly connect I2C devices, simply insert a Qwiic cable between one of the MicroMod Main Board's Qwiic ports and your Qwiic device.
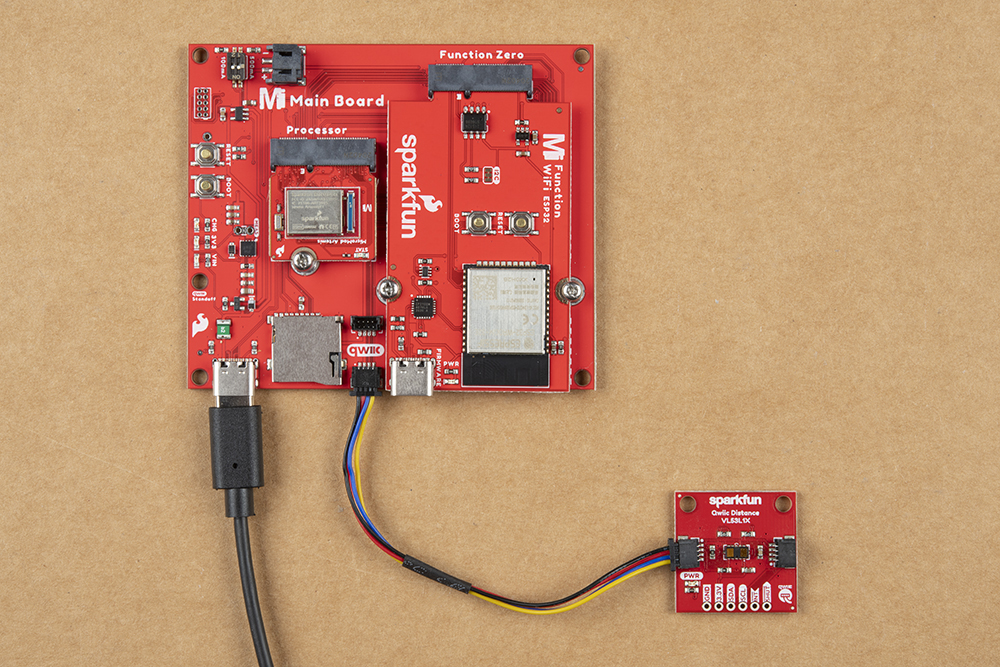
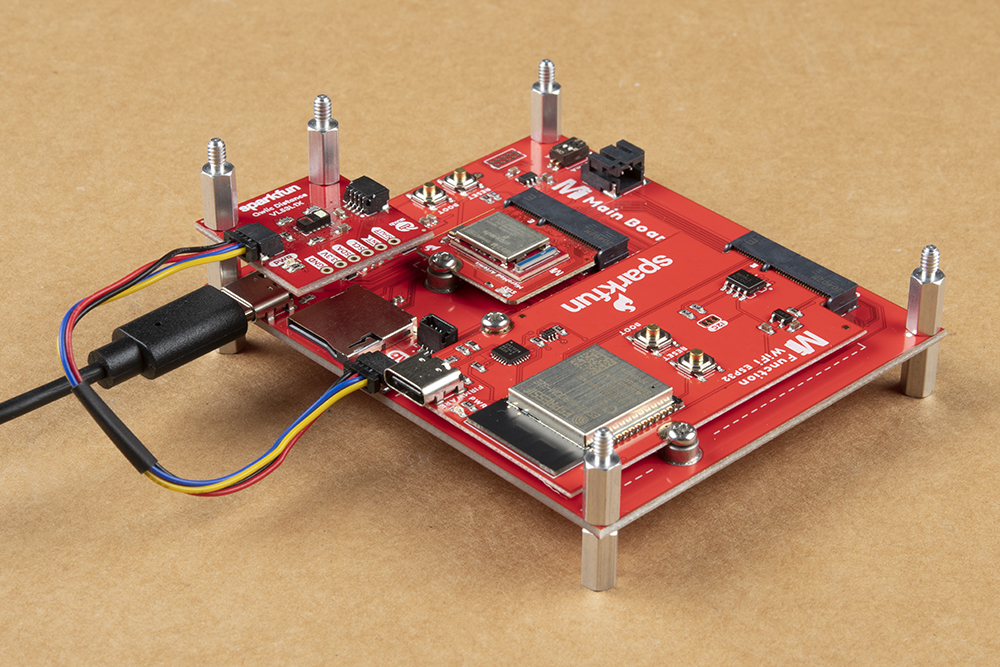
If you need to mount a Qwiic-enabled board to the MicroMod Main Board, you can grab some standoffs and mount a standard Qwiic 1.0"x1.0" sized board using the two mounting holes near the USB Type C connector. Place the standoff between the boards and tighten the screws to mount. The image below used standoffs with built-in threads.
MicroSD Card
With power removed from the board, insert a microSD card (with the pins facing toward the board) into the socket. You'll hear a nice click indicating that the microSD card is locked in place.
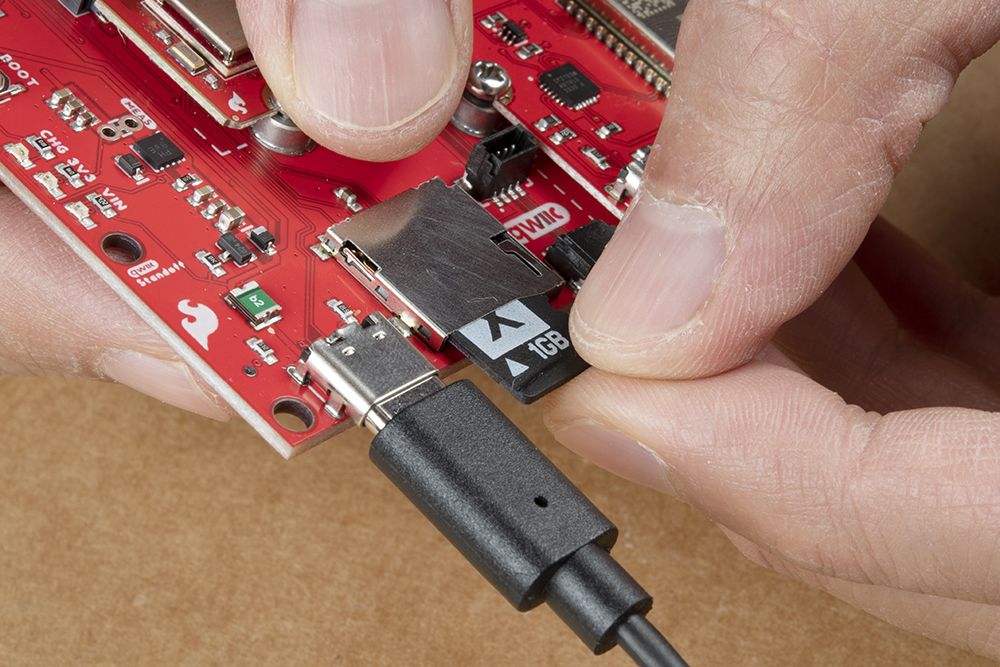
To remove, make sure power is off and press the microSD card into the socket to eject. You'll hear a nice click indicating that the card is ready to be removed from the socket.