MicroMod Artemis Processor Board Hookup Guide
 Nate, Ell C
Hardware Hookup
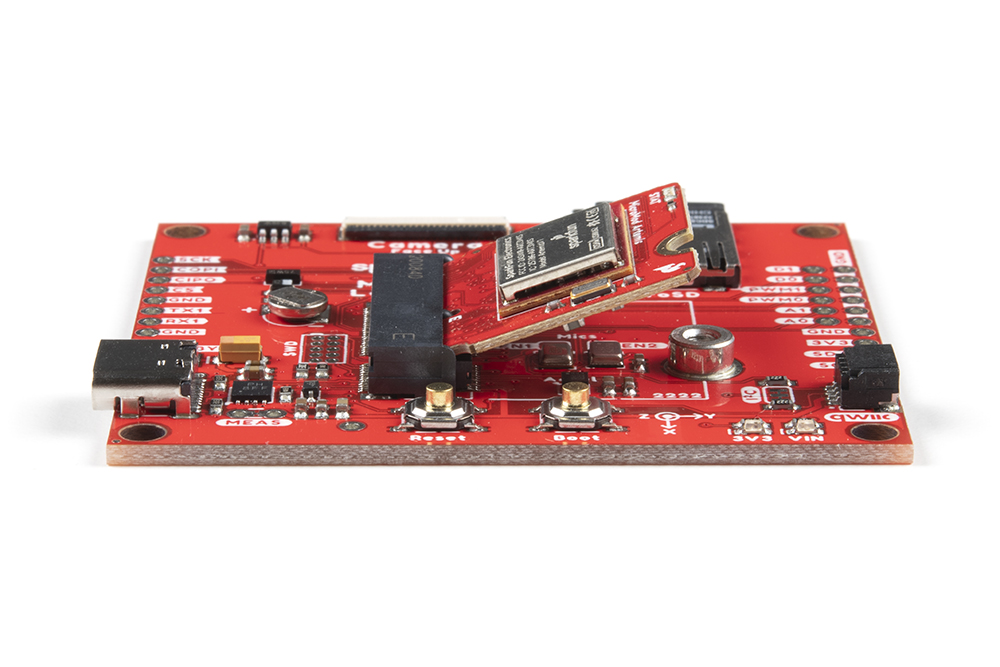
To get started with the Artemis MicroMod Processor Board, you'll need a carrier board. Here we are using the Machine Learning Carrier Board. Align the top key of the MicroMod Artemis Processor Board to the screw terminal of the Machine Learning Carrier Board and angle the board into the socket. Insert the board at an angle into the M.2 connector.

The Processor Board will stick up at an angle, as seen here:
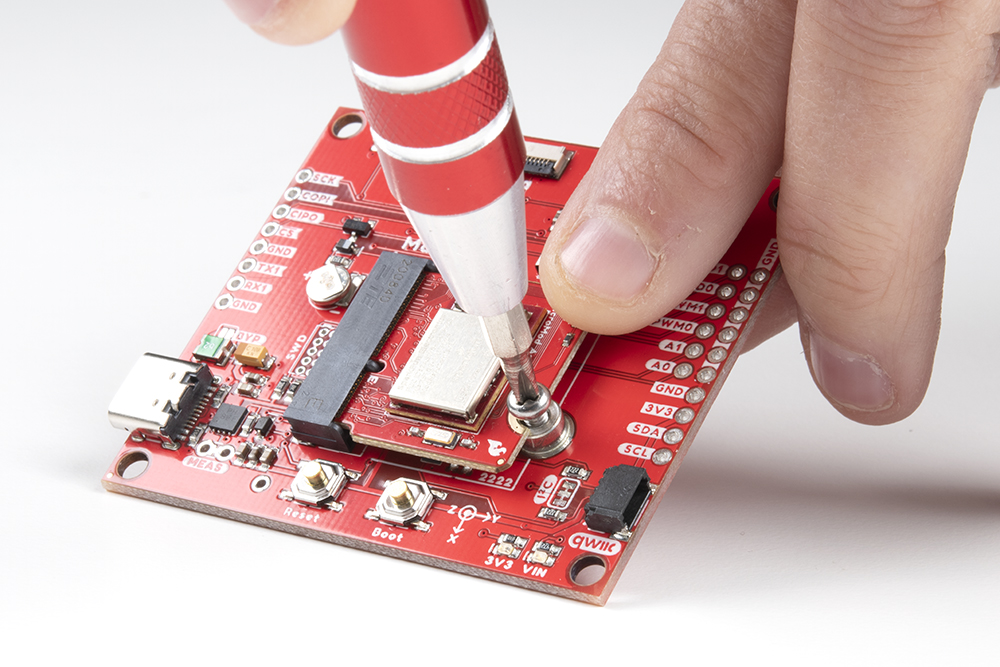
Once the board is in the socket, gently push the MicroMod Processor Board down and tighten the screw with a Phillip's head.
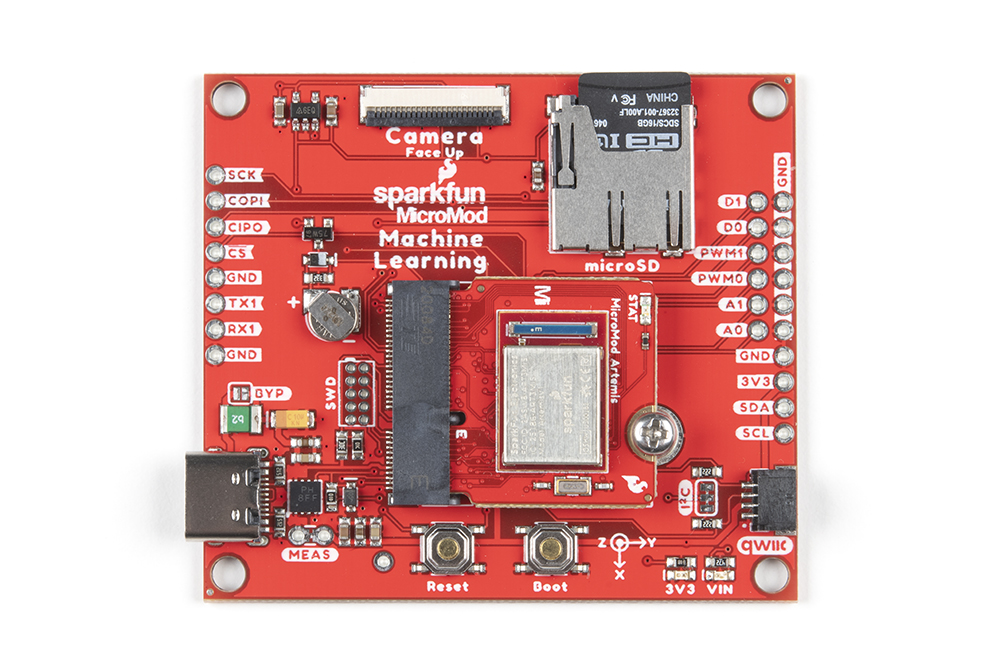
Once the board is secure, your assembled MicroMod system should look similar to the image below!
Connecting Everything Up
With your processor inserted and secured it's time to connect your carrier board to your computer using the USB-C connector on the Carrier. Depending on which carrier you choose and which drivers you already have installed, you may need to install drivers.