LumiDrive Hookup Guide
 Elias The Sparkiest
Hardware Assembly
Hardware assembly is straight forward. Let's start by plugging your LED strand into the poke-home connectors. Finer control can be achieved by using a pair of tweezers or the tip of a pen to press in the flap on the topside of the poke-home connector. Here we've opted for tweezers since that's what we had handy.
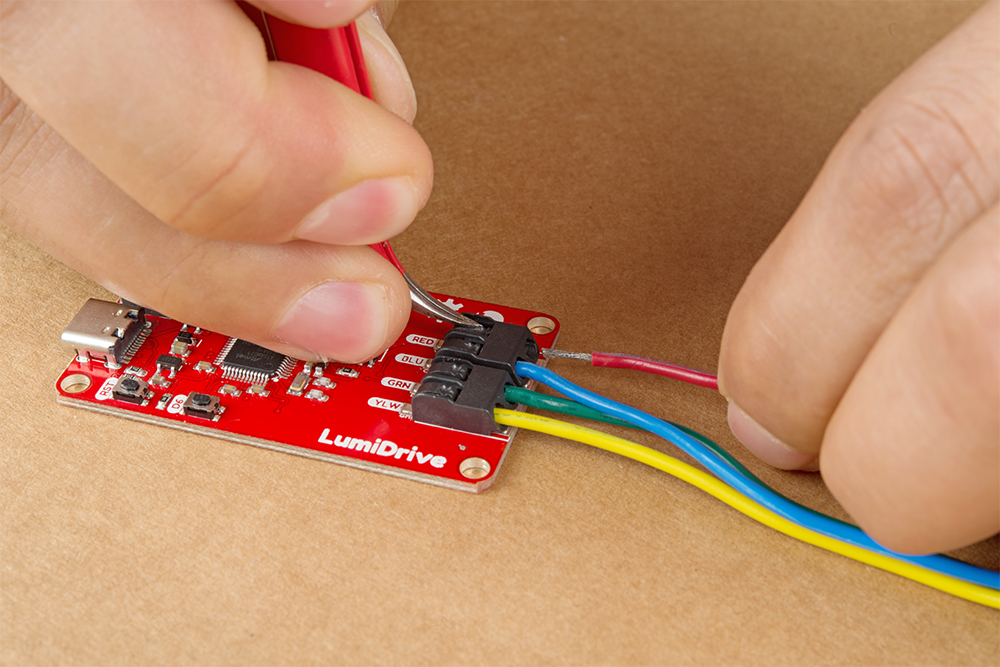
When you press onto the black flap on the top of the poke-home connector, two metal wedges move laterally - to the sides of the product- inside the connector. Push your wire into the poke-home connector. When you release it, the two wedges will clamp down onto the wire. Give them a slight tug to make sure the wires are in there solid. You're ready to rock!

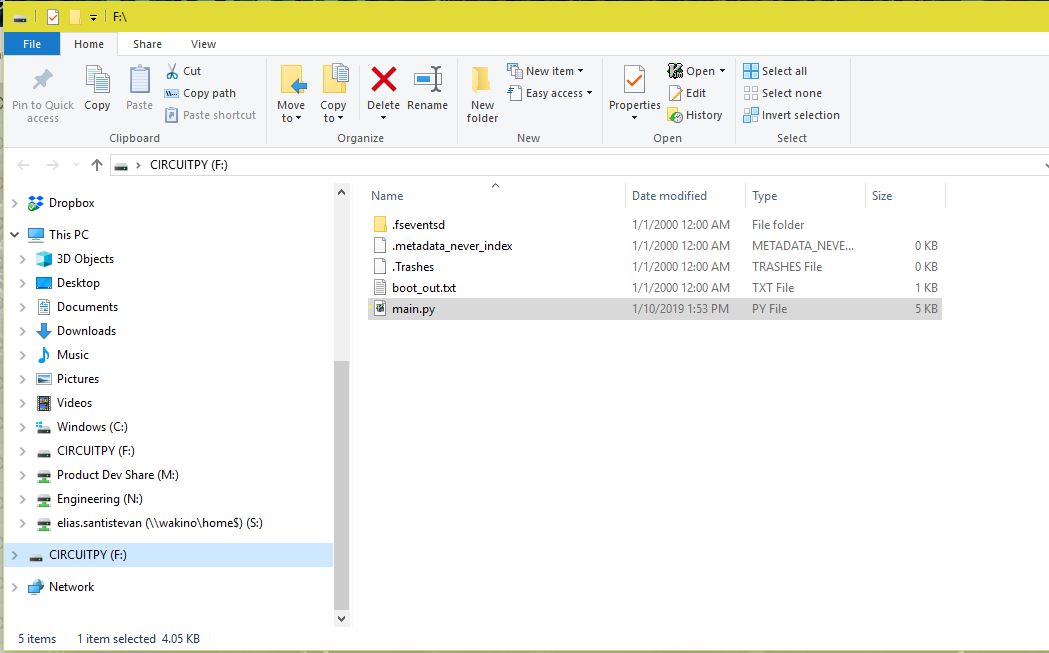
Plug your LumiDrive into your computer with the USB-C connector. It should pop up automatically as a hard drive called CIRCUITPY. If it doesn't pop up automatically, unplug it and plug it back in. If that doesn't work, navigate to your files folder and look for CIRCUITPY on the left hand side and give it a click. At this point the blue stat LED on the LumiDrive should be blinking. From here you can open up that CIRCUITPY by clicking on it.
Let's move onto the example code.