LilyPad Development Board Hookup Guide
 jimblom,
  Gella
Gella 
Uploading Code
You will need to perform the below three steps every time you want to program the board. These three steps are:
2. Select "LilyPad Arduino" from Arduino's "Board" menu.
3. Select "ATmega328" from Arduino's "Processor" menu.
4. Select the serial port the LilyPad is connected to from Arduino's "Port" menu.
Let's go over the three steps in detail:
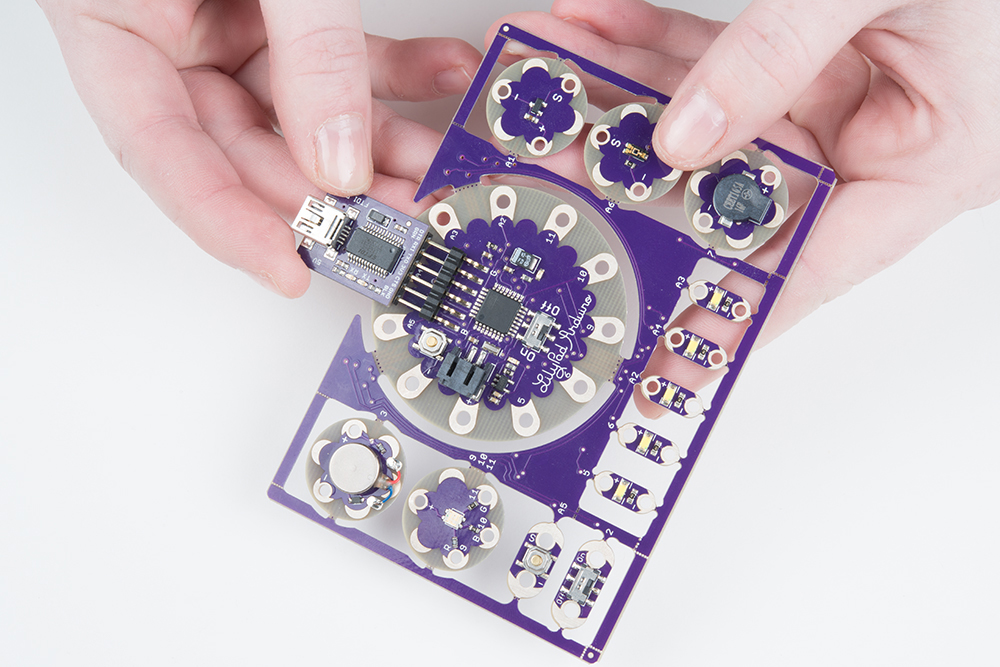
1. Connect the LilyPad Development Board to Your Computer
Place the LilyPad Development Board on a clean, non-metal work surface. Connect the LilyPad FTDI Board to the headers on the LilyPad Arduino Simple at the center of the Development Board.
Connect the other side of the FTDI board to a mini-B USB cable.The cable can only be inserted one way, and should snap in securely.
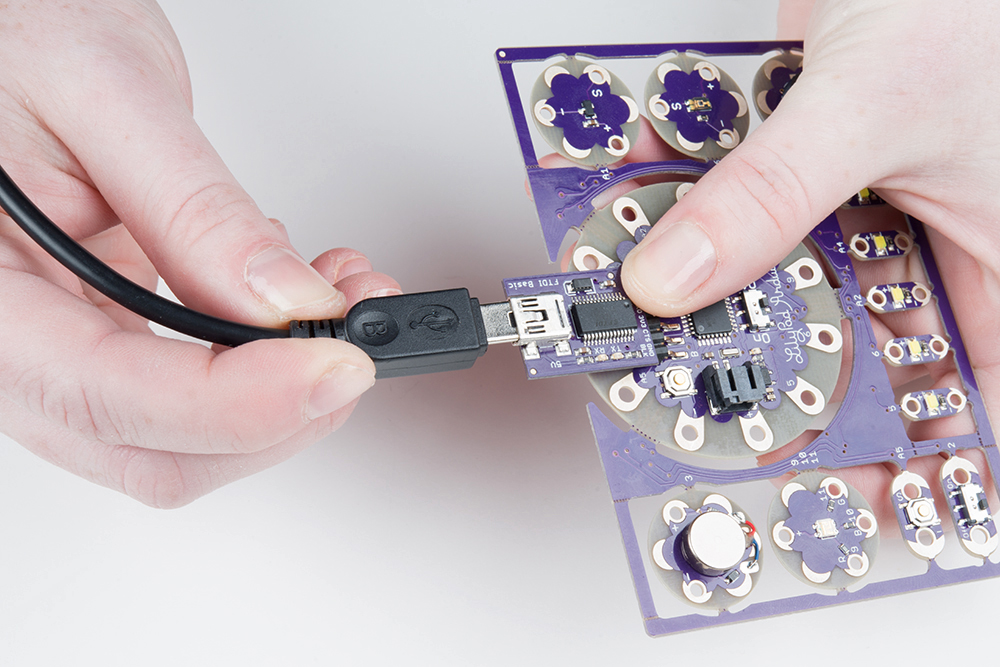
Then connect the other end of the USB cable to a USB port on your computer.

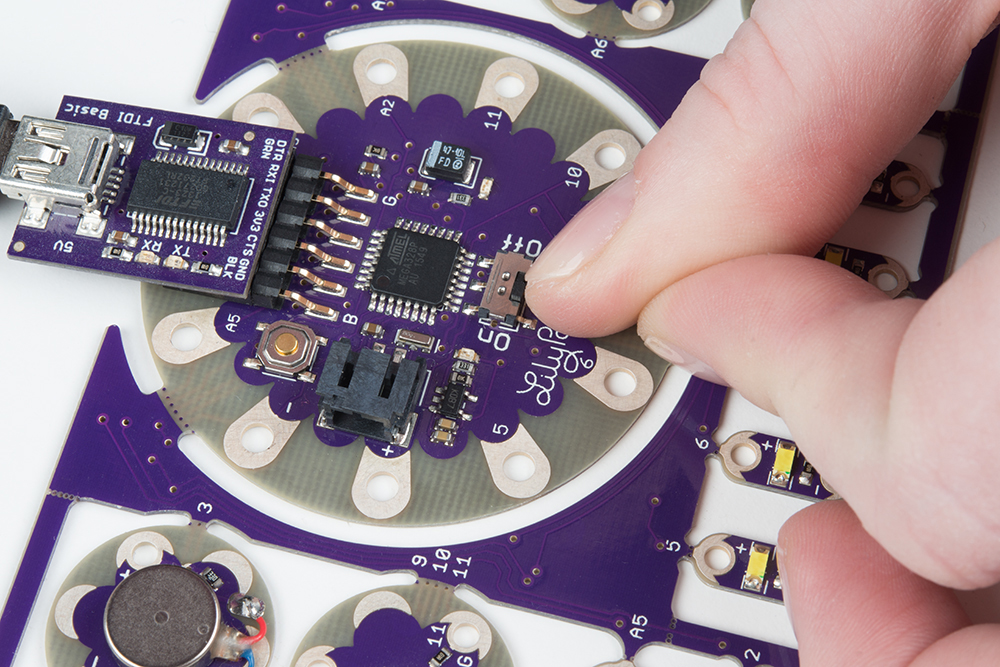
Slide the switch on the LilyPad Arduino to the ON position. You will not be able to upload code to the board if it is set to the OFF position.
2. Select LilyPad Arduino from the Board Menu
To program the LilyPad Arduino Simple at the center of the LilyPad Development Board, open the Tools > Board list and select LilyPad Arduino. A dot (Windows) or check mark (Mac) will show next to the board in the menu when it is selected, and it will show next to Board in the Tools menu.
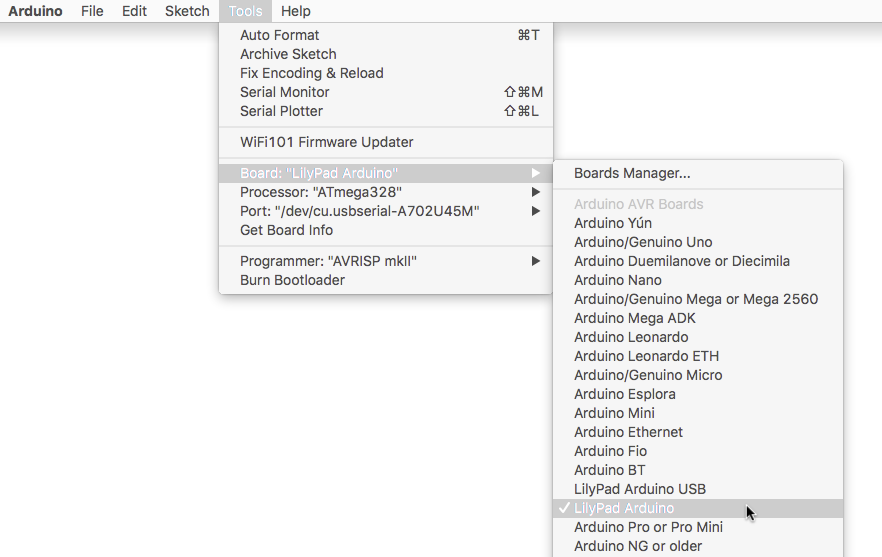
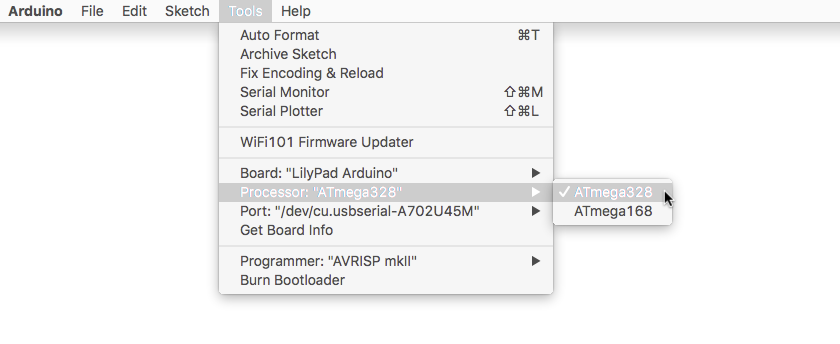
3. Select ATmega328 from the Processor Menu
After selecting the LilyPad Arduino, there will be two options available in the next menu down labeled Processor. Select ATmega328 for your LilyPad Arduino.
4. Select Port from the Port Menu
Arduino needs to know which port your LilyPad Arduino is attached to so it can program it. Whenever you plug a USB device into your computer, your computer will assign it a port number. Go to the Tools > Port menu, and select the port that has the LilyPad Arduino attached to it.
On Windows ports are listed as COM##; on a Mac or Linux machine they will be "/dev/cu.usbmodem####". Your screen may look different than the image below, depending on what operating system you are using.

Upload Blink
In the world of embedded electronics, every good development platform has to have an LED, and the first test program to be run on any development platform is almost always the blinking of an LED. So let's blink that little LED on the LilyPad Simple Arduino board.
To review, once you've:
- Connected the LilyPad Development Board to your computer using the FTDI and USB cable.
- Selected the board type ("LilyPad Arduino" as the board and ATmega328 as the processor).
- Selected the COM port from the "Port" menu.
You are ready to upload code! Let's upload some code to try it out.
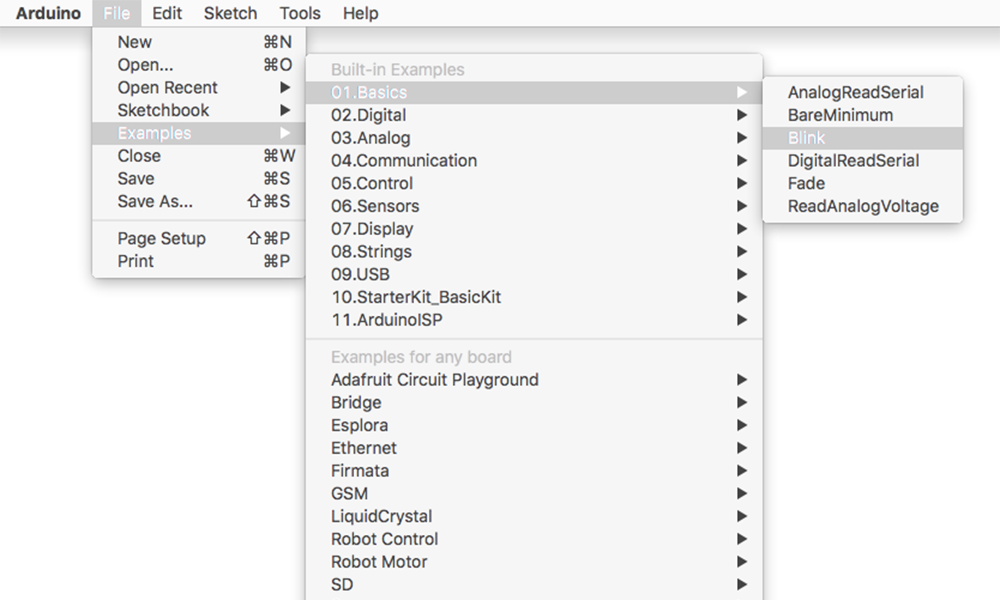
Load the "Blink" example from the menu File > Examples > 01.Basics > Blink, and click the "Upload" button (the large round button with the right arrow in it). This is a very simple example program; it just blinks a LED on and off once per second.
Arduino will compile the code, then send it to the LilyPad Arduino Simple via the USB cable. While the code is uploading, the built-in LED will blink to signal the code is transferring. When the code finally runs, the LED at the center of the board will slowly blink green. Success!
If this all works, congratulations! You're all set up and ready to prototype with the LilyPad Development Board.
Default Example Code
If you are interested in re-uploading the default example code that you explored earlier, it is available in the product GitHub repository and in the download button shown below.
Beyond the Blinking
Well, we've just opened an enormous can of worms, and you've taken your first step into the life-consuming world of Arduino. From here, you may want to explore some of Arduino's other example sketches. There's one for the button (File > Examples > 2.Digital > Button), or you could fade those RGB LEDs (File > Examples > 1.Basics > Fade), or you could play a song on the buzzer (File > Examples > 2.Digital > toneMelody), or maybe try adapting the AnalogInOutSerial sketch (File > Examples > 3.Analog > AnalogInOutSerial) to the temperature and light sensors. Just make sure you change the pins to their proper mapping on the LilyPad Development Board!

You can also check out the LilyPad Development Board Activity Guide: