LilyPad Buzzer Hookup Guide
Introduction
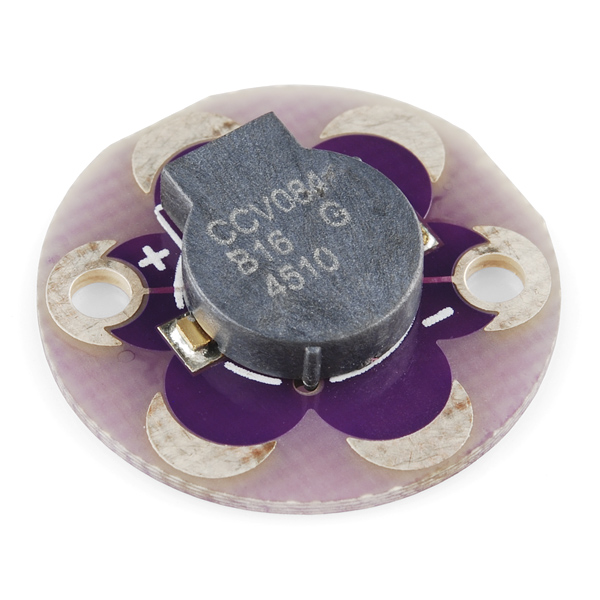
The LilyPad Buzzer lets you create different noises using code when attached to a LilyPad Arduino. Send the buzzer a series of tones, and you can make musical melodies, special effect sounds, alarms, and more. This buzzer isn't very loud, but will be audible in close range to your projects. In this tutorial, we'll demonstrate how to hook up to a LilyPad Arduino and how to use the tone() function in Arduino to make sounds.
The LilyPad Buzzer is different than a speaker that plays audio, if you are looking to make a project that loads and plays music, we recommend the LilyPad MP3.
To follow along with the code examples, we recommend:
Suggested Reading
To add this component to a project, you should be comfortable sewing with conductive thread and uploading code to your LilyPad Arduino. Here are some tutorials to review before working with the buzzer:
Attaching to a LilyPad Arduino
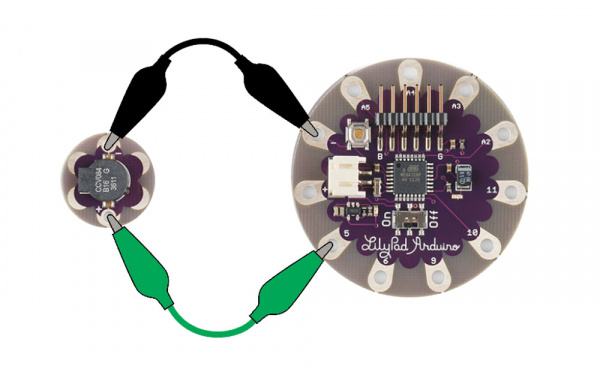
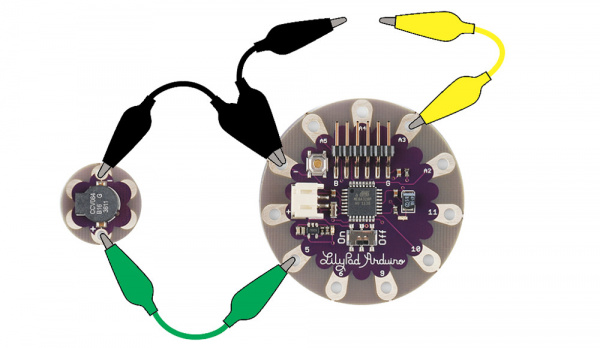
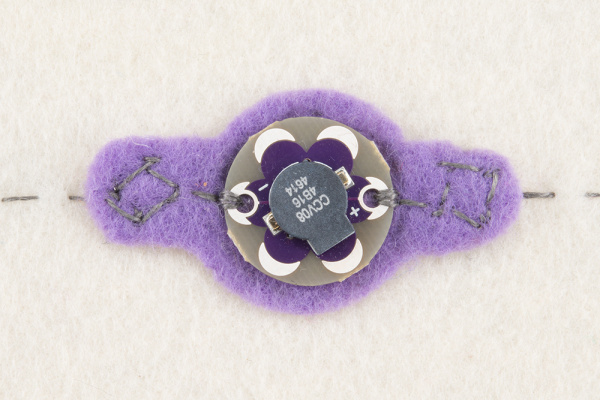
The LilyPad Buzzer has two sew tabs: Power (+) and Ground (-). Connect + to any digital I/O pin on a LilyPad Arduino and - to the - pin on the Arduino. To follow along with the code examples in this tutorial, connect the buzzer to a LilyPad Arduino as shown below. Alligator clips are useful for making temporary connections while prototyping until you are ready to sew the board into a project. When you are finished prototyping, replace the alligator clips with conductive thread traces.
If using the LilyPad Arduino USB, connect to Pin 2.
Making Sounds
Inside the buzzer is a coil of wire and a small magnet. When current flows through this coil, it becomes magnetized and pulls towards the magnet, which makes a tiny "click". When done thousands of times per second, the clicks create tones. We can use commands in Arduino to click the buzzer at specific frequencies, which we hear as different pitches. To create a musical note, we'll need two things: a pitch and a duration.
We can also program the duration of a tone - the length of time a pitch is played. In our program, we’ll use the delay function to set the duration. Playing a tone with Arduino is very easy. Just give it a pitch, and it will start toggling the output pin for you. Much like analog output, you can set it and forget it; the tone won’t stop playing until you tell it to.
- excerpt from The Digital Sandbox Arduino Companion
Playing Notes
Don't forget to select the Serial Port that your LilyPad is connected to.
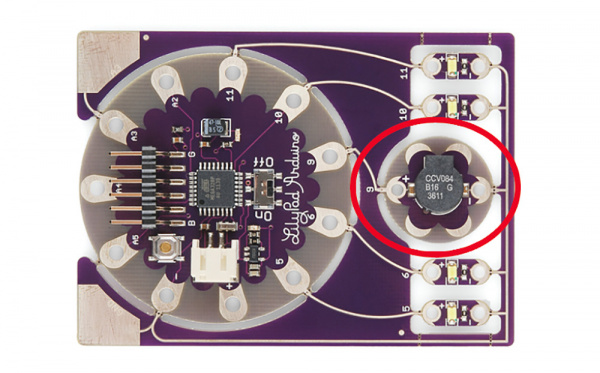
If prototyping with a LilyPad Development Board Simple, change buzzerPin to 9.
If prototyping with a LilyPad Development Board, change buzzerPin to 7.
Note: This example assumes you are using the latest version of the Arduino IDE on your desktop. If this is your first time using Arduino, please review our tutorial on installing the Arduino IDE.
If you have not previously installed an Arduino library, please check out our installation guide.language:c
/******************************************************************************
LilyPad Buzzer Example
SparkFun Electronics
This example code shows how to hook up a LilyPad Buzzer to play a simple song
using the tone() function and setting variables for each note.
Buzzer connections:
* + pin to 5
* - to -
******************************************************************************/
// Which pin the buzzer is attached to
int buzzerPin = 5;
// Delay in milliseconds
int delayTime = 500;
// Notes and their frequencies
const int C = 1046;
const int D = 1175;
const int E = 1319;
const int F = 1397;
const int G = 1568;
const int A = 1760;
const int B = 1976;
const int C1 = 2093;
const int D1 = 2349;
void setup()
{
// Set the buzzer pin as an OUTPUT
pinMode(buzzerPin, OUTPUT);
}
void loop()
{
// Use the tone() function to play each note in a scale
tone(buzzerPin, C);
delay(delayTime);
tone(buzzerPin, D);
delay(delayTime);
tone(buzzerPin, E);
delay(delayTime);
tone(buzzerPin, F);
delay(delayTime);
tone(buzzerPin, G);
delay(delayTime);
tone(buzzerPin, A);
delay(delayTime);
tone(buzzerPin, B);
delay(delayTime);
tone(buzzerPin, C1);
delay(delayTime);
// Use noTone() to shut off the buzzer and delay to create a 'rest'
noTone(buzzerPin);
delay(delayTime);
}
Upload this code to your LilyPad Arduino and listen - the code plays a scale. To make the notes, we give the tone function two pieces of information - the pin the buzzer is attached to and the frequency we want to play -tone(pin, frequency). To make a note last a certain amount of time, we use a delay() in between notes. At the top of the sketch we created variables for musical notes with the frequency in hertz. To make a pause or rest, we can use the noTone() function followed by a delay.
Try using the tone() and noTone() functions to compose a simple song. One drawback of this code is that the sounds never stop. Next we'll learn how to trigger sounds with an input so they are not constantly playing.
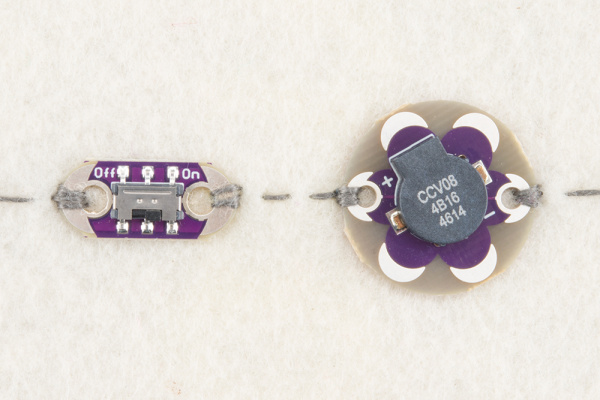
When prototyping with the buzzer, sounds can get quite annoying, especially in large groups. Rather than unplugging or powering down your LilyPad Arduino to stop the sounds, we recommend unclipping an alligator clip from one side of the buzzer to quickly quiet it. For projects sewn together with conductive thread, stitch a LilyPad Slide Switch between the LilyPad Arduino pin and the positive side of the buzzer as a way to quickly toggle the sound ON/OFF while letting the rest of the code run.
Triggering Sounds
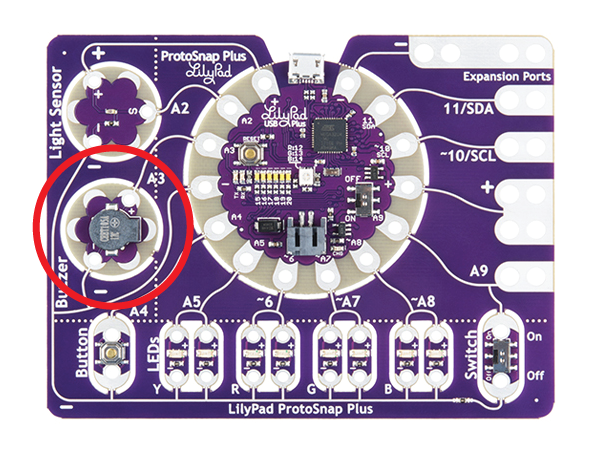
For this example, we'll make the song play only after a trigger is pressed. We can use alligator clips to make a quick and easy switch, or hook up a LilyPad Button or home-made button to the LilyPad Arduino. For LilyPad Development Board users, a button is pre-wired to pin A5.
Here we'll use an if() statement to check if the button is pressed. If yes, we'll call a function we created to play a song, and if not noTone() will keep the buzzer from making noise. To keep the code easier to read/more organized, we've created a function to hold the song we're composing called playSong(). We've also added an additional variable called buttonState to store the readings from the button pin.
language:c
/******************************************************************************

LilyPad Buzzer Example
SparkFun Electronics

This example code shows how use a button (or alligator clips) to trigger sounds
with the LilyPad Buzzer.

Buzzer connections:
   * + pin to 5
   * - to -

Button connections:
   * + pin to A3
   * - to -


******************************************************************************/
// Pin the buzzer is attached to
int buzzerPin = 5;

// Pin the button is attached to
int buttonPin = A3;

// Variable to store the button's state
int buttonState = 0;

// Set a time in milliseconds for all delays
int delayTime = 100;

// Notes
const int C = 1046;
const int D = 1175;
const int E = 1319;
const int F = 1397;
const int G = 1568;
const int A = 1760;
const int B = 1976;
const int C1 = 2093;
const int D1 = 2349;

void setup()
{
    // Set the buzzer pin as an OUTPUT
    pinMode(buzzerPin, OUTPUT);
    //Set the button as INPUT
    pinMode(buttonPin, INPUT_PULLUP);
    // Initialize Serial, set the baud rate to 9600.
    Serial.begin(9600);

}

void loop()
{
  buttonState = digitalRead(buttonPin);
  // Display button press in Serial Monitor
    Serial.print("buttonState is:");
    Serial.println(buttonState);
  // Print the buttonState
  if (buttonState == LOW)
  {
    // Call a function named playSong()
    playSong();
    //Display button press in Serial Monitor
    Serial.println("Button is PRESSED");
  } else
    {
    noTone(buzzerPin);
    //Display button press in Serial Monitor
    Serial.println("Button is NOT PRESSED");
    }
    delay(delayTime);
}

void playSong()
{
  tone(buzzerPin, C);
  delay(delayTime);
  tone(buzzerPin, D);
  delay(delayTime);
  tone(buzzerPin, E);
  delay(delayTime);
  tone(buzzerPin, F);
  delay(delayTime);
  tone(buzzerPin, G);
  delay(delayTime);
  tone(buzzerPin, A);
  delay(delayTime);
  tone(buzzerPin, B);
  delay(delayTime);
  tone(buzzerPin, C1);
  delay(delayTime);
  // Use noTone() to shut off the buzzer and delay to create a 'rest'
  noTone(buzzerPin);
  delay(delayTime);
}
After uploading the code, press the alligator clip connected to the input (buttonPin) to the alligator clip connected to the negative pin on the LilyPad. You should hear a sound play.
We can also take a look at the button press readings in the Serial Monitor. You should begin seeing some values - the first is printing the number in the **buttonState ** variable. If the button is not pressed, the value will show as 1. If pressed, it will read 0. We also print a message saying if the button is pressed or not.
If your button isn't behaving, take a look at a way of debouncing input readings with this tutorial.
Learn more about buttons and switches in our Switch Basics tutorial.
Sewing Into a Project
We mentioned at the beginning of this tutorial that the buzzer isn't washable. Here are some methods for adding the buzzer to a project so it is detachable.
Sewable Snaps
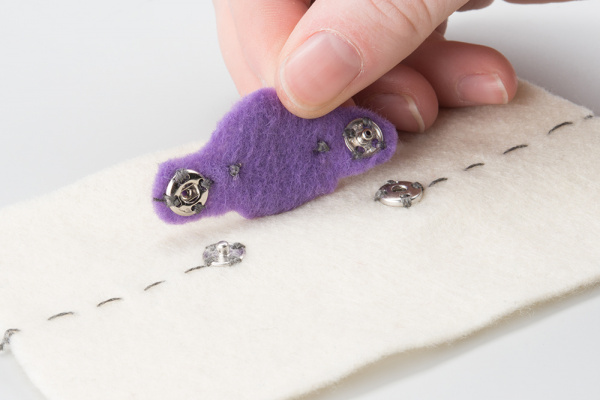
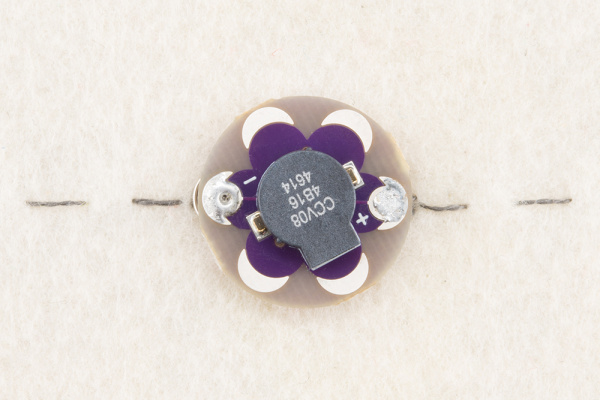
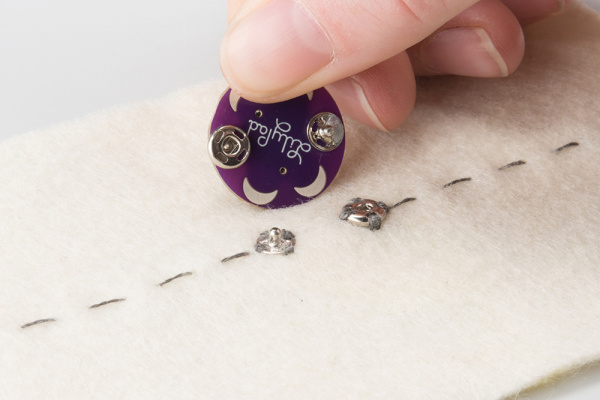
Create a detachable buzzer patch by stitching the buzzer to a small piece of cloth or felt with size 1/0 sewable snaps on either side. You will need two pairs of snaps for this method. We used a male snap attached to the positive side of the buzzer and a female snap on the negative side to avoid accidentally plugging the buzzer in backwards. Stitch the snaps with conductive thread as you would any other LilyPad component (3-4 stitches) for a good electrical connection.
Materials needed:
- Small piece of felt/fabric (at least 1" x 2")
- Small needle
- Conductive thread
- (2) pairs of size 1/0 sew-on snaps
Soldered Snaps
Size 4/0 sew-on snaps are the perfect size for soldering directly to the buzzer's sew tabs. Carefully solder the snaps to the tabs and use conductive thread to sew the mating snaps to the project. You will need to use a small needle to get through the small snap holes.
Materials needed:
- Soldering iron and solder
- Small needle
- Conductive thread
- (2) pairs of size 4/0 sew-on snaps
Adding a Switch
To quickly shut off the sound in your project during debugging (or as an optional feature), we recommend adding a switch in line with the buzzer. Stitch the switch in between the assigned pin on the LilyPad Arduino and the positive tab on the buzzer. This allows the other features of the project project to still function while muting the sound from the buzzer.
Project Examples
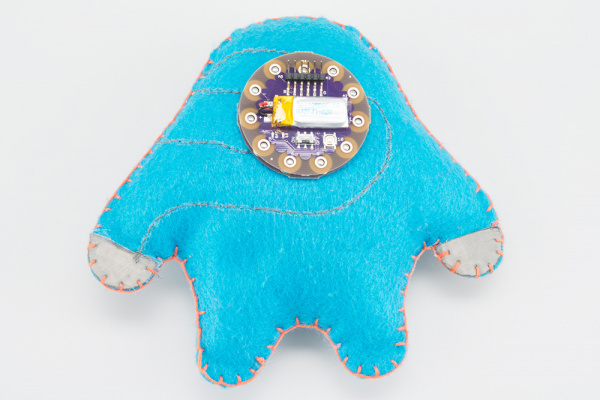
Interactive Stuffed Monster from Sew Electric
This project from Sew Electric is a singing and glowing monster that responds to touch. It uses the LilyPad Buzzer to play a song when you complete a circuit by touching conductive material on the monster's hands. For full project instructions, you'll need a copy of the book.
Fabric Piano from Sew Electric
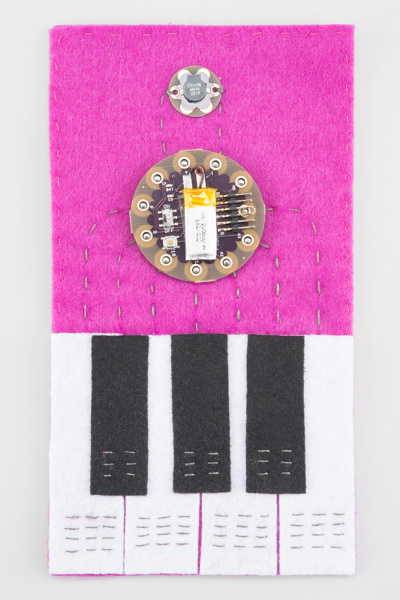
Another project from Sew Electric is soft piano that plays different tones when you press on the keys. It can also be connected to a computer to play music through application for your Mac or PC. For full project instructions, you'll need a copy of the book.
Musical Bracelet
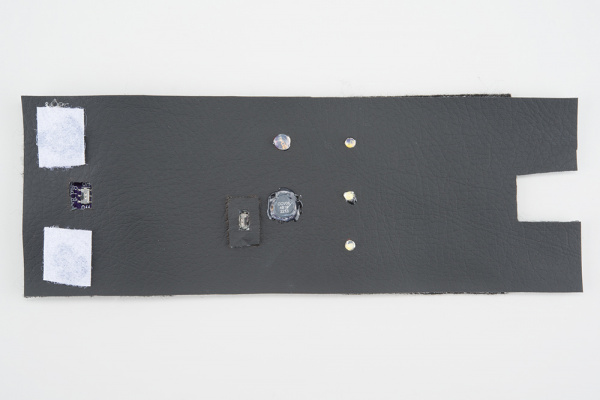
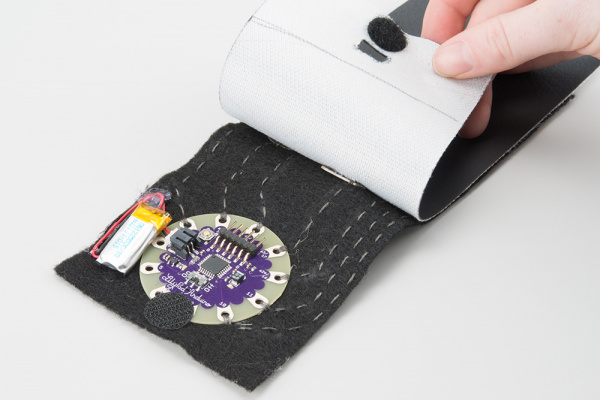
You are not limited to just using a button or a switch to trigger sounds from the buzzer, here's an example of a wearable light-controlled musical instrument or Opto-Theremin. Control tones on the buzzer by covering the LilyPad Light Sensor. This project uses a switch to mute the buzzer when no sound is wanted.
Resources and Going Further
- Play Melody Tutorial - for more complex melodies and timing, check out this tutorial and example code on Arduino.cc
- LilyPad MP3 Player - a sewable MP3 trigger
