LIDAR-Lite v3 Hookup Guide
Contributors:
 Shawn Hymel
Shawn Hymel 
Software
Note: This example assumes you are using the latest version of the Arduino IDE on your desktop. If this is your first time using Arduino, please review our tutorial on installing the Arduino IDE. If you have not previously installed an Arduino library, please check out our installation guide.
Garmin maintains an Arduino library to make working with the LIDAR-Lite very easy. Visit the GitHub repository, or click the button below to download the library.
Open a new Arduino sketch, and copy in the following code:
language:c
/**
 * LIDARLite I2C Example
 * Author: Garmin
 * Modified by: Shawn Hymel (SparkFun Electronics)
 * Date: June 29, 2017
 *
 * Read distance from LIDAR-Lite v3 over I2C
 *
 * See the Operation Manual for wiring diagrams and more information:
 * http://static.garmin.com/pumac/LIDAR_Lite_v3_Operation_Manual_and_Technical_Specifications.pdf
 */

#include <Wire.h>
#include <LIDARLite.h>

// Globals
LIDARLite lidarLite;
int cal_cnt = 0;

void setup()
{
  Serial.begin(9600); // Initialize serial connection to display distance readings

  lidarLite.begin(0, true); // Set configuration to default and I2C to 400 kHz
  lidarLite.configure(0); // Change this number to try out alternate configurations
}

void loop()
{
  int dist;

  // At the beginning of every 100 readings,
  // take a measurement with receiver bias correction
  if ( cal_cnt == 0 ) {
    dist = lidarLite.distance();      // With bias correction
  } else {
    dist = lidarLite.distance(false); // Without bias correction
  }

  // Increment reading counter
  cal_cnt++;
  cal_cnt = cal_cnt % 100;

  // Display distance
  Serial.print(dist);
  Serial.println(" cm");

  delay(10);
}
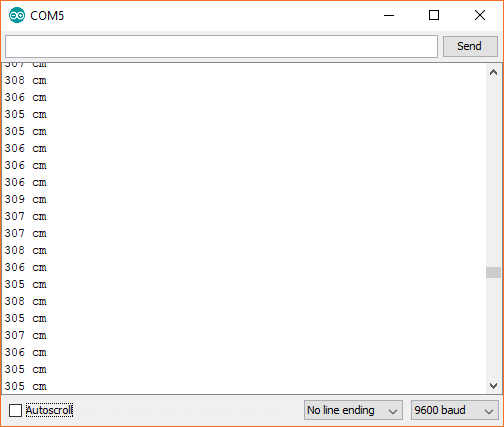
Upload the program, and open a Serial Monitor. You should see distance measurements (in cm) being printed.