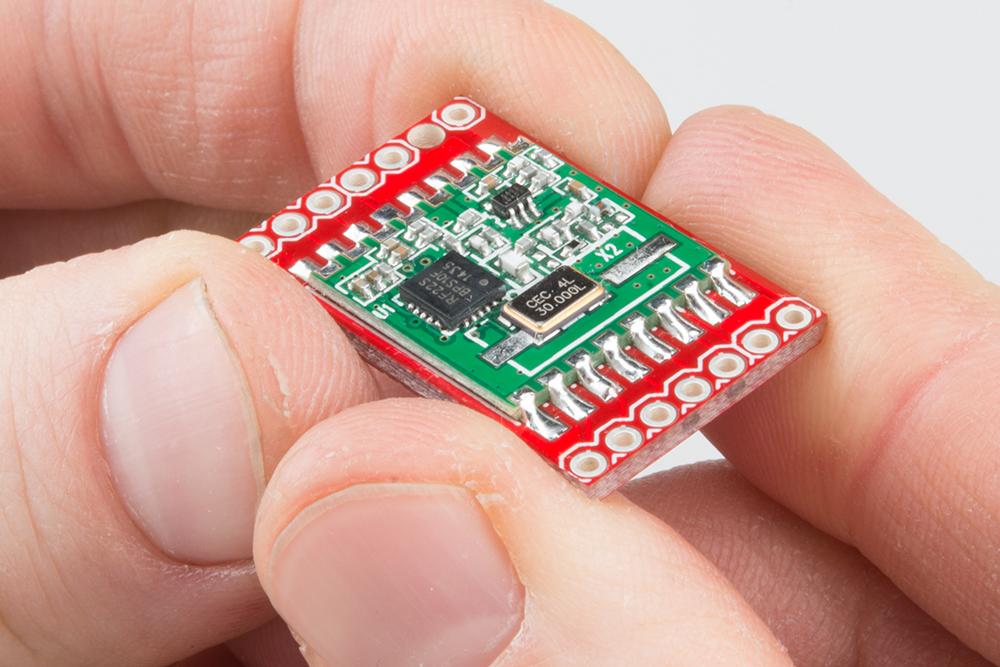
How to Solder: Castellated Mounting Holes
 Shawn Hymel
Solder!
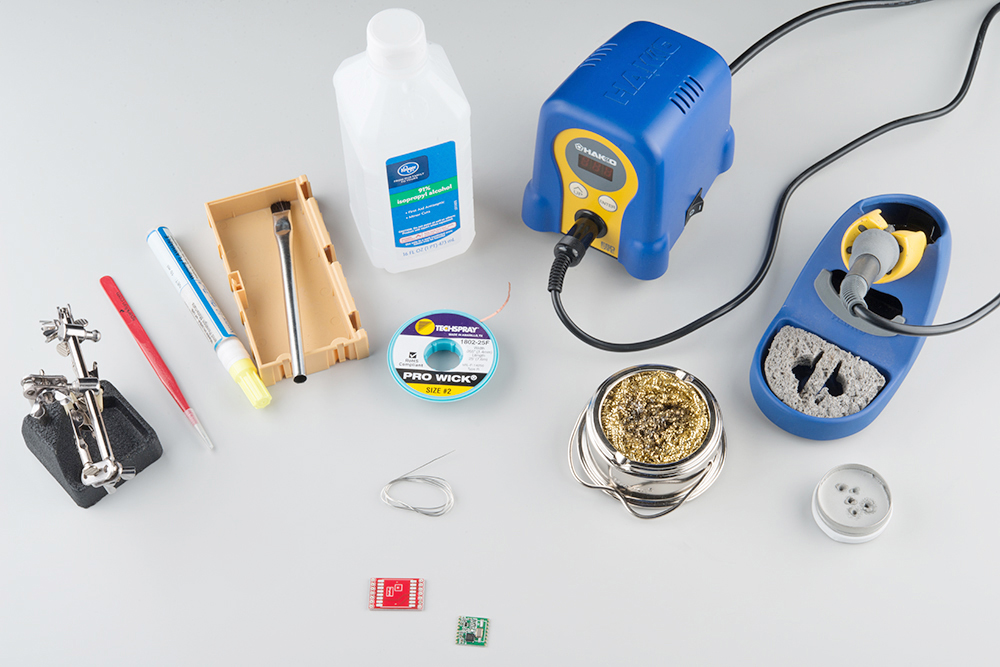
Set Up Your Station
Create a work area around your soldering iron.
- Make sure the area is free of clutter.
- We recommend putting down an ESD Mat or other surface that you won't care about if it gets burned. Something that won't catch fire is ideal (i.e. newspaper is bad).
- Plug in your iron, and turn it on. If you can adjust the temperature, we recommend about 700°F (370°C).
- Set your tools nearby.
- If you are using a regular sponge, add water until it is wet. Squeeze some of the excess water out. You want it to be wet but not dripping.
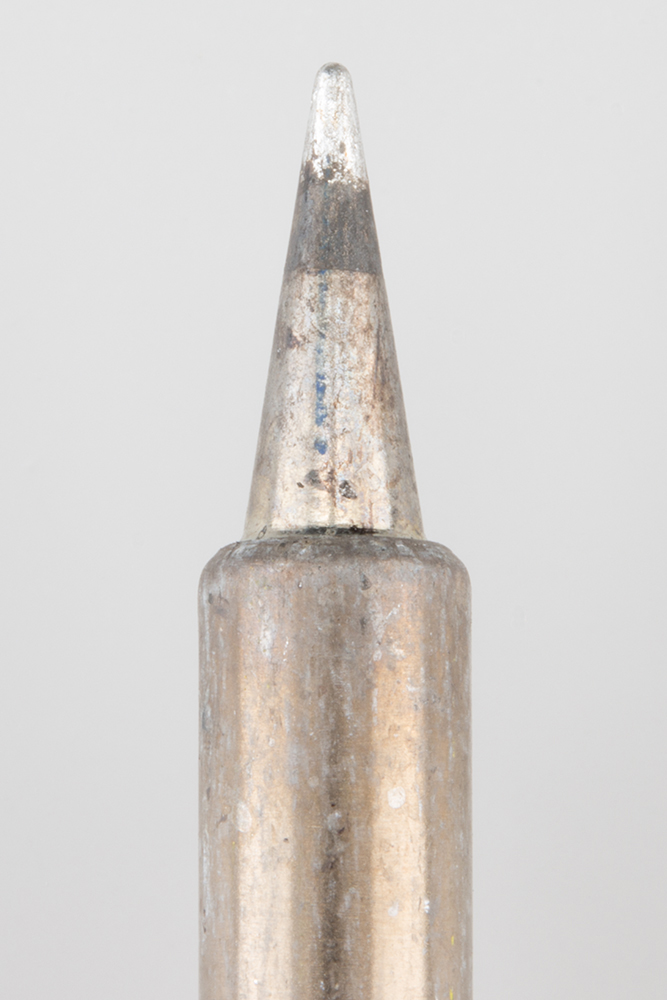
Clean Your Tip
Always make sure you are working with a clean soldering iron tip. If you notice that the iron's tip is black, clumpy, or oxidized, you will need to clean it.
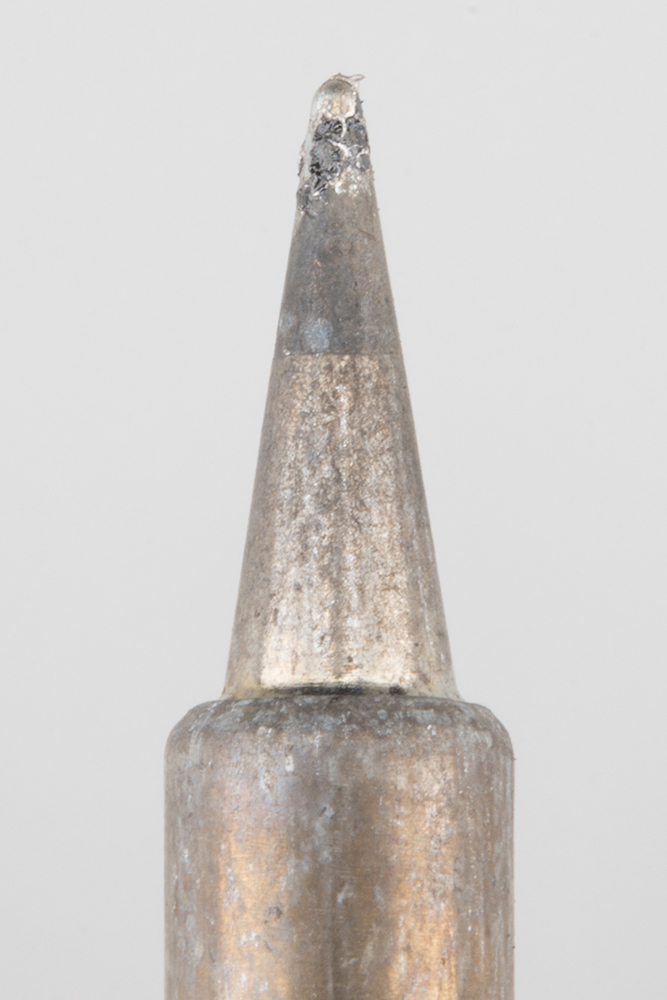
Apply solder directly to the hot iron's tip until it melts. You could alternatively stick the iron into a jar of tip tinner. The solder or tinner should melt and coat the tip. Wipe off the excess solder or tinner on a wet sponge or brass sponge. Your tip should be clean and shiny! If not, repeat the process.
Add Solder to One Pad
Find a corner pad, and add solder to it. We recommend pin 1 or a corner pad. Hold the iron's tip directly on the pad, and wait 1-2 seconds.

Slowly feed solder into the space between the iron's tip and the pad.
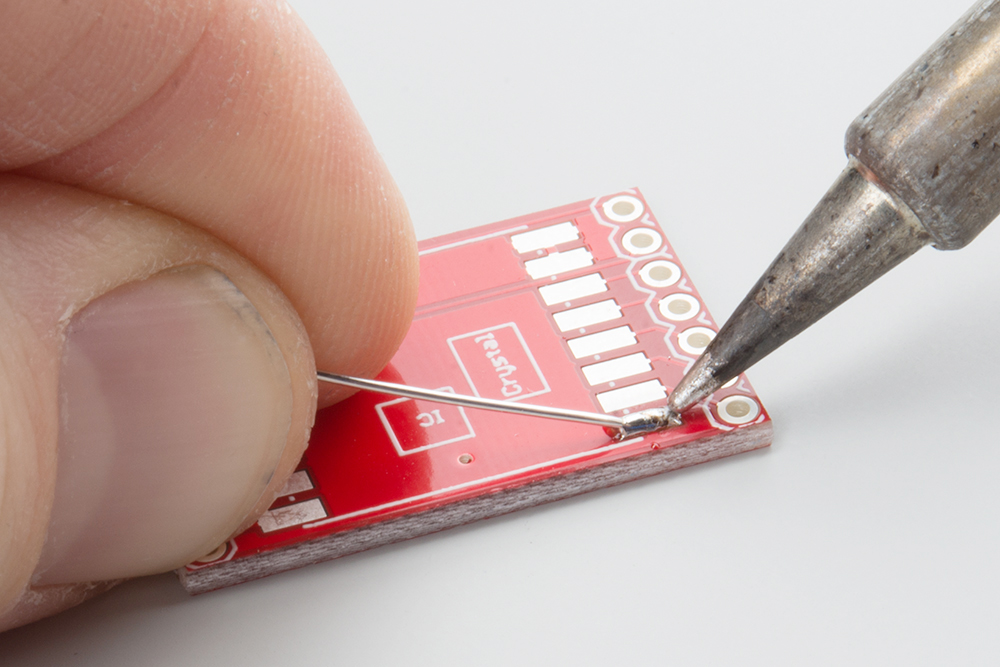
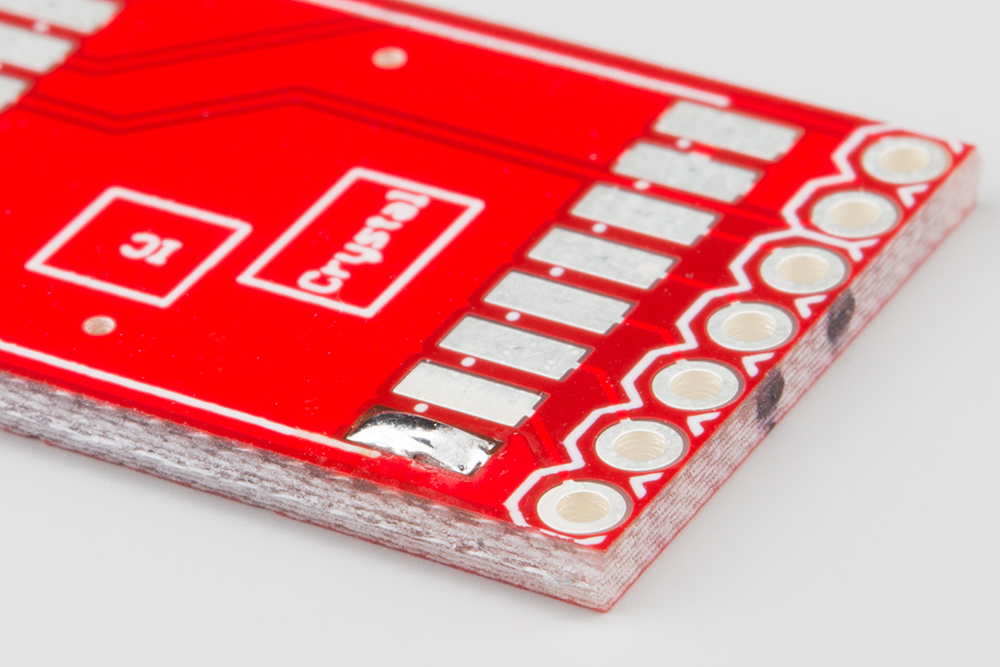
The solder should melt, and you will end up with a little mound of solder on top of the pad. Remove the strand of solder first, and then remove the soldering iron.
Flux It Up
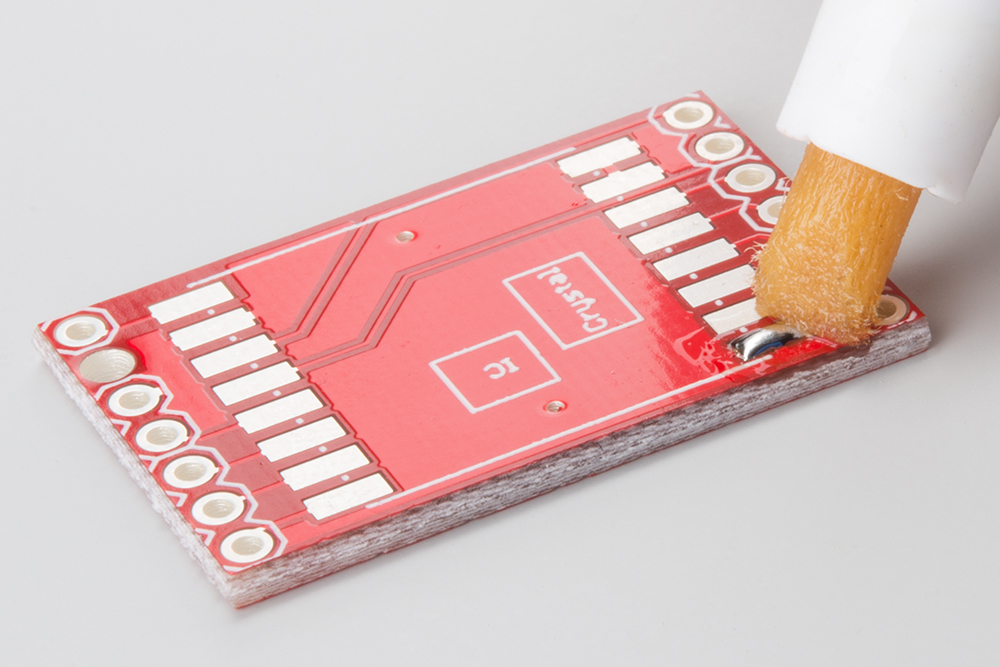
Liberally apply flux to the little mound of solder. Remember that because we burned up the flux in the solder's core, we need to add more flux before we reheat the solder. Be careful as the pens can pour flux out if too much pressure is applied to the pen tip.
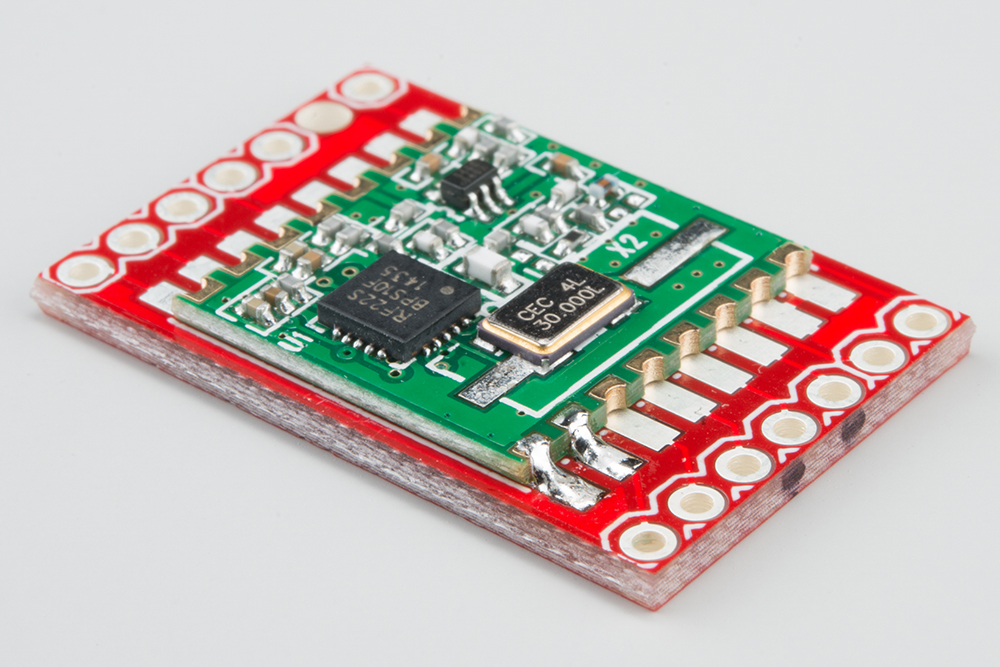
Attach the Board
Using your set of tweezers, pick up the module in one hand. In the other hand, grab your soldering iron. Position the module nearby. We are going to melt the little mound of solder and then slide the board into place.
IMPORTANT: Make sure your module is facing the correct direction, or has the correct polarity! You don't want to accidentally solder the part on the PCB backwards.
Heat the mound of solder with the iron until it melts.
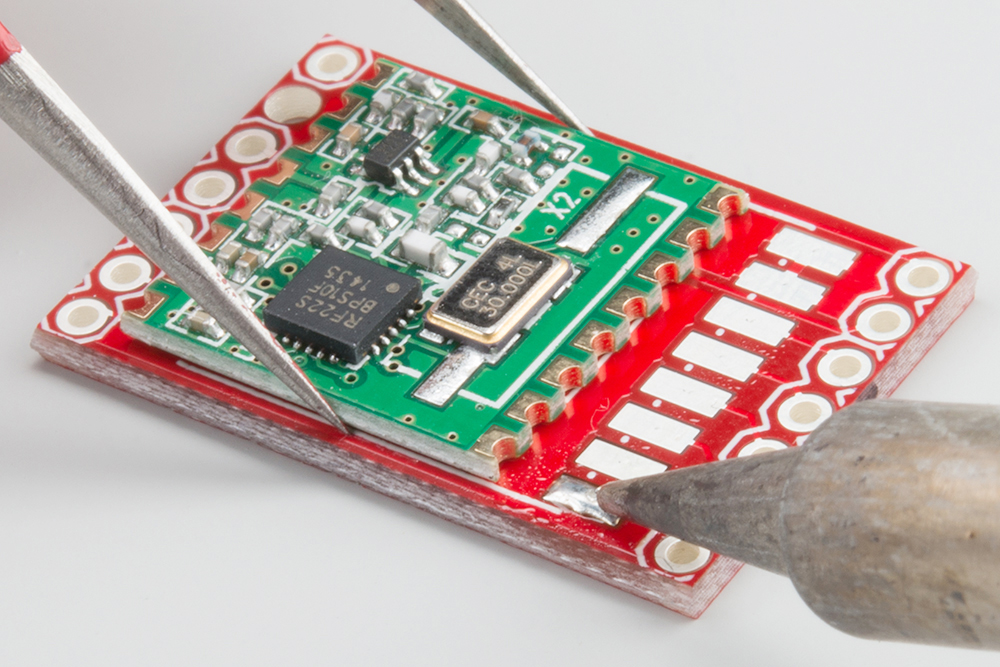
Keeping the iron on the mound (we don't want the solder to solidify!), carefully slide the module into place. Make sure that the tip of the iron touches the first castellated via and the pad with the melted solder. We want the castellation to heat up and wick up some of the solder.
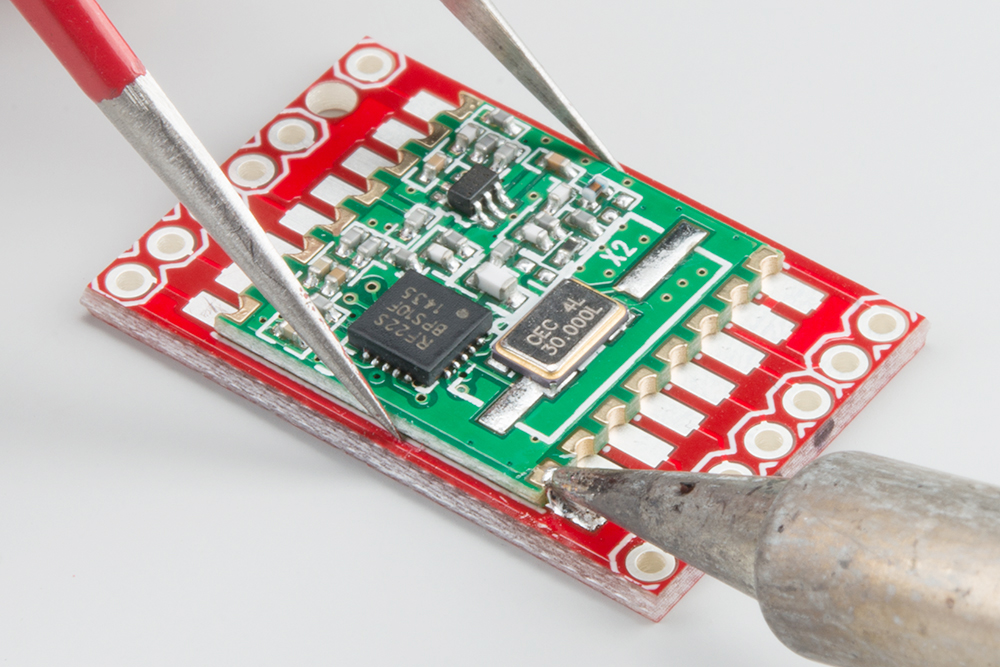
Before you remove the iron, make sure the castellated vias on the module line up with the footprint. While the solder is still melted, you can carefully twist and slide the module as needed to line it up.
Remove the iron, and wait for the solder to cool and solidify. Don't touch the board during this process, otherwise you will ruin the good solder joint. Inspect the joint to make sure solder has adhered to the pad and castellation.
If you find that the module is not lined up with the pads, add some flux to pin 1, touch the iron tip to the joint to melt the solder, and carefully move the module with tweezers so that everything lines up. This is also a good time to check on the castellated mounting holes on the other side of the board to make sure that it is lined up before adding more solder.
Solder the Next Pin
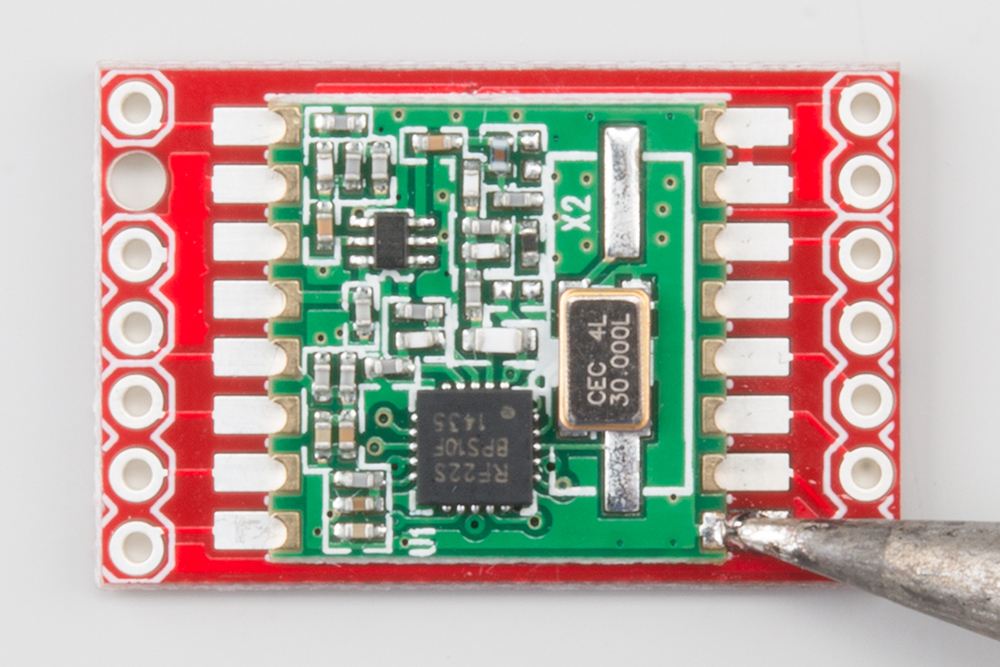
On the next pad, hold the tip of the iron so that it touches both the castellated via and the pad. Feed solder into the joint (the intersection of the iron tip, the via, and the pad). It might take a moment for the solder to start melting, so be patient.

Once you have enough solder, remove the solder first.
Once the solder is away, remove the iron. Wait for the solder to cool before touching the board. Inspect the joint to make sure the solder has covered the via and the pad.
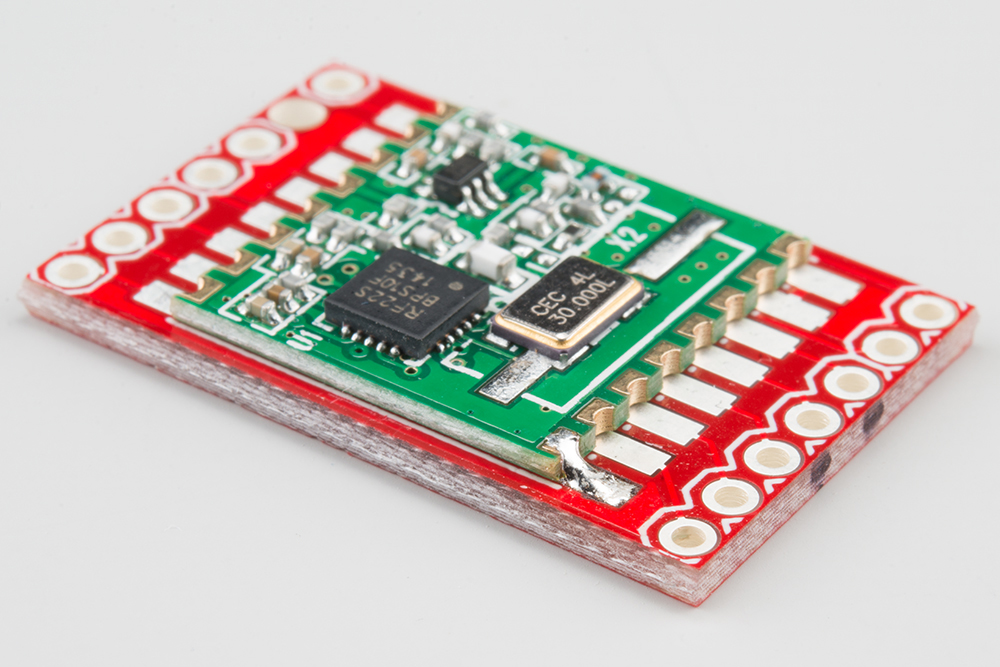
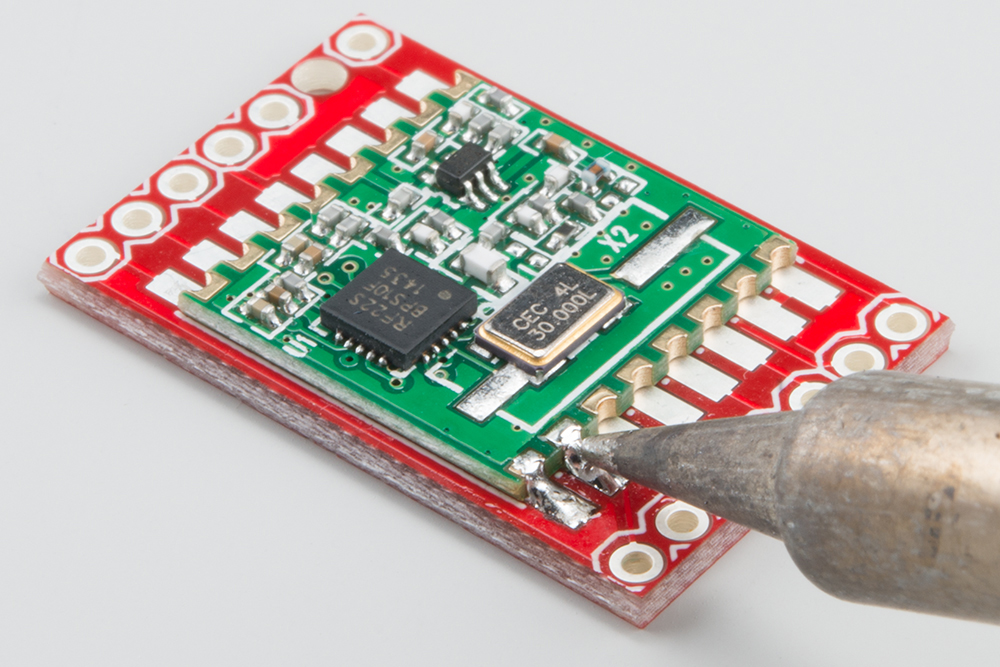
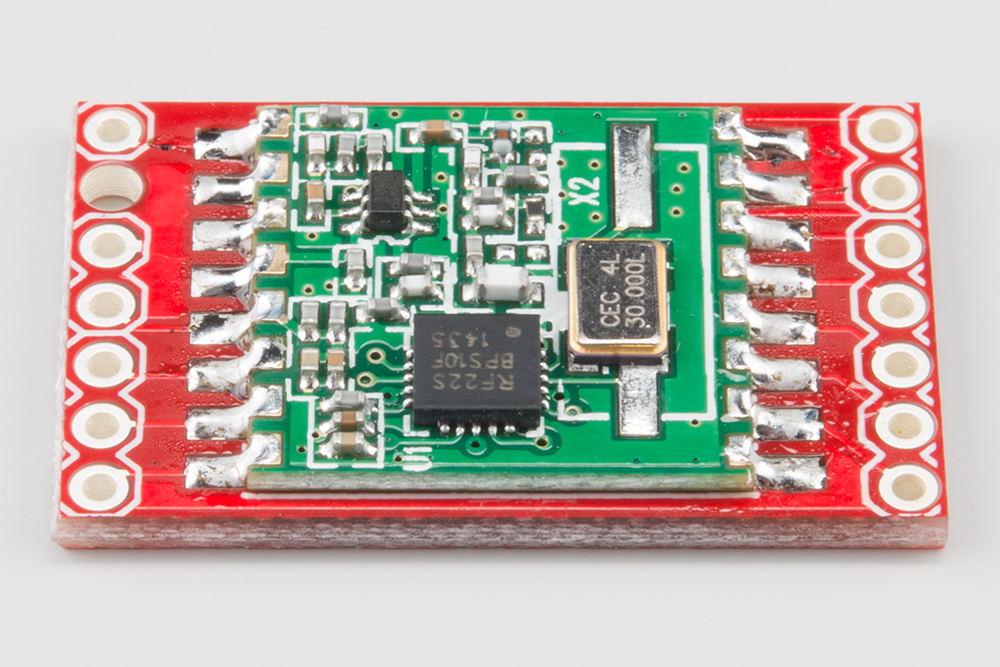
Solder the Rest
One-by-one, solder each of the castellated vias to the pads, until all the vias have been soldered to the pads.
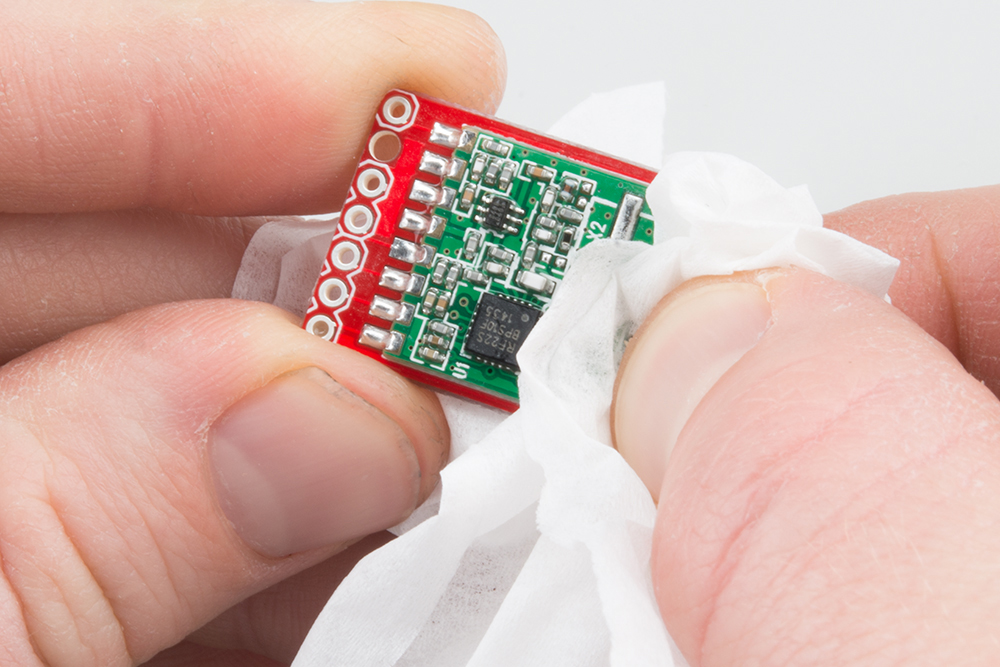
Clean the Board
Your completed assembly will likely have some flux residue on the board or module near the pins. It will be sticky and black or amber in appearance. You will want to clean that off.
Pour some rubbing alcohol in a bowl, dip your brush into it, and scrub it on the pins and pads to remove the residue.

Dry off the board using a low-lint towel or paper towels. We recommend something like Kimwipes to avoid leaving lint on the board. Compressed or canned air works well for this too.
Inspect your handiwork! Make sure all the pins are soldered to their respective pads and the board is free of flux residue. You might have to repeat the cleaning process a few times to get it completely flux-free.