How to Solder: Castellated Mounting Holes
 Shawn Hymel
Required Materials
Like any soldering job, you will need some equipment. The Soldering - Through-Hole tutorial has great information on soldering irons and accessories. Feel free to look there, if you need a refresher on what each of the tools does.
If you are looking to buy new tools or refresh your stock, we offer many soldering tools and accessories.
Required Tools
Soldering Iron
Any trusty soldering iron will do. We recommend something with an adjustable temperature.
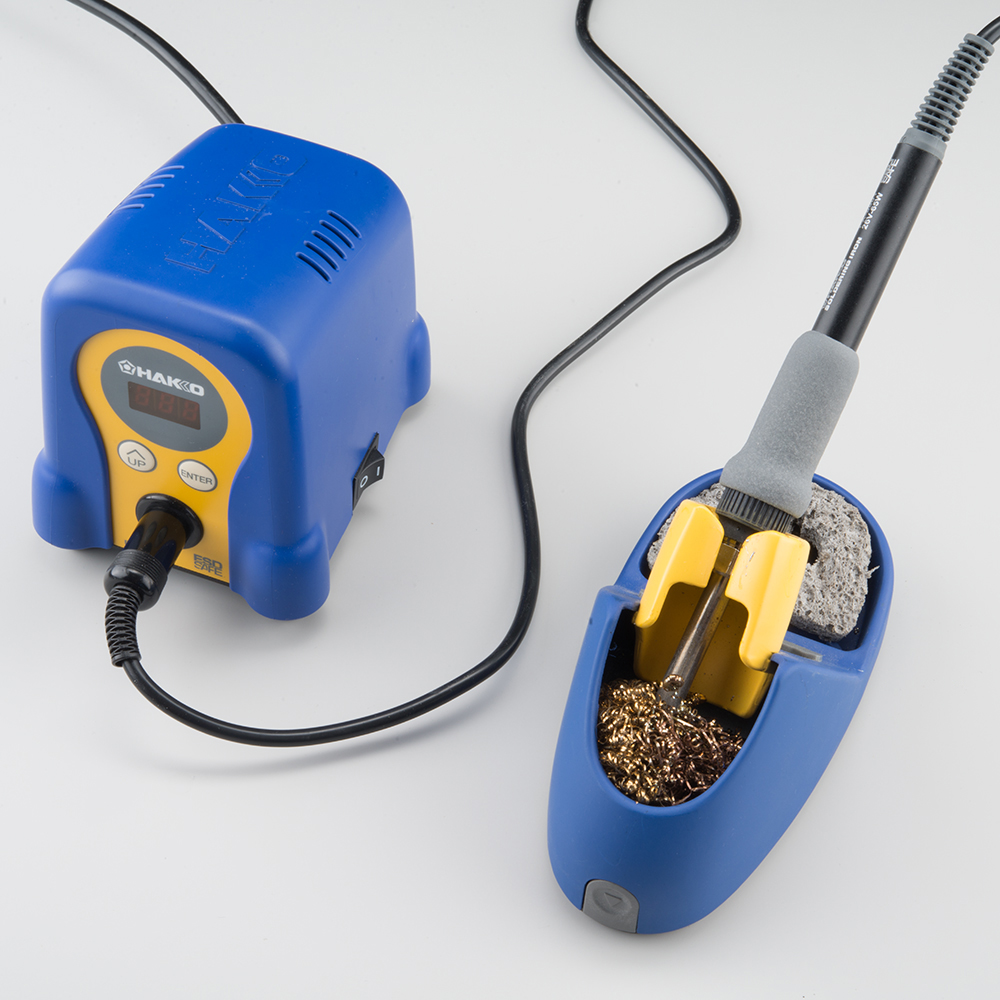
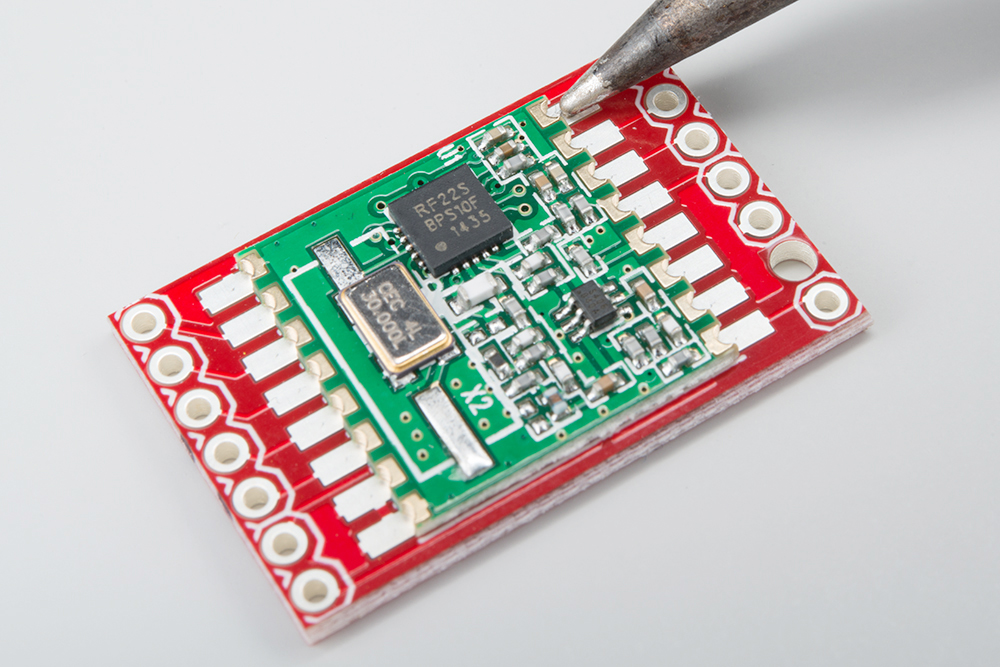
Make sure the tip is small enough to fit on a single pad in one of the castellated vias. You don't want a tip that is too wide and will deposit solder across several pads or vias (also referred to as leads). That's how we get solder bridges!
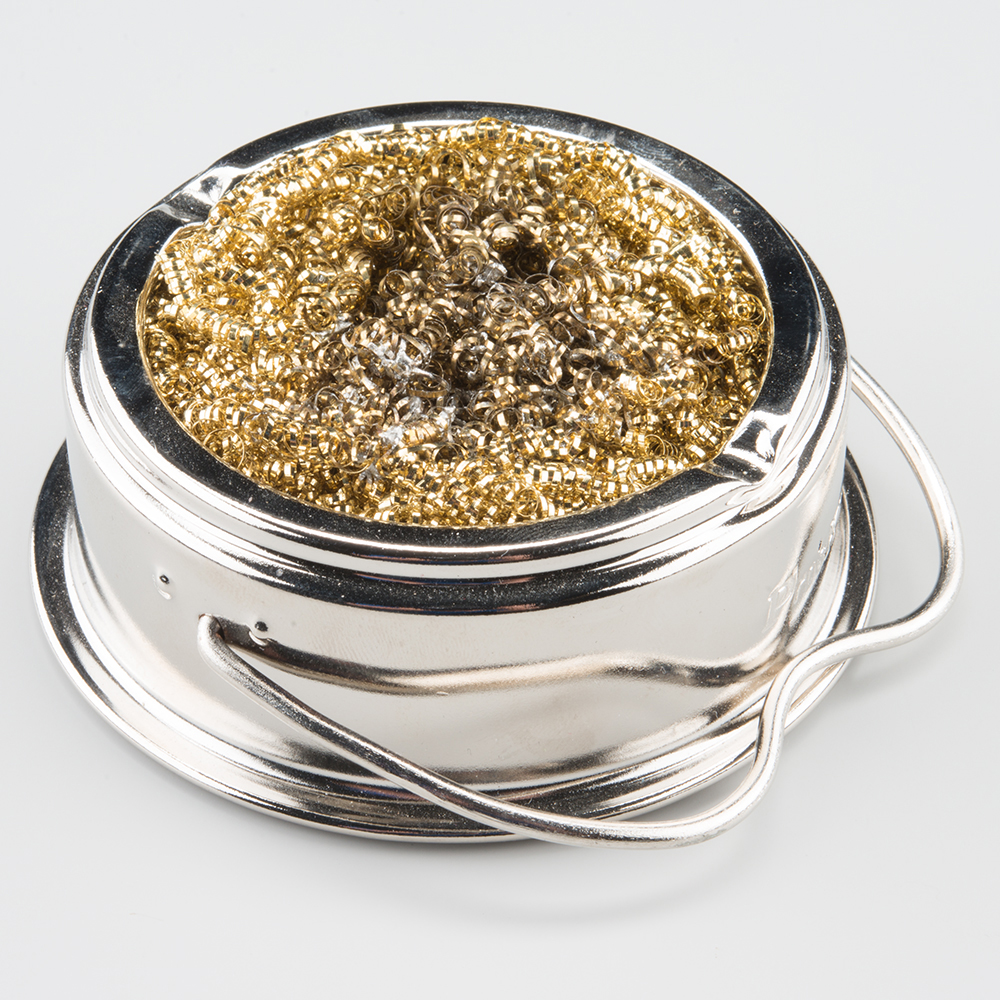
Brass Sponge
A brass sponge is a good choice for cleaning your iron's tip. If you don't have a brass sponge, a regular sponge will work (make sure to wet it with a little water!).
Solder
Choose some solder. We recommend brushing up on your solder knowledge, if you need a refresher. We are using lead-free, 0.020" diameter, water-soluble flux core solder in this tutorial.

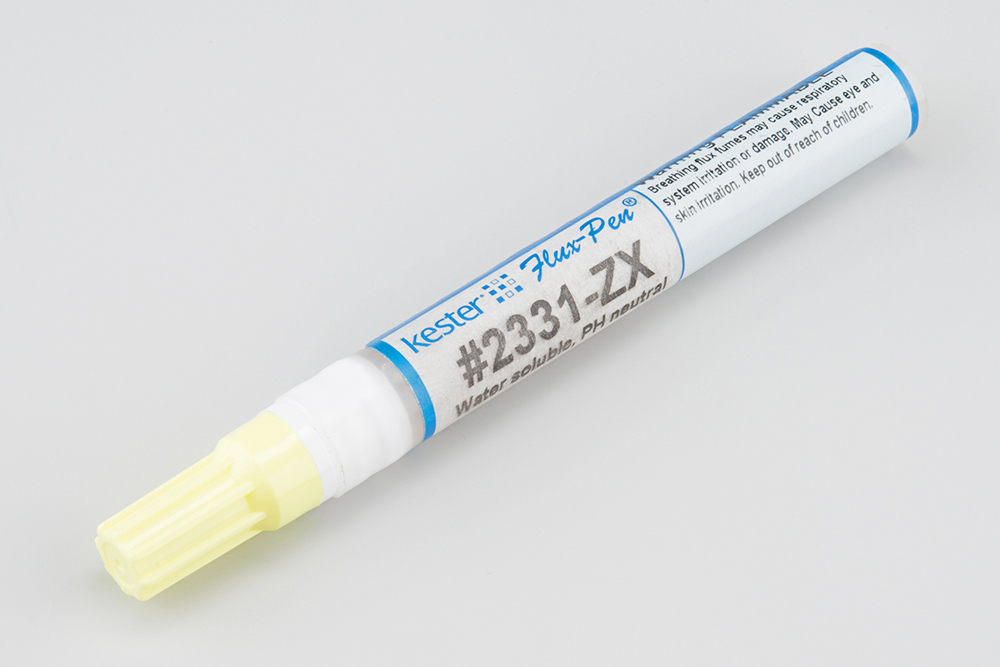
Flux
Flux is highly recommended when soldering surface mount or castellated components. Whenever you melt solder, the flux core in the solder burns off. If you ever need to heat that solder again, you need to add flux first. Flux helps clean the surface and allows the solder to flow better by improving the wetting characteristic of the solder.
We will be using a water-soluble flux pen, as the flux core in our solder is water-soluble flux. Just make sure the flux in your solder core matches the liquid flux you are using.
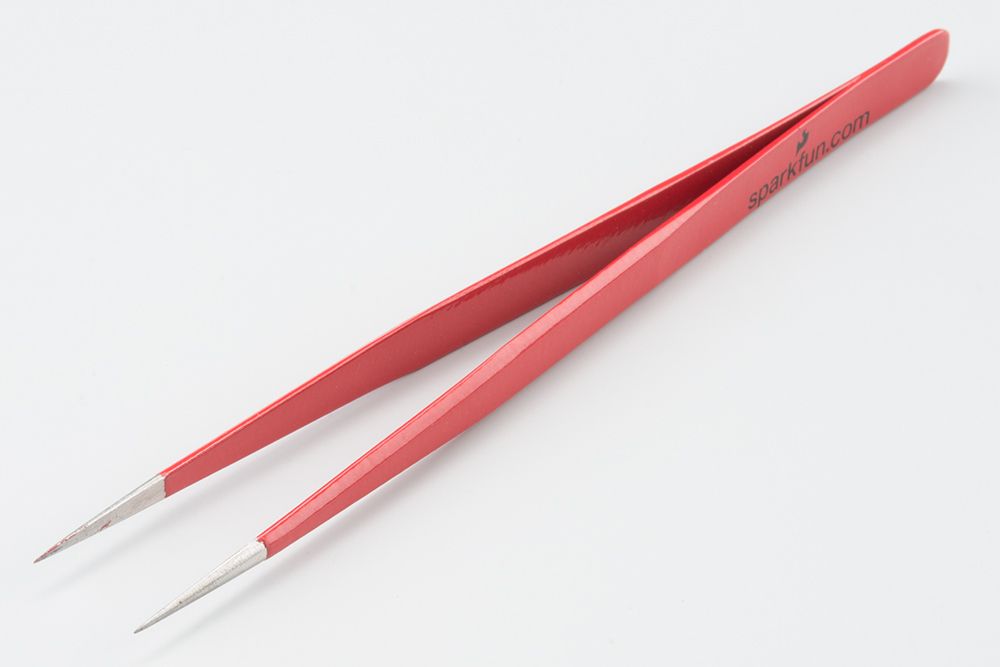
Tweezers
Sometimes you can hold the module in your hand while you slide it onto liquid hot solder. We wouldn't recommend it, though. You will want a good pair of tweezers to hold the module while you maneuver around really hot stuff.
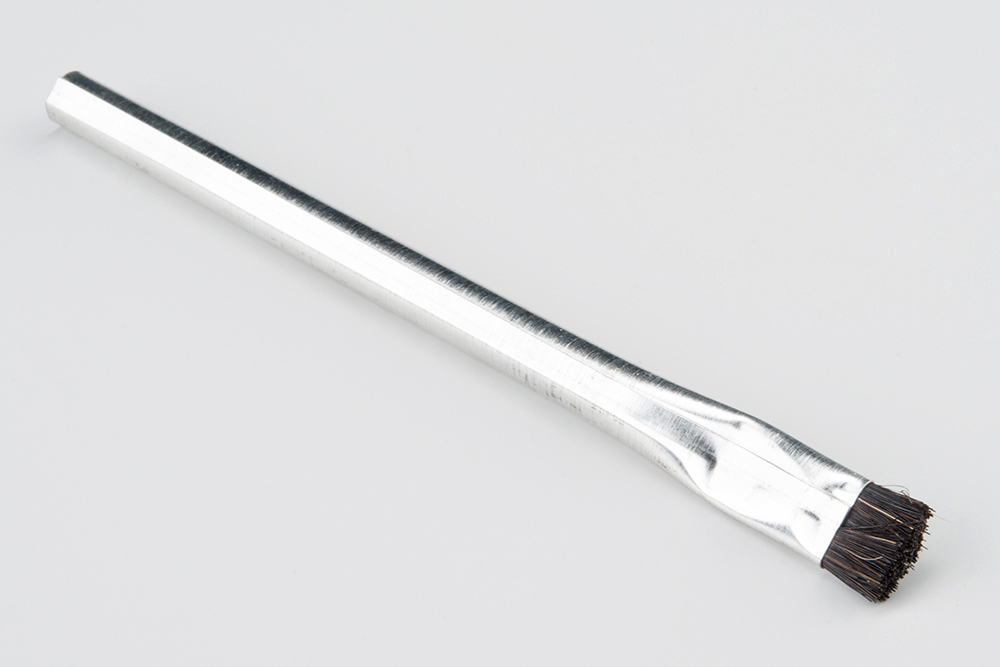
Brush
Any cheap brush with stiff bristles should work. We recommend an inexpensive acid brush with the bristles trimmed to about 1/4 inch (6 mm). We will need it to clean the board when we are done soldering.
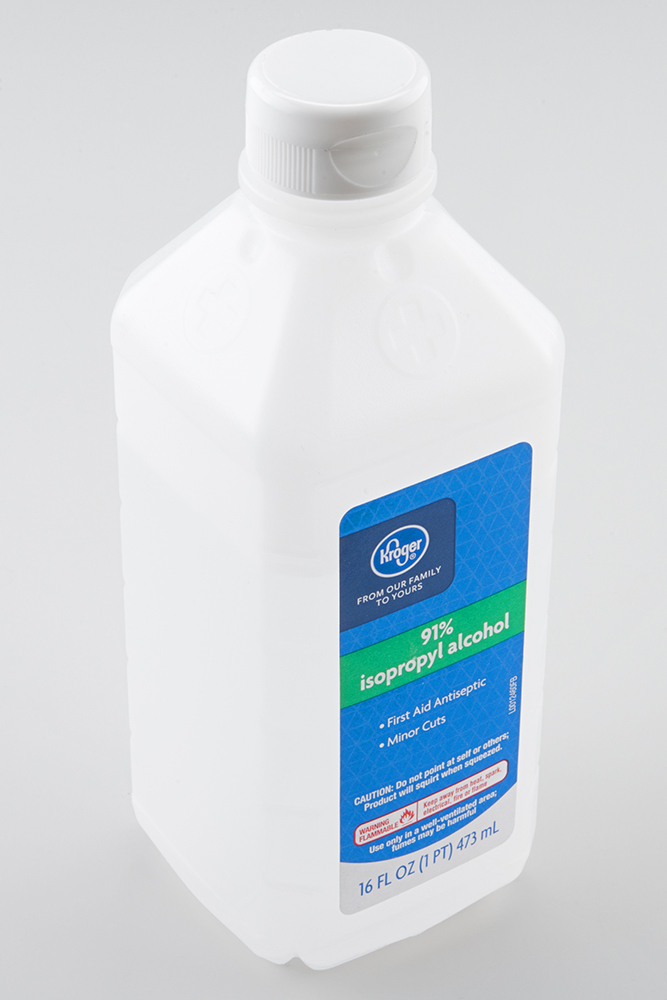
Rubbing Alcohol
If you are using "water soluble" or rosin flux (it will say on the pen or jar), you will want to clean it off the board after you solder. Flux left on the PCB can be corrosive or cause a high-resistance short between pins (not good!). You are technically supposed to use hot, de-ionized water for "water soluble" flux, but we can get away with some isopropyl (rubbing) alcohol. You can find rubbing alcohol at just about any pharmacy or grocery store.
Optional Tools
Tip Tinner
Tip tinner cleans soldering iron tips. It is optional, as you can add solder directly to the tip and clean it off with a brass sponge. However, it is very useful for very old iron tips that need some new life.

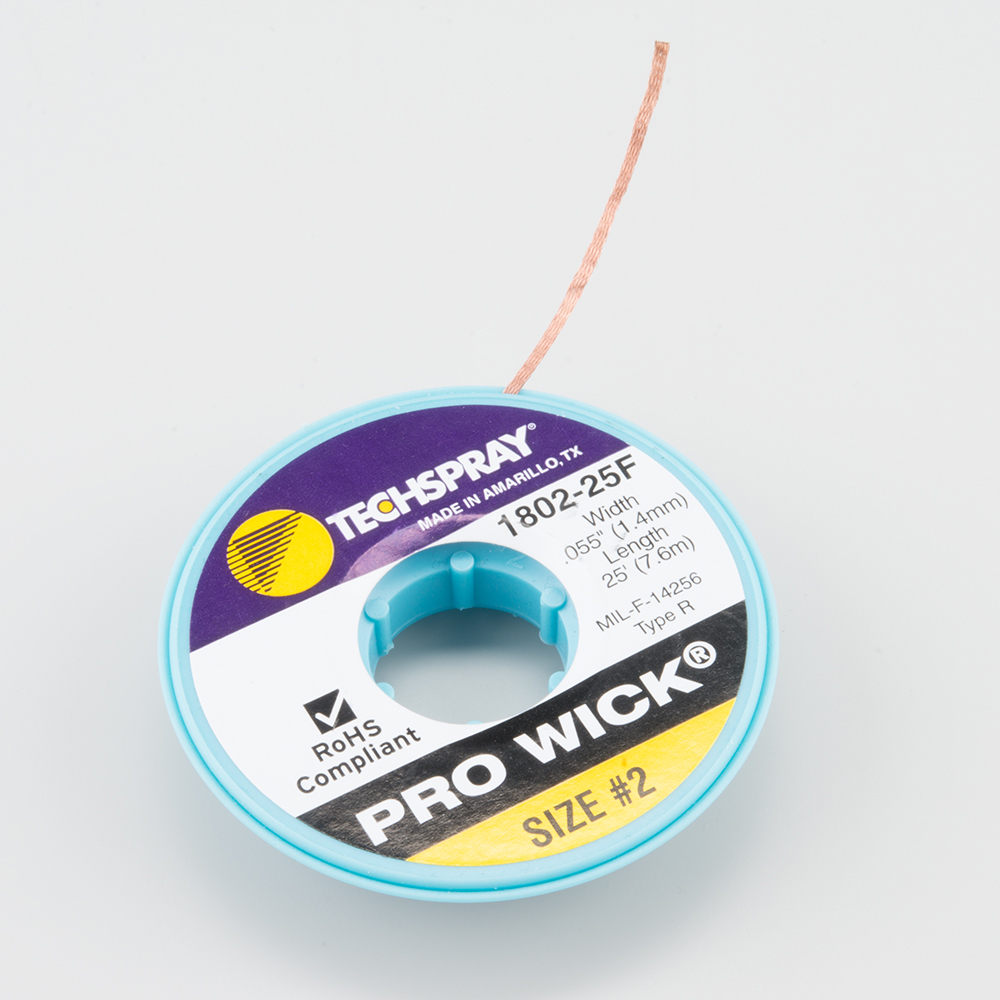
Solder Wick
Solder wick is optional, but it is necessary to have around if you mess up and need to remove solder.
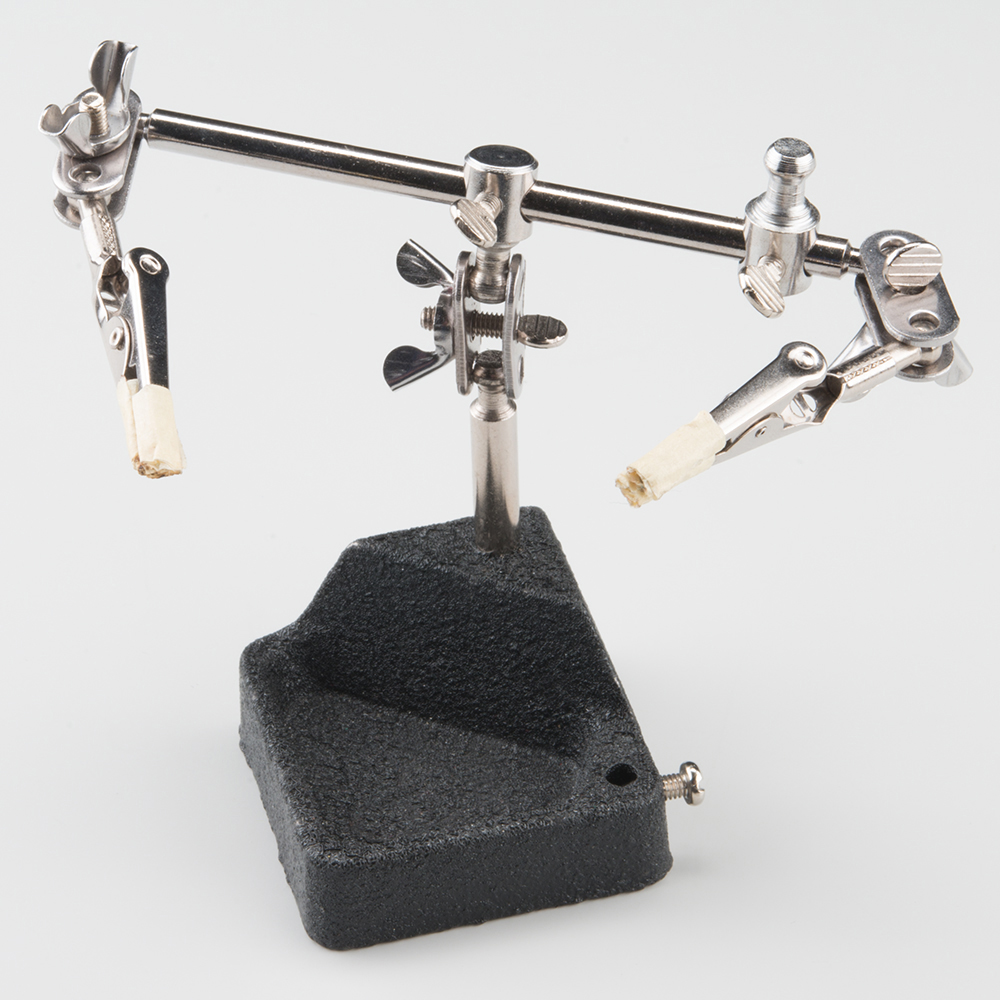
Third Hand or Vice
A good third hand (helping hands) or PanaVise will help you elevate the board off the table if you need it closer to eye level. You can also create you own custom third hand.
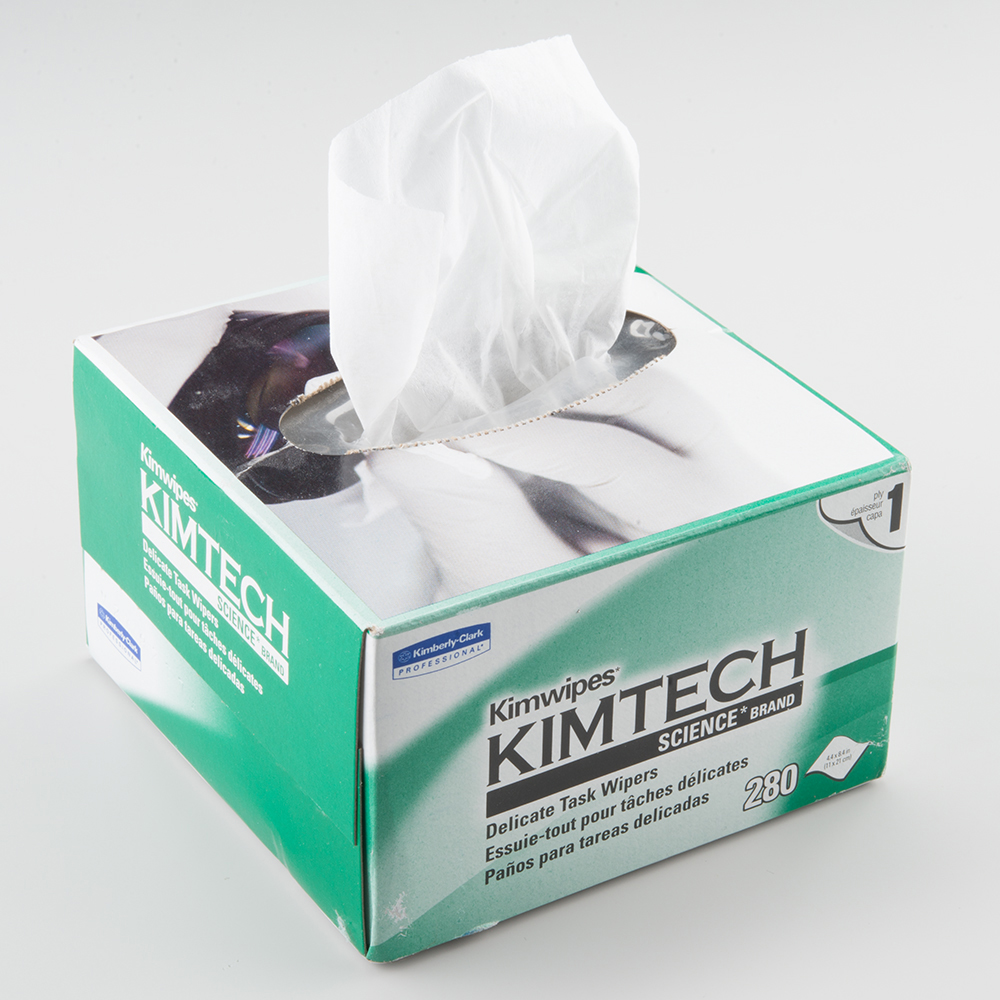
Low-lint Wipes
You can use a paper towel to dry your board after you've cleaned it, but paper towels have a habit of leaving little pieces of lint behind. We recommend low-lint task wipers, like Kimwipes.
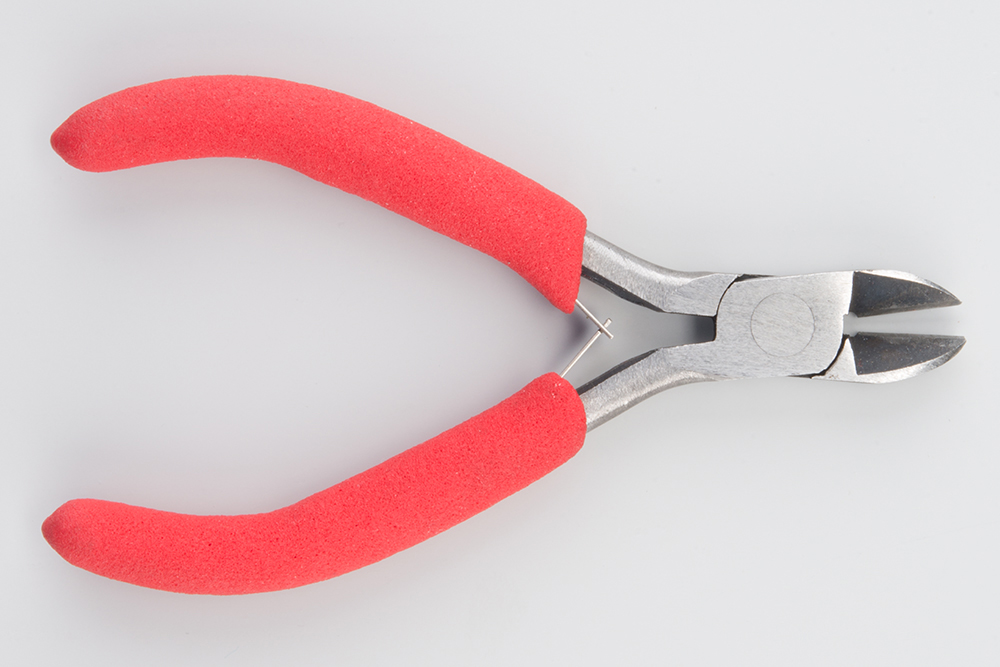
Diagonal Cutters
You will need something to cut the solder wick, and diagonal cutters are generally the preferred tool. However, anything sharp and scissor-like will work (like the inside blades of wire strippers).