How to Solder: Castellated Mounting Holes
Introduction
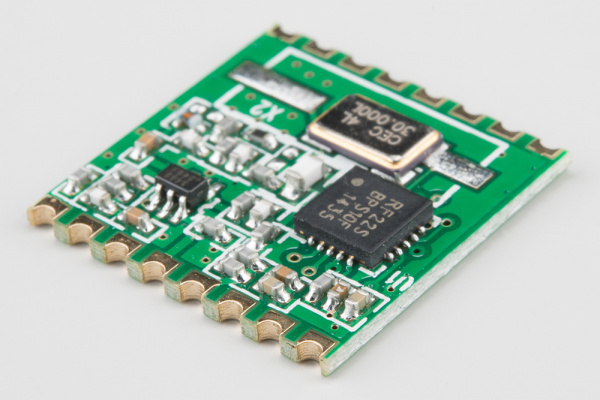
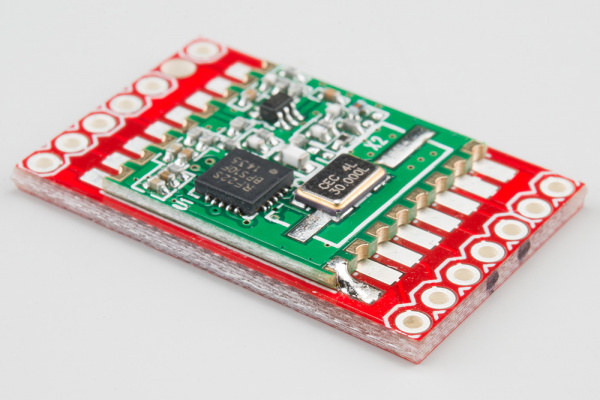
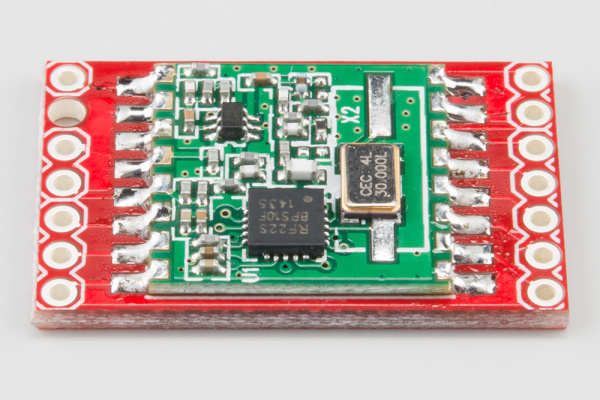
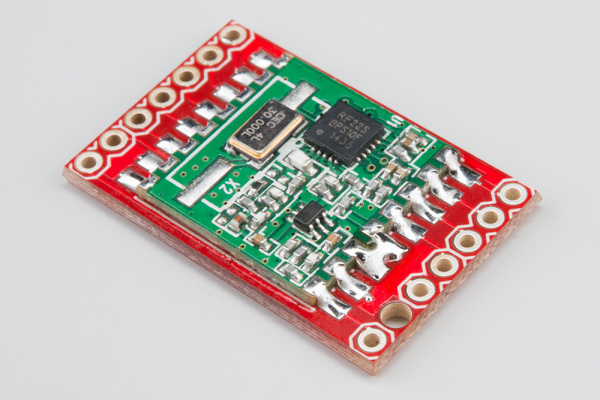
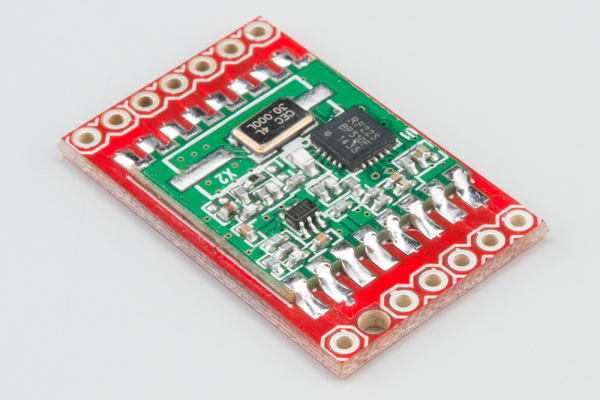
A popular trend among manufacturers is board-to-board soldering. This technique allows companies to produce integrated modules (often containing dozens of parts) on a single board that can be built into another assembly during production. One easy way to produce a PCB that is destined to be mounted to another PCB is to create castellated mounting holes. These are also known as "castellated vias" or "castellations."
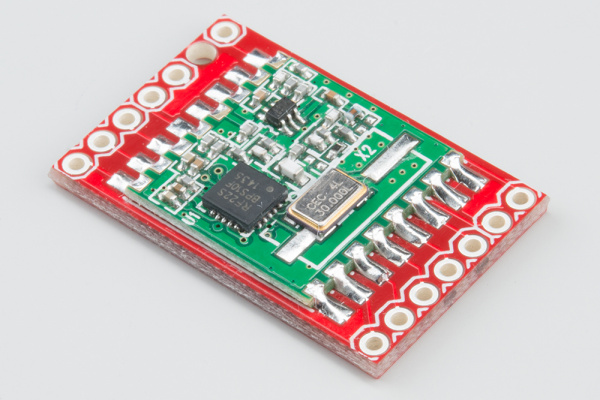
In this tutorial, we show you how to hand solder a board with castellated mounting holes to another PCB with the appropriate footprint.
We will be using a SparkFun RF Transceiver Breakout - RFM22B as our example throughout this tutorial.
Video
If you are a visual learner, we made a video showing how to solder a module with castellated mounting holes. It covers most of what is written in this tutorial.
Suggested Reading
If you have never soldered before, we definitely recommend that you read our through-hole soldering tutorial and try soldering some plated through-hole (PTH) parts first. Check out any other tutorials below that you are unfamiliar with, before proceeding.
Required Materials
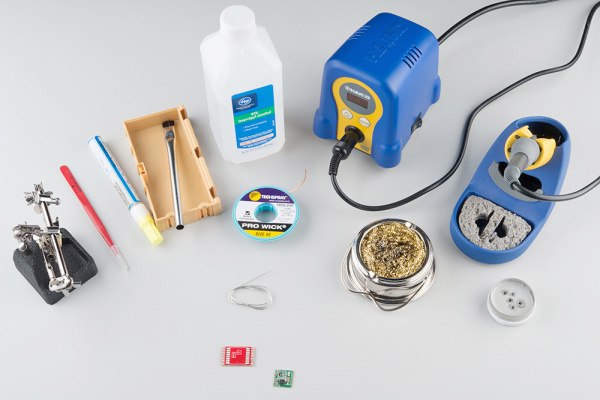
Like any soldering job, you will need some equipment. The Soldering - Through-Hole tutorial has great information on soldering irons and accessories. Feel free to look there, if you need a refresher on what each of the tools does.
If you are looking to buy new tools or refresh your stock, we offer many soldering tools and accessories.
Required Tools
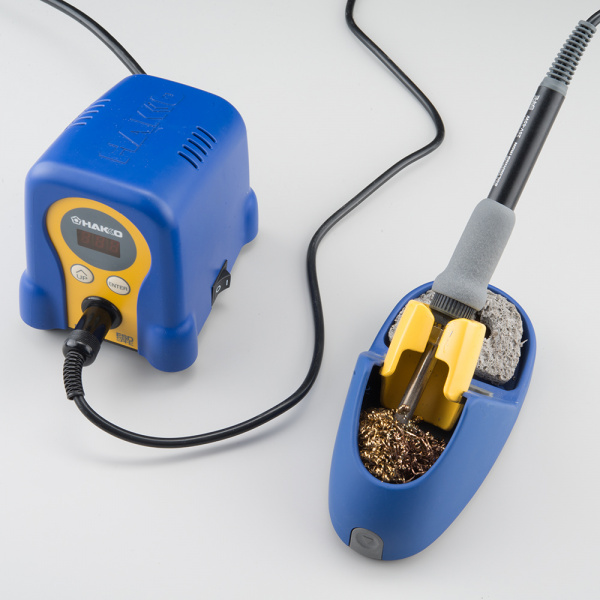
Soldering Iron
Any trusty soldering iron will do. We recommend something with an adjustable temperature.
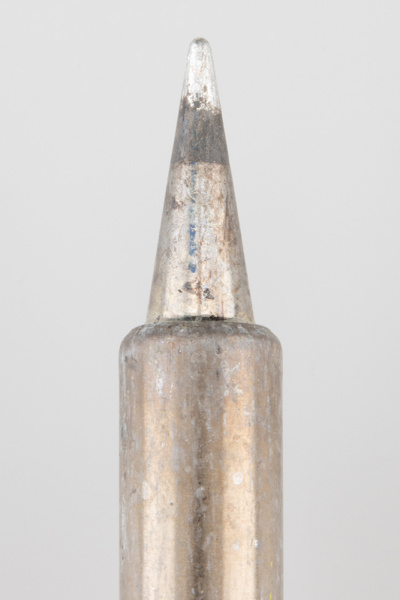
Make sure the tip is small enough to fit on a single pad in one of the castellated vias. You don't want a tip that is too wide and will deposit solder across several pads or vias (also referred to as leads). That's how we get solder bridges!
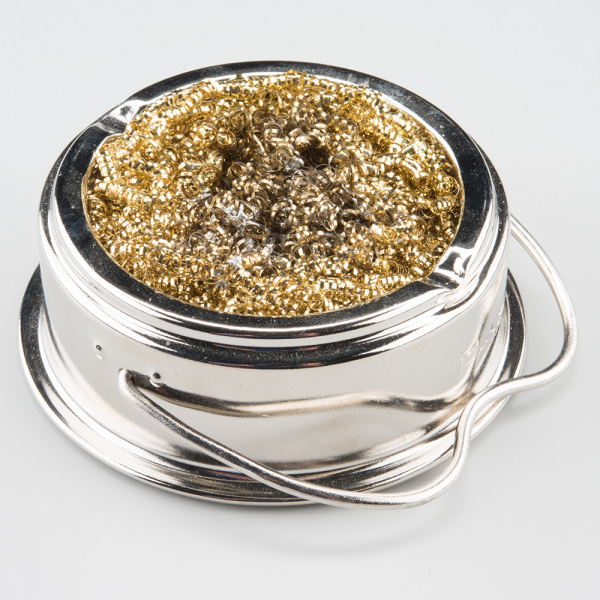
Brass Sponge
A brass sponge is a good choice for cleaning your iron's tip. If you don't have a brass sponge, a regular sponge will work (make sure to wet it with a little water!).
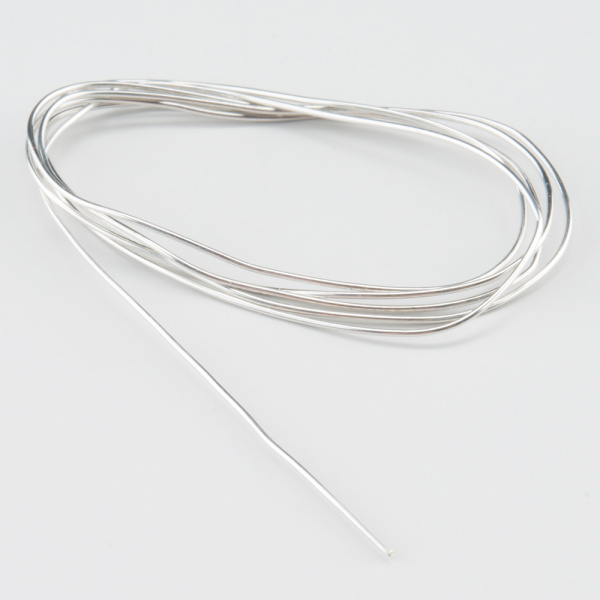
Solder
Choose some solder. We recommend brushing up on your solder knowledge, if you need a refresher. We are using lead-free, 0.020" diameter, water-soluble flux core solder in this tutorial.
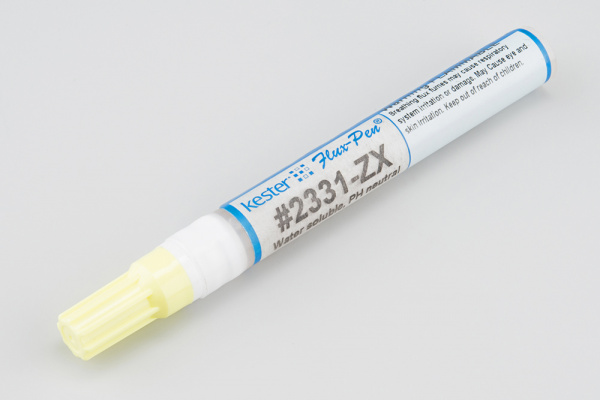
Flux
Flux is highly recommended when soldering surface mount or castellated components. Whenever you melt solder, the flux core in the solder burns off. If you ever need to heat that solder again, you need to add flux first. Flux helps clean the surface and allows the solder to flow better by improving the wetting characteristic of the solder.
We will be using a water-soluble flux pen, as the flux core in our solder is water-soluble flux. Just make sure the flux in your solder core matches the liquid flux you are using.
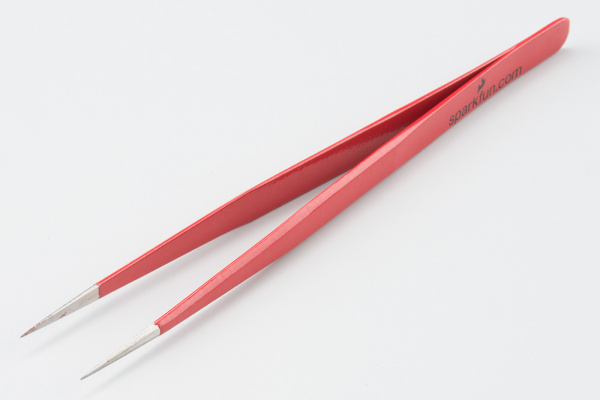
Tweezers
Sometimes you can hold the module in your hand while you slide it onto liquid hot solder. We wouldn't recommend it, though. You will want a good pair of tweezers to hold the module while you maneuver around really hot stuff.
Brush
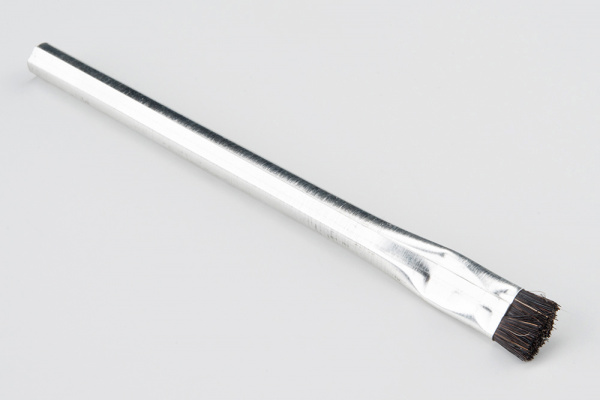
Any cheap brush with stiff bristles should work. We recommend an inexpensive acid brush with the bristles trimmed to about 1/4 inch (6 mm). We will need it to clean the board when we are done soldering.
Rubbing Alcohol
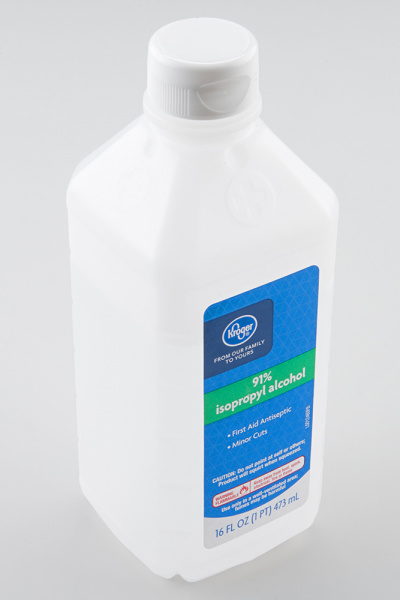
If you are using "water soluble" or rosin flux (it will say on the pen or jar), you will want to clean it off the board after you solder. Flux left on the PCB can be corrosive or cause a high-resistance short between pins (not good!). You are technically supposed to use hot, de-ionized water for "water soluble" flux, but we can get away with some isopropyl (rubbing) alcohol. You can find rubbing alcohol at just about any pharmacy or grocery store.
Optional Tools
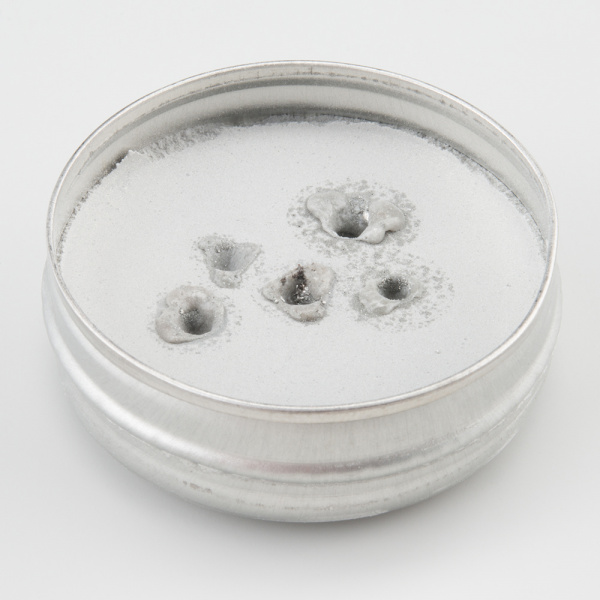
Tip Tinner
Tip tinner cleans soldering iron tips. It is optional, as you can add solder directly to the tip and clean it off with a brass sponge. However, it is very useful for very old iron tips that need some new life.
Solder Wick
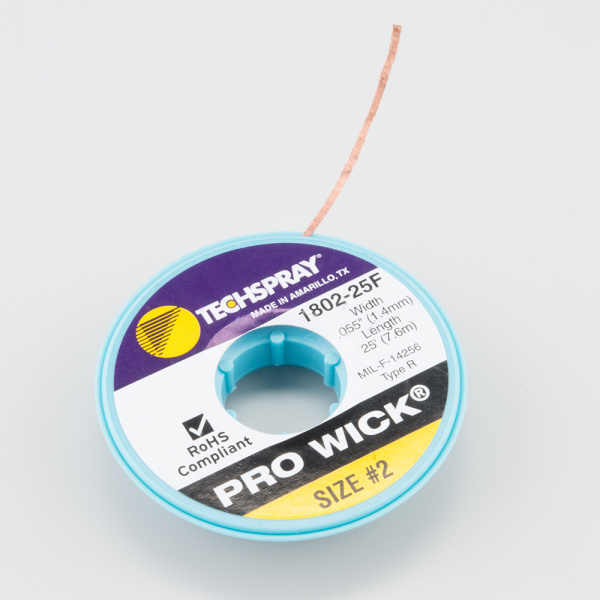
Solder wick is optional, but it is necessary to have around if you mess up and need to remove solder.
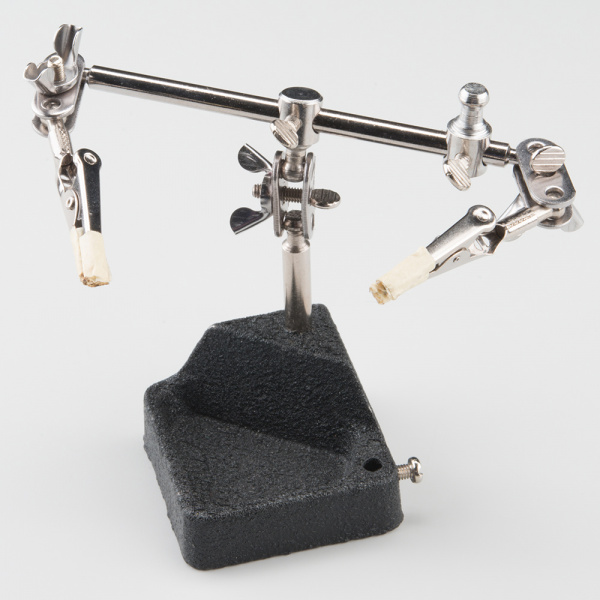
Third Hand or Vice
A good third hand (helping hands) or PanaVise will help you elevate the board off the table if you need it closer to eye level. You can also create you own custom third hand.
Low-lint Wipes
You can use a paper towel to dry your board after you've cleaned it, but paper towels have a habit of leaving little pieces of lint behind. We recommend low-lint task wipers, like Kimwipes.
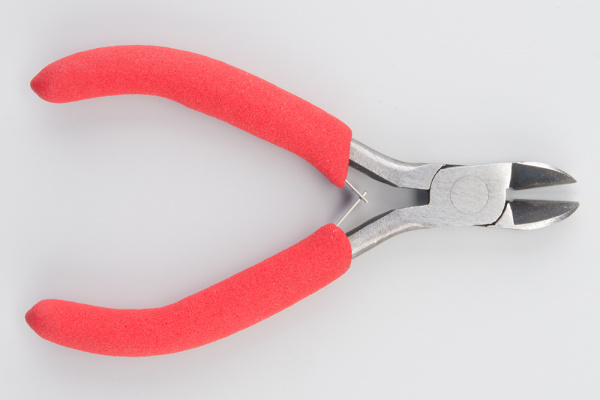
Diagonal Cutters
You will need something to cut the solder wick, and diagonal cutters are generally the preferred tool. However, anything sharp and scissor-like will work (like the inside blades of wire strippers).
Solder!
Set Up Your Station
Create a work area around your soldering iron.
- Make sure the area is free of clutter.
- We recommend putting down an ESD Mat or other surface that you won't care about if it gets burned. Something that won't catch fire is ideal (i.e. newspaper is bad).
- Plug in your iron, and turn it on. If you can adjust the temperature, we recommend about 700°F (370°C).
- Set your tools nearby.
- If you are using a regular sponge, add water until it is wet. Squeeze some of the excess water out. You want it to be wet but not dripping.
Clean Your Tip
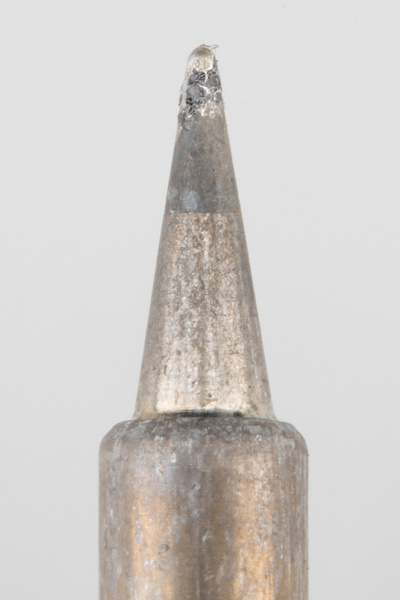
Always make sure you are working with a clean soldering iron tip. If you notice that the iron's tip is black, clumpy, or oxidized, you will need to clean it.
Apply solder directly to the hot iron's tip until it melts. You could alternatively stick the iron into a jar of tip tinner. The solder or tinner should melt and coat the tip. Wipe off the excess solder or tinner on a wet sponge or brass sponge. Your tip should be clean and shiny! If not, repeat the process.
Add Solder to One Pad
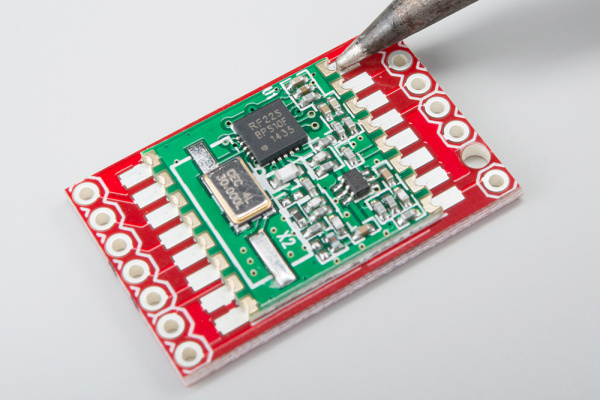
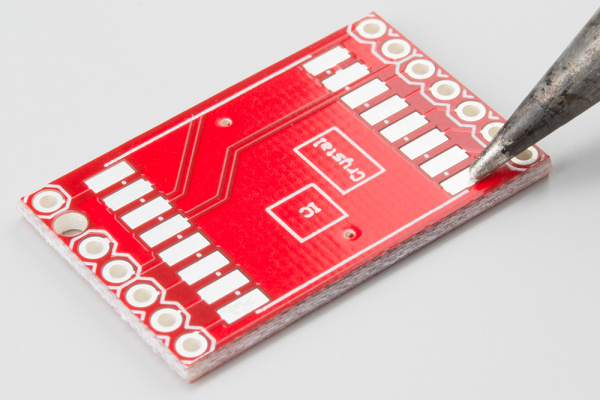
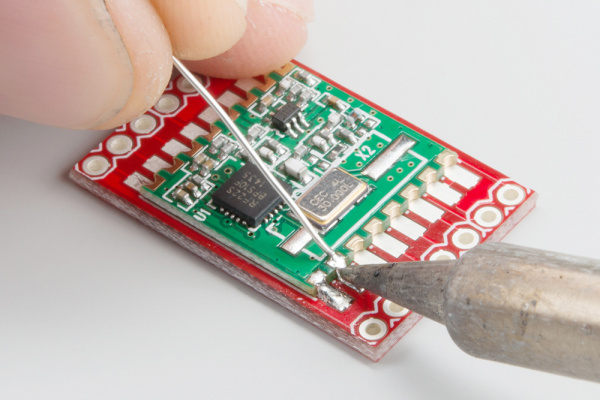
Find a corner pad, and add solder to it. We recommend pin 1 or a corner pad. Hold the iron's tip directly on the pad, and wait 1-2 seconds.
Slowly feed solder into the space between the iron's tip and the pad.
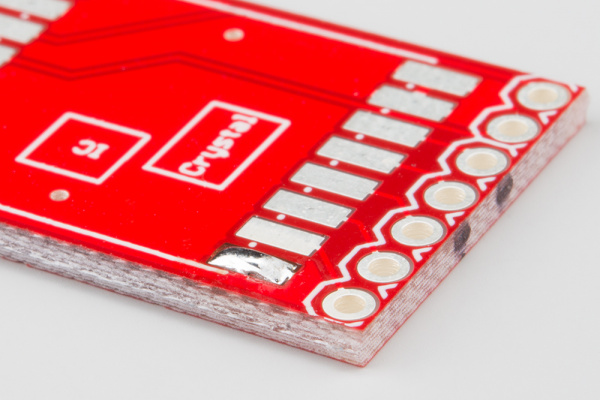
The solder should melt, and you will end up with a little mound of solder on top of the pad. Remove the strand of solder first, and then remove the soldering iron.
Flux It Up
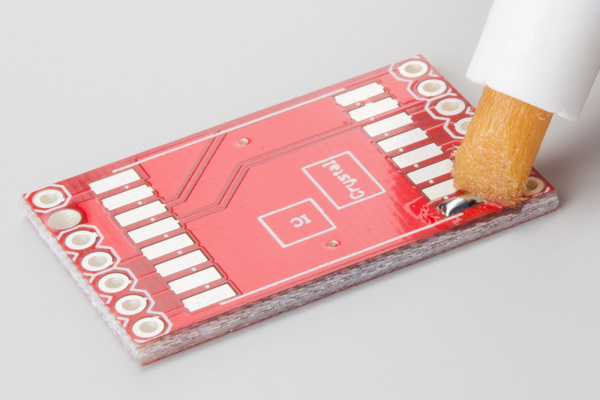
Liberally apply flux to the little mound of solder. Remember that because we burned up the flux in the solder's core, we need to add more flux before we reheat the solder. Be careful as the pens can pour flux out if too much pressure is applied to the pen tip.
Attach the Board
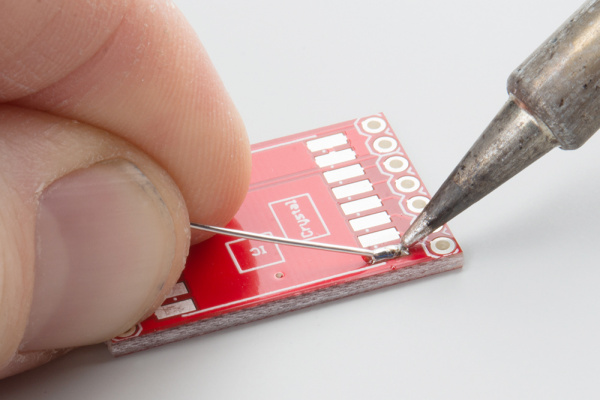
Using your set of tweezers, pick up the module in one hand. In the other hand, grab your soldering iron. Position the module nearby. We are going to melt the little mound of solder and then slide the board into place.
IMPORTANT: Make sure your module is facing the correct direction, or has the correct polarity! You don't want to accidentally solder the part on the PCB backwards.
Heat the mound of solder with the iron until it melts.
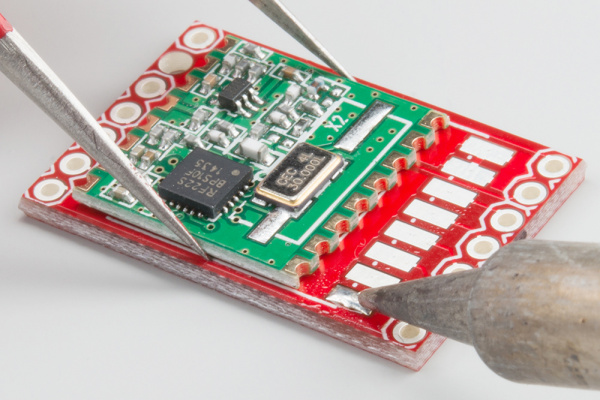
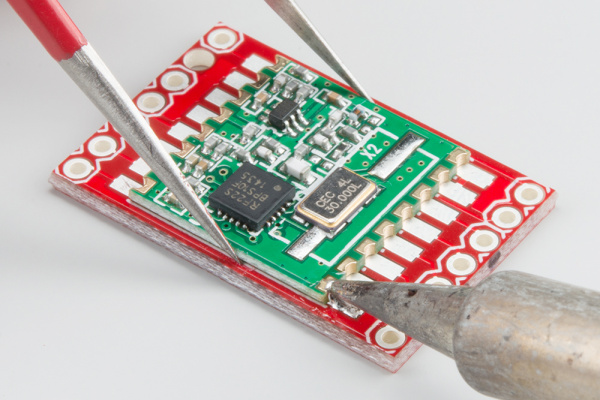
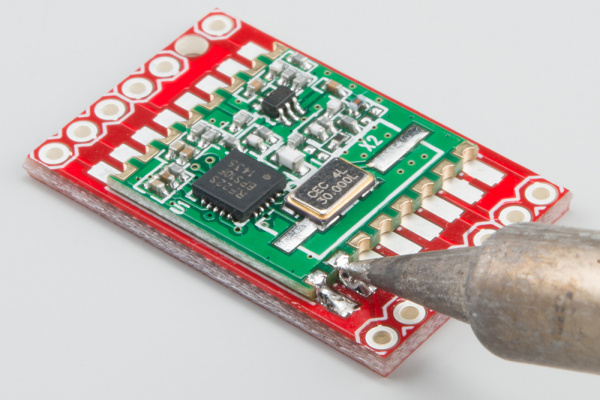
Keeping the iron on the mound (we don't want the solder to solidify!), carefully slide the module into place. Make sure that the tip of the iron touches the first castellated via and the pad with the melted solder. We want the castellation to heat up and wick up some of the solder.
Before you remove the iron, make sure the castellated vias on the module line up with the footprint. While the solder is still melted, you can carefully twist and slide the module as needed to line it up.
Remove the iron, and wait for the solder to cool and solidify. Don't touch the board during this process, otherwise you will ruin the good solder joint. Inspect the joint to make sure solder has adhered to the pad and castellation.
If you find that the module is not lined up with the pads, add some flux to pin 1, touch the iron tip to the joint to melt the solder, and carefully move the module with tweezers so that everything lines up. This is also a good time to check on the castellated mounting holes on the other side of the board to make sure that it is lined up before adding more solder.
Solder the Next Pin
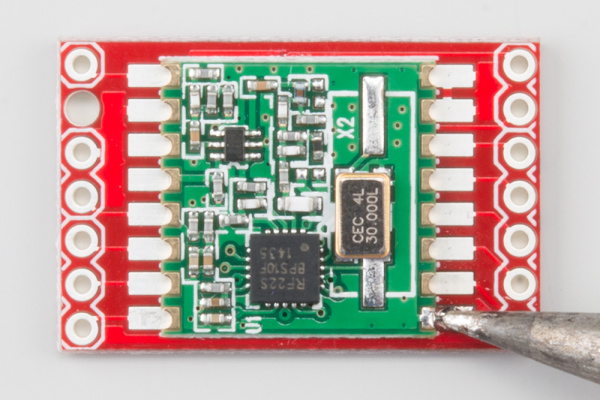
On the next pad, hold the tip of the iron so that it touches both the castellated via and the pad. Feed solder into the joint (the intersection of the iron tip, the via, and the pad). It might take a moment for the solder to start melting, so be patient.
Once you have enough solder, remove the solder first.
Once the solder is away, remove the iron. Wait for the solder to cool before touching the board. Inspect the joint to make sure the solder has covered the via and the pad.
Solder the Rest
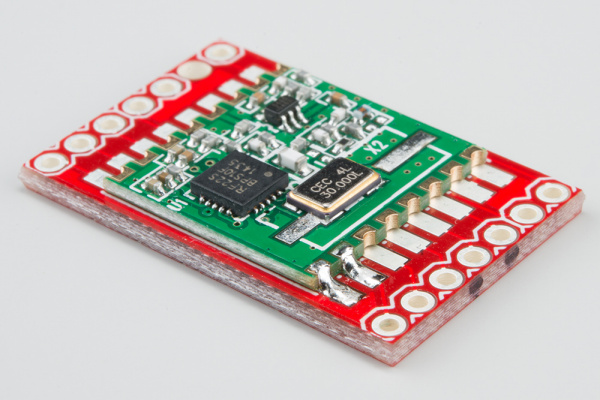
One-by-one, solder each of the castellated vias to the pads, until all the vias have been soldered to the pads.
Clean the Board
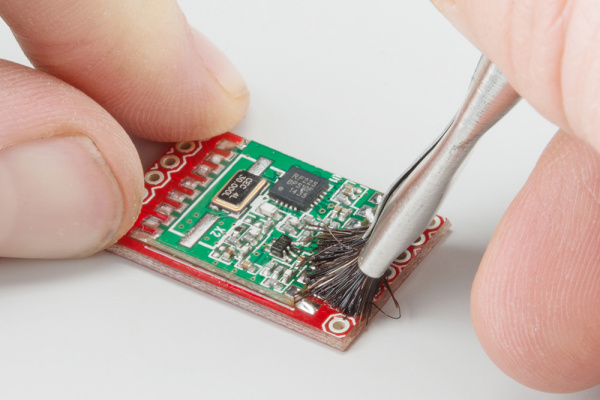
Your completed assembly will likely have some flux residue on the board or module near the pins. It will be sticky and black or amber in appearance. You will want to clean that off.
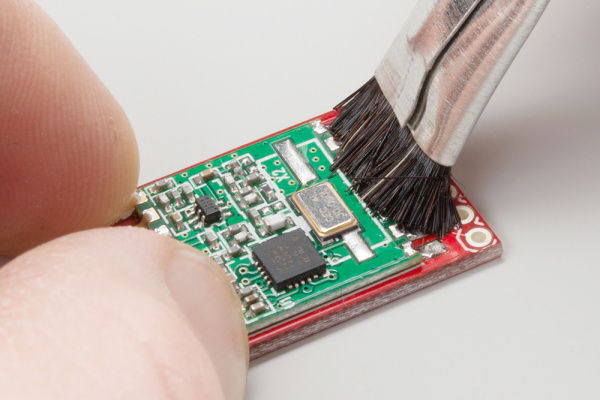
Pour some rubbing alcohol in a bowl, dip your brush into it, and scrub it on the pins and pads to remove the residue.
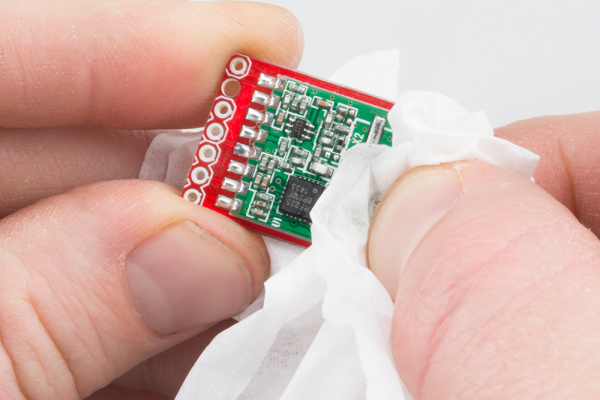
Dry off the board using a low-lint towel or paper towels. We recommend something like Kimwipes to avoid leaving lint on the board. Compressed or canned air works well for this too.
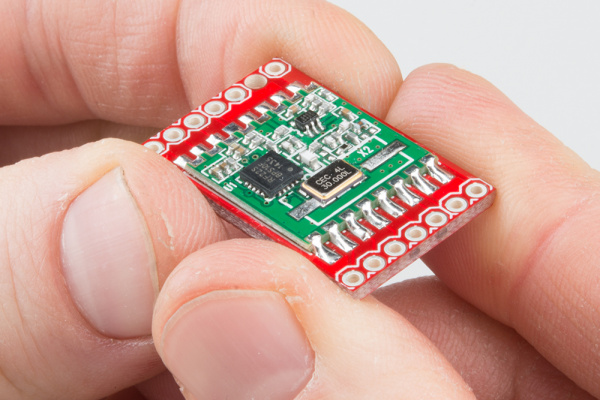
Inspect your handiwork! Make sure all the pins are soldered to their respective pads and the board is free of flux residue. You might have to repeat the cleaning process a few times to get it completely flux-free.
Troubleshooting
This section will go over a few of the gotchas involved with Surface Mount Soldering.
Stubborn GND Pins
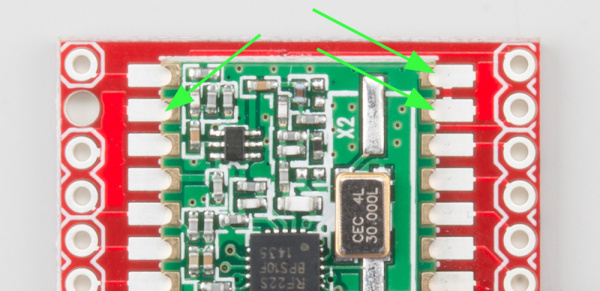
You may notice that just a few of the pins you're soldering are being more stubborn than others in that they don't want to accept the solder as willingly. This is due to the Ground (GND) plane (or pour). In PCB design, you can either make a connection with a trace (the tiny copper lines running all over PCBs) or you can create a plane or pour of copper (the light red blobs tucked in between the dark red PCB in the photo below). These are often connected to GND or Vcc, but can be connected to any signal you desire. No matter to which signal they are connected, this large plane of copper tends to absorb more heat than a skinny trace, which makes them slightly harder to solder.
If any pad in particular is giving you trouble, check to see if it's a pad connected to a pour. If so, take a few extra seconds heating up that pad before you apply solder. A little extra flux will help with stuborn pads as well.
Fixing Mistakes
What happens if you make a mistake, like soldering two pins together?
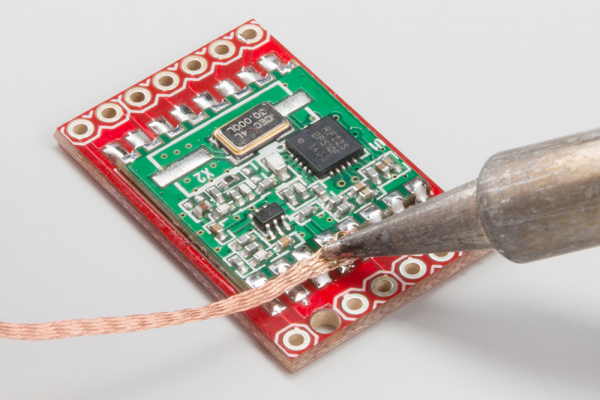
The easiest fix is to use a little bit of solder wick and some flux to remove the solder.
Prepare the Wick
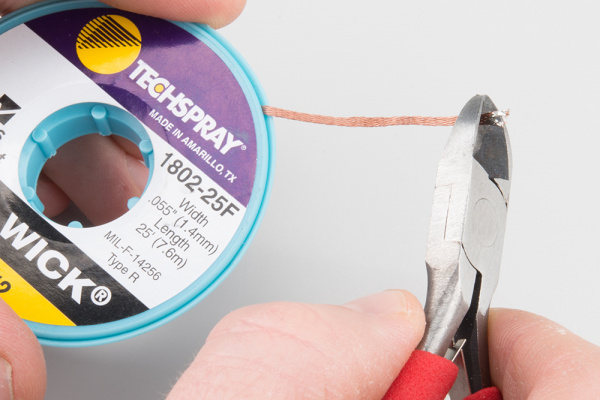
If there is any solder on the end of the solder wick, clip it off. The solder will be silver in color.
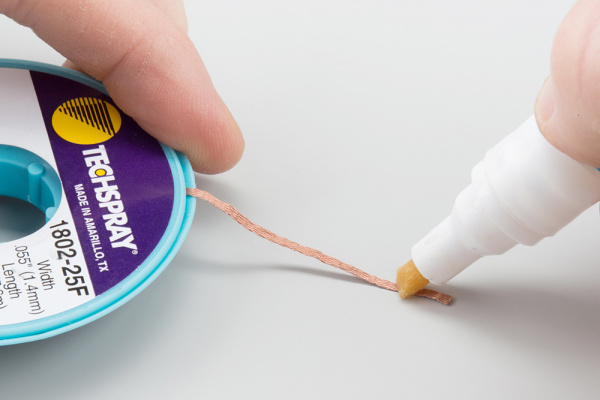
Apply flux to the end of the wick. Most solder wick contains some flux, but it helps to add some more.
Remove Excess Solder
Hold the wick down on the solder bridge, and hold the soldering iron tip to the wick. Wait a few seconds, and the solder between the pins should be sucked up into the wick.
Fix the Pins
If you accidentally removed too much solder from a joint, you can simply add flux to the joint, hold the iron tip to the joint, and add a little more solder.
Clean the Joint
Any time you add flux or solder (which likely contains flux) to a joint, you will want to clean it with a brush and some rubbing alcohol.
Inspect Your Work
Inspect the joints again to make sure the bridge has been removed and there is good solder deposition across all the pins.
Resources and Going Further
Advanced Techniques
While it was originally created for PTH soldering, Joel shows some great advanced soldering techniques in this video.
If you have a small enough module or the right tip for the hot-air rework station, you can use the part-removal techniques shown by David in this video to desolder the module.
Resources
If you are interested in more information about soldering, here are some resources:
If you wish to design your own PCBs, we have an excellent series of tutorials covering the design process using Eagle, a free PCB design software.
