How to Install CH340 Drivers
Windows 7/10
Download and run the executable.
Click the "Uninstall" button first. Then click on the "Install" button.
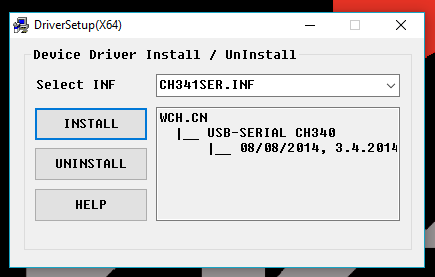
Windows CH340 Driver Installation
Driver Verification for Windows
To verify that your driver is working, you should see a difference in the following pictures after plugging the CH340 to a USB port.
Device Manager
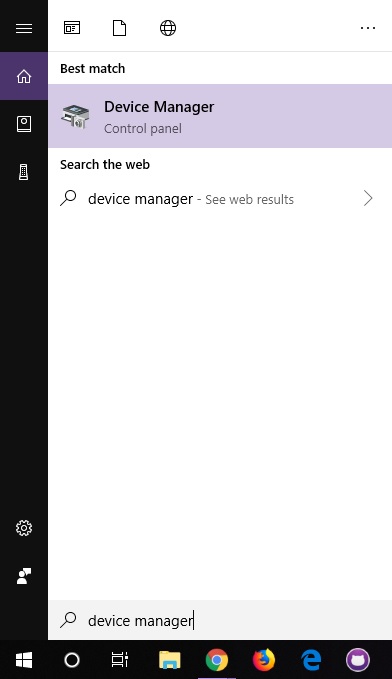
To check that the CH340 enumerates to a COM port, you can open the device manager. You can click the Start or ⊞ (Windows) button and type "device manager to quickly search for the application.
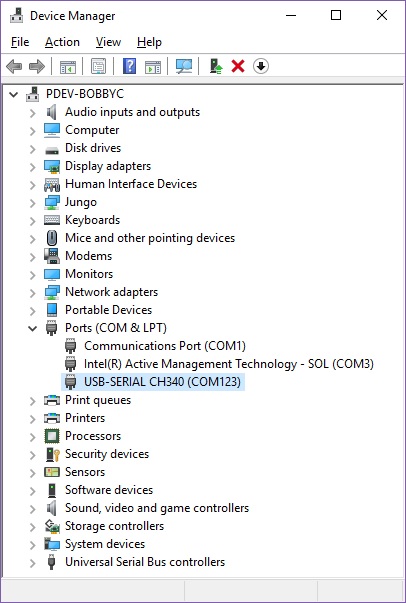
After opening the device manager, you will need to open the Ports (COM & LPT) tree. The CH340 should show up as USB-SERIAL CH340 (COM##). Depending on your computer, the COM port may show up as a different number.
Arduino IDE
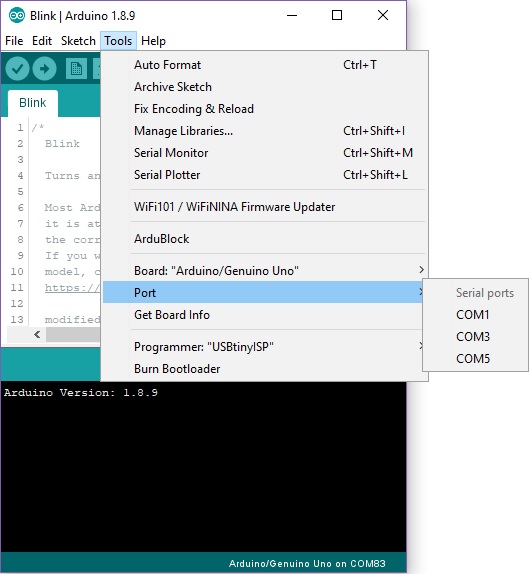
Alternatively, if you have the Arduino IDE installed, you should also see a change in the number of available COM Ports (you may need to restart the Arduino IDE for the board to populate). Without the CH340 connected to your computer, click on Tools > Port. Take note of the Serial Ports available.
Connect the CH340 to your computer's USB port. Click on somewhere else on the screen for the menu to refresh itself. Then head back to the menu by clicking on Tools > Port. A new COM port should pop up. By process of elimination, the CH340 should have enumerated to the new COM port! Feel free to click on the COM port to select if you are uploading code to a microcontroller. Depending on your computer, the COM port may show a different number.
Serial Loop Back Test
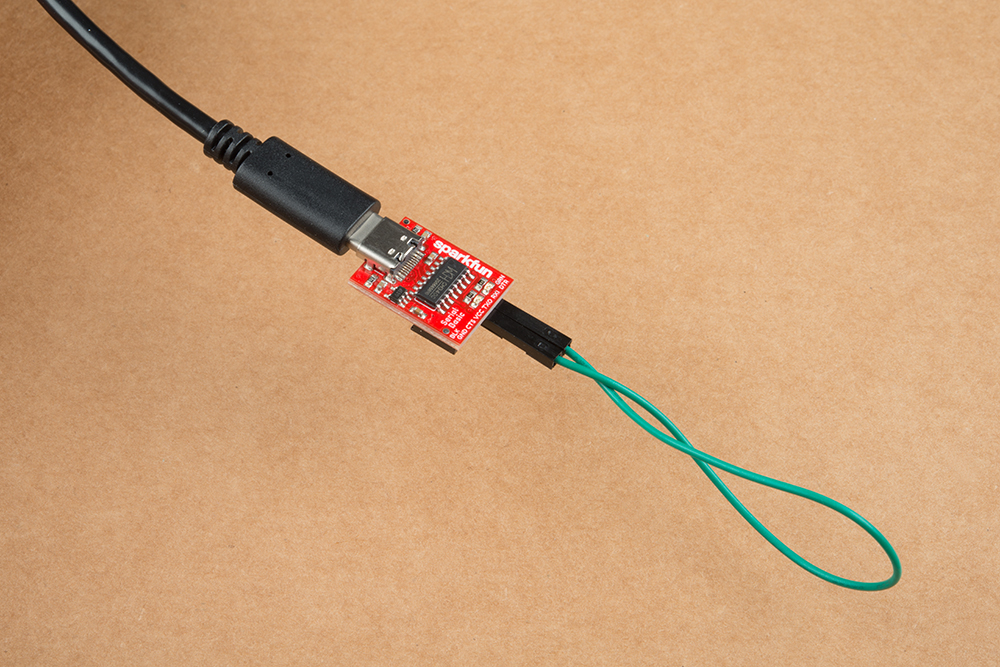
You can also verify if the USB-to-serial converter is working by doing a serial loop back test or echo test. If you are using the breakout board, you can add a jumper between the Tx and Rx to try and echo a character in a terminal program. For more information, try checking out the Hardware Test for the serial basic hookup guide.
