How to Install an ATtiny Bootloader With Virtual USB
Contributors:
 Shawn Hymel
Example: Blinky
We should have everything set up to flash a program onto the ATtiny84 from the Arduino IDE! But first, let's simplify the hardware.
Hardware Setup
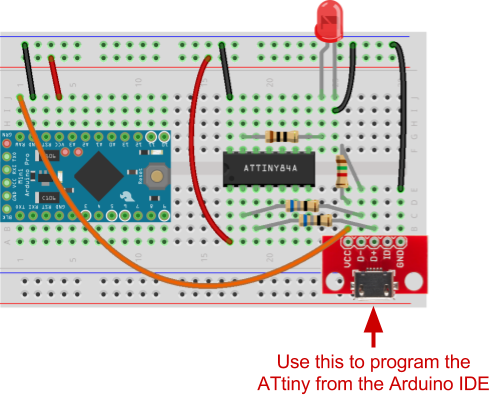
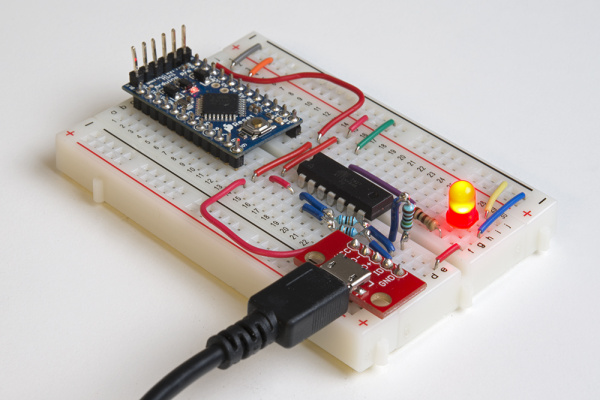
We can modify our hardware to disconnect the programming lines from the Arduino Pro Mini, which will free up some GPIO on the ATtiny. We'll still want to use the Pro Mini's voltage regulator to drop the USB voltage from 5V to 3.3V.
Warning: Make sure you unplug the USB cable from the Arduino! We don't want to short anything. From now on, we'll be using the USB micro breakout on the breadboard to program the ATtiny84.
The Code
Close and reopen the Arduino IDE to load the new board definition files.
Note: On Linux and OS X, you'll need to run the Arduino IDE with administrator/root privileges in order to upload sketches over USB.
In a new sketch, copy in the following:
language:c
const int led = 0;

void setup() {
  pinMode(led, OUTPUT);
}

void loop() {
  digitalWrite(led, HIGH);
  delay(1000);
  digitalWrite(led, LOW);
  delay(1000);
}
Upload and Run
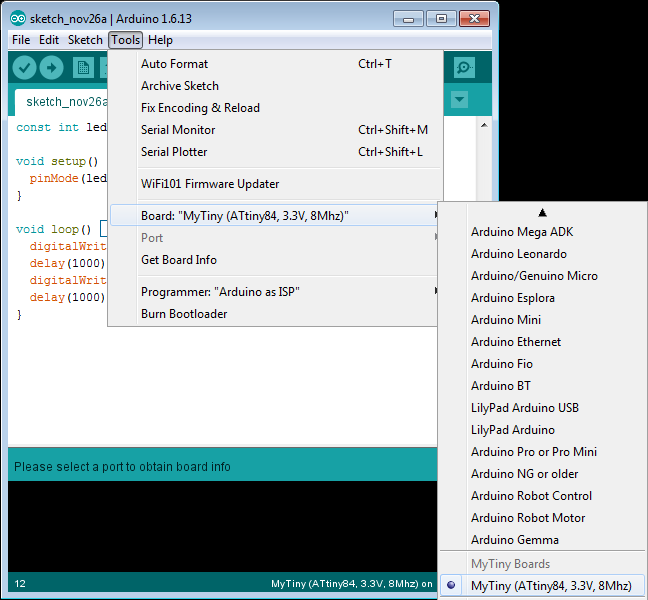
In Tools > Board, you should see only one option under MyTiny Boards. Select it.
This part is important! Follow these steps to upload the sketch to the ATtiny84. Because our V-USB connection does not automatically reset the ATtiny, we'll need to reset it manually as the bootloader runs for the first five seconds after power-up before relinquishing control to the user program.
- Unplug USB cable
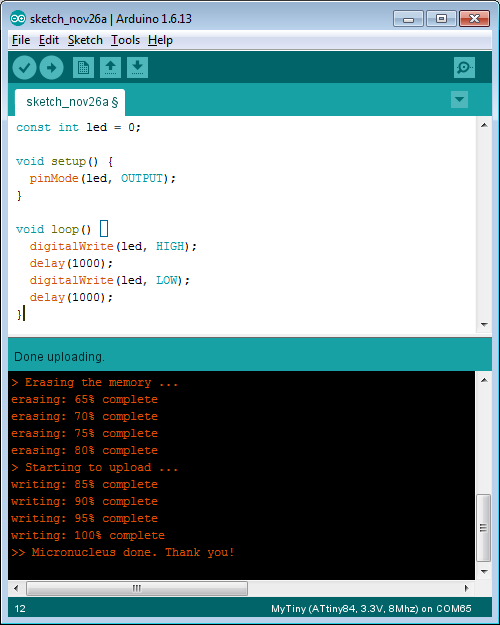
- Press Upload in the Arduino IDE
- Wait for the phrase "Uploading..." to appear just above the Arduino console
- Plug in the USB cable
- Wait five seconds for the ATtiny84 to reboot and time out of the bootloader to start running our Blinky sketch
And that's it! You should see the LED begin to blink on and off.


