Hobby Servo Tutorial
 MikeGrusin,
  Byron J.
 Controlling a Servo with Arduino
Because they move on command, servo motors are an easy way to add motion to any project. If you're working with an Arduino-compatible platform, the Arduino servo library provides a ready-to-go servo pulse generation solution.
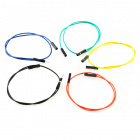
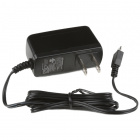
Suggested Materials
To build this example, you'll need the following materials.


Hardware Hookup
Hooking a servo to a RedBoard is pretty straightforward. It only requires 3 connections.
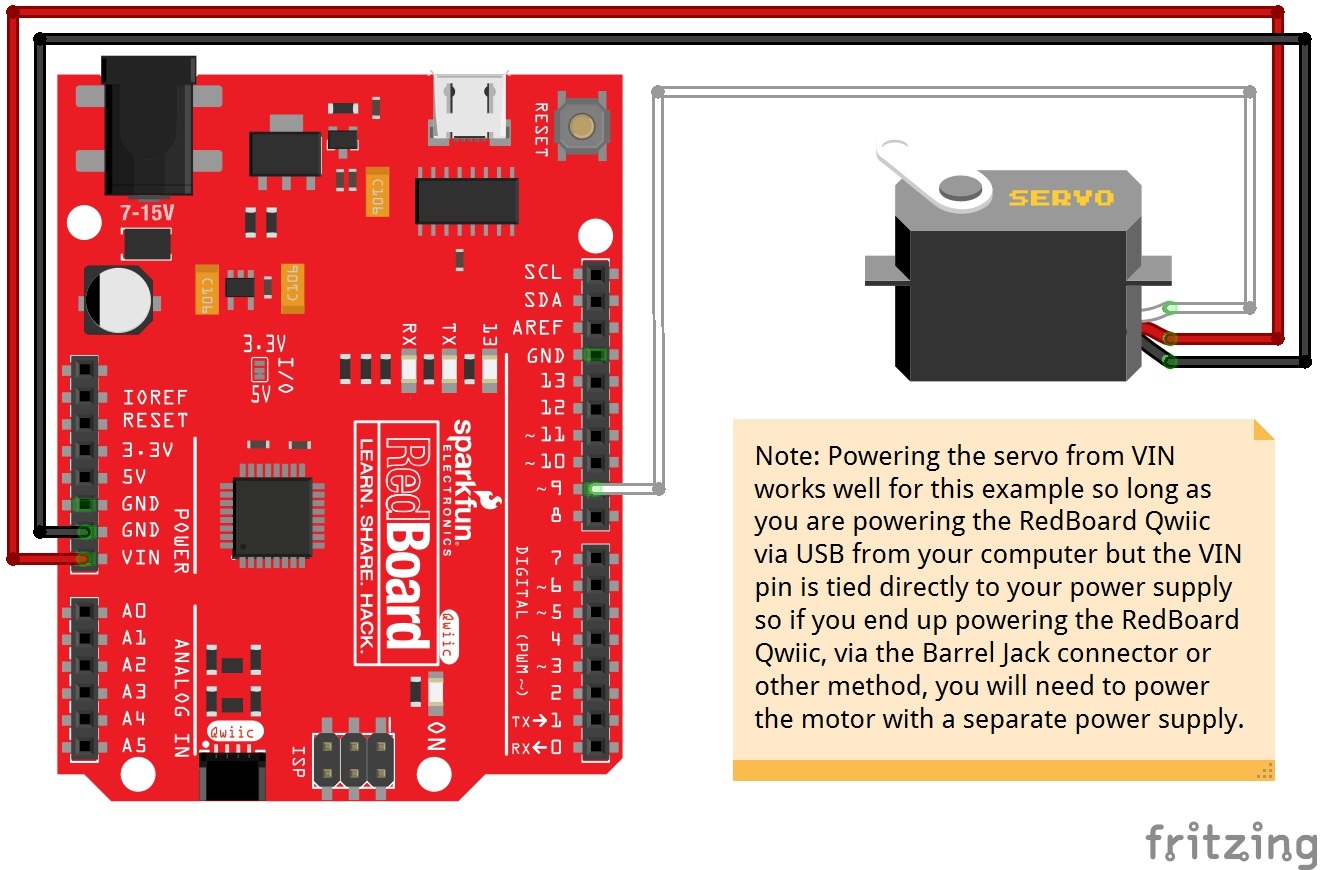
In particular, notice that power to the servo motor is supplied from the VIN pin, which bypasses the onboard regulator. The onboard regulator is insufficient to drive anything but the smallest of servos. You'll also notice that the project is powered with a 5V wall adapter. On the author's workbench, performance was marginal when the board was powered by the USB port.
Firmware
With the circuit hooked up, load the following sketch.
Note: This example assumes you are using the latest version of the Arduino IDE on your desktop. If this is your first time using Arduino, please review our tutorial on installing the Arduino IDE.
If you have not previously installed an Arduino library, please check out our installation guide.language:c
/******************************************************************************
servo-skatch.ino
Example sketch for connecting a hobby servo to a sparkfun redboard
(https://www.sparkfun.com/products/9065)
(https://www.sparkfun.com/products/12757)
Byron Jacquot@ SparkFun Electronics
May 17, 2016
**SparkFun code, firmware, and software is released under the MIT License(http://opensource.org/licenses/MIT).**
Development environment specifics:
Arduino 1.6.5
******************************************************************************/
#include <Servo.h>
Servo testservo;
uint32_t next;
void setup()
{
// the 1000 & 2000 set the pulse width
// mix & max limits, in microseconds.
// Be careful with shorter or longer pulses.
testservo.attach(9, 1000, 2000);
next = millis() + 500;
}
void loop()
{
static bool rising = true;
if(millis() > next)
{
if(rising)
{
testservo.write(180);
rising = false;
}
else
{
testservo.write(0);
rising = true;
}
// repeat again in 3 seconds.
next += 3000;
}
}
This sketch drives the servo back and forth.
Pay particular attention to the attach() call on line 26. It is using the optional min and max parameters, to constrain the pulses to the 1000 to 2000 microsecond (1 to 2 millisecond) range. As noted in the Range Constraints section above, driving a servo outside that range may damage the servo.
attach() call. With the minimum and maximum defined, the parameters to the write() method (ideally expressed in degrees) get retranslated to the constrained range. In the example, write(0) will result in a 1 millisecond pulse, and write(180) yields a 2 millisecond pulse. On an average servo, this translates to approximately 90° of motion, not the 180° that the call parameters would indicate.
The servo library also has a few other limitations. Most notably, it overrides analogWrite()on pins 9 and 10. For more information about the library, check the Arduino reference pages.
If things don't seem to be quite right, please look through the troubleshooting section.