Hackers in Residence: The Sound Visualizer Pt. 2
Introduction
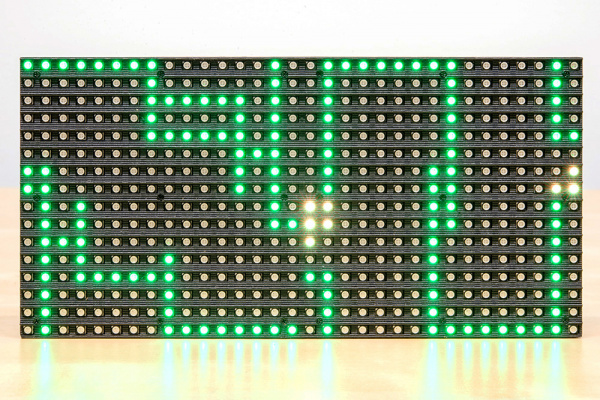
This guide is a follow up to the first write up I did for my participation in the SparkFun HIR program. This guide shows how to setup a music visualizer for PCs/laptops. It uses an RGB LED panel to display the music visualization. It plays MP3s and is Java powered. This project differs from the first one in that it samples the data output to the computer’s sound card versus sampling ambient noise with a microphone or a Sparkfun sound detector.
Required Materials
This project assumes you have access to a PIXEL board. Please note that I have no afiliation with the PIXEL project other than I write software for it and Al gives me PIXEL hardware as incentive to write more software.
The PIXEL usually comes with an RGB LED panel, but the board alone is also available. If only the PIXEL board was acquired, then this panel from Sparkfun can be used with this project.
Other than a PIXEL unit, you need a PC or laptop that supports Java 8. To play the demo songs, an Internet connection is required. If no Internet connection is available, then select some MP3s on the filesystem for use with the music visualizer. More details on selecting MP3s from the local filesystem are below.
Suggested Reading
Before diving into this project, you may want to check out these other tutorials first.
- Connector Basics
- Light-emitting Diodes (LEDS)
- How LEDs Are Made
- RGB Panel Hookup Guide
- Serial Communication
