How LEDs are Made
 Nate
Nate 
YunSun LED
During the 2014 trip to China, our supplier YunSun was kind enough to pick us up in Shenzhen and give us a tour of their factory.
Although SparkFun has been using and selling LEDs for over 10 years, I had never seen or really understood how they were made. I let Merry Xiao, our main contact at YunSun, know that we were very interested in learning, so she arranged to give us a tour on a Saturday when the factory was closed. We were extremely grateful!
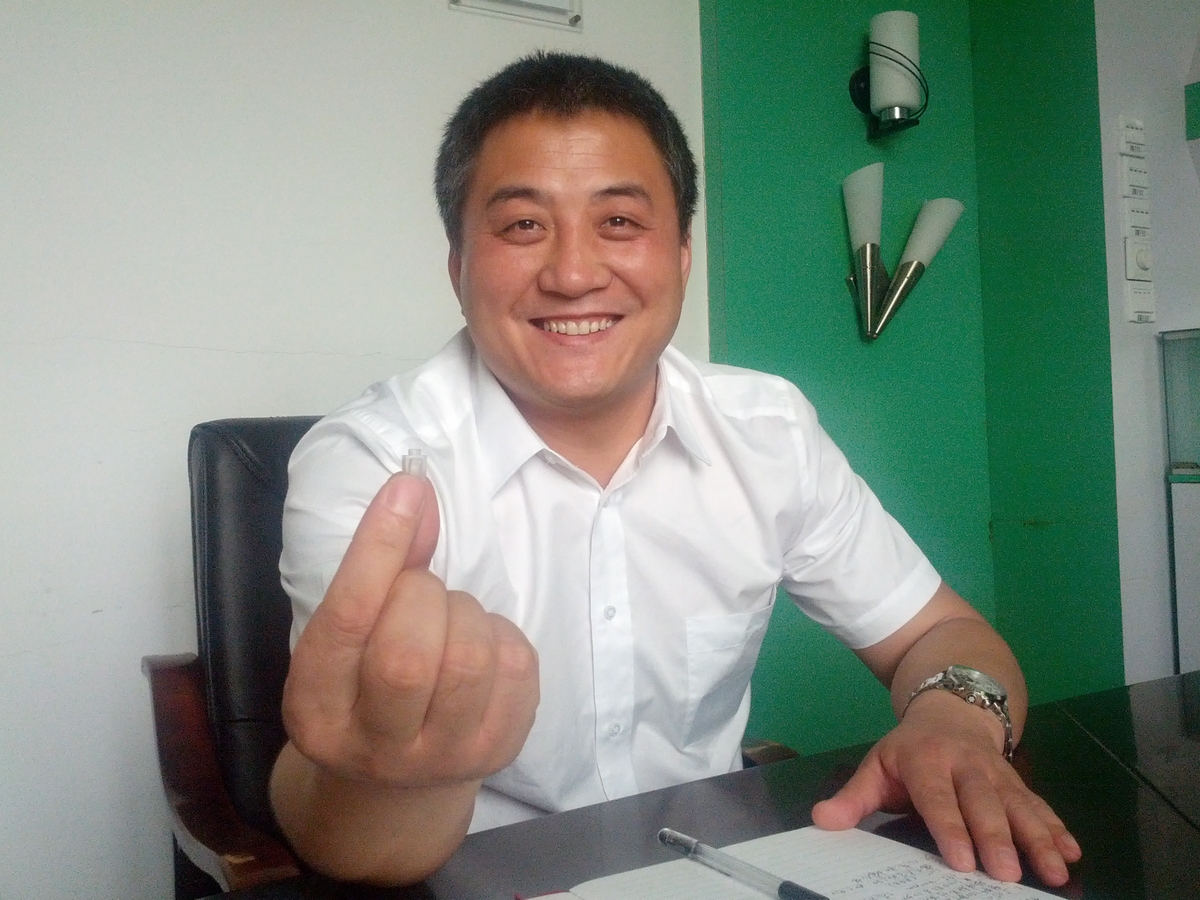
This is Mr. Si the proprietor of YunSun with the most hilarious sense of humor. He's holding a project that my wife Alicia Gibb is working on. Merry joined us as well and helped translate.
Basic Parts

This is a sheet of LED dies. YunSun buys their dies from a high quality Taiwanese company. That's my thumb next to 4,000 dies. The cost for the sheet is roughly 80RMB or $12.50.
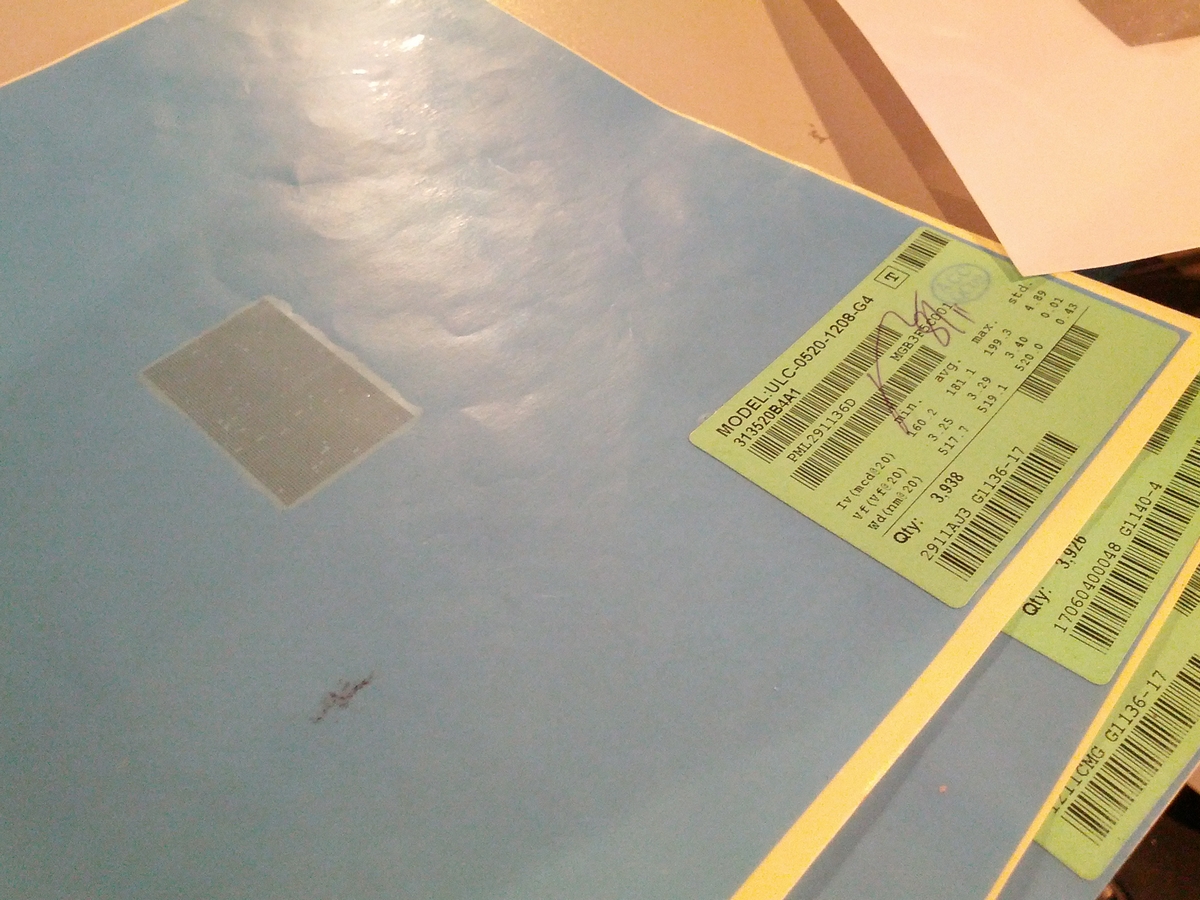
Each sheet has the batch characteristics listed in the corner. The dies on this particular sheet have a wavelength of ~519nm or right on the edge between green and cyan blue. Three thin sheets containing 12,000 LEDs soon to be hatched!

The process starts with punched metal lead frames. Each one of these frames has the basic structure for 20 LEDs. Shown above is about 15 frames or 300 LEDs.
Machines
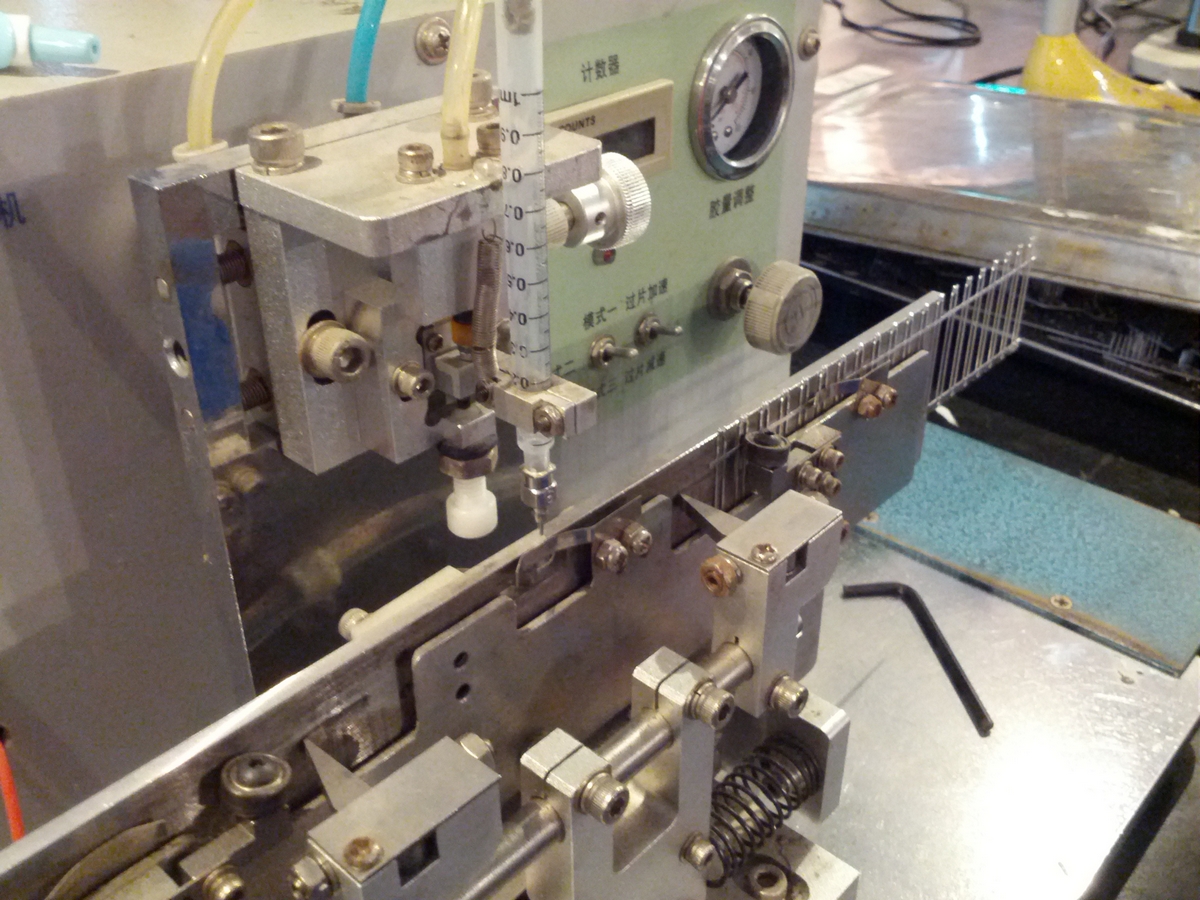
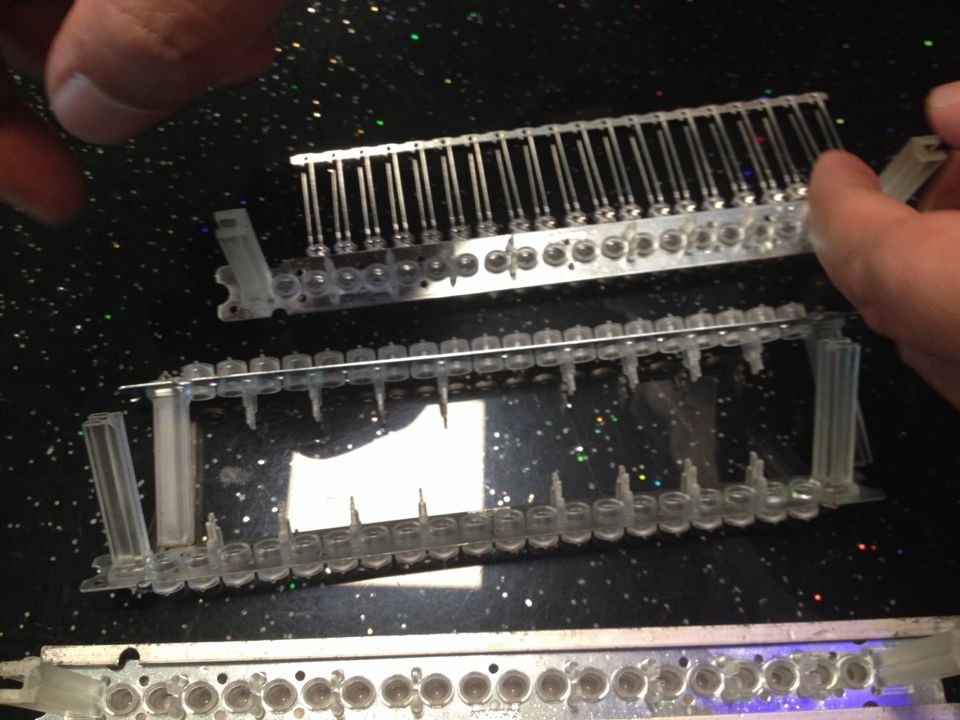
The first machine takes the lead frame and applies a small drop of adhesive to each of the cups at the top of the cathode terminal.
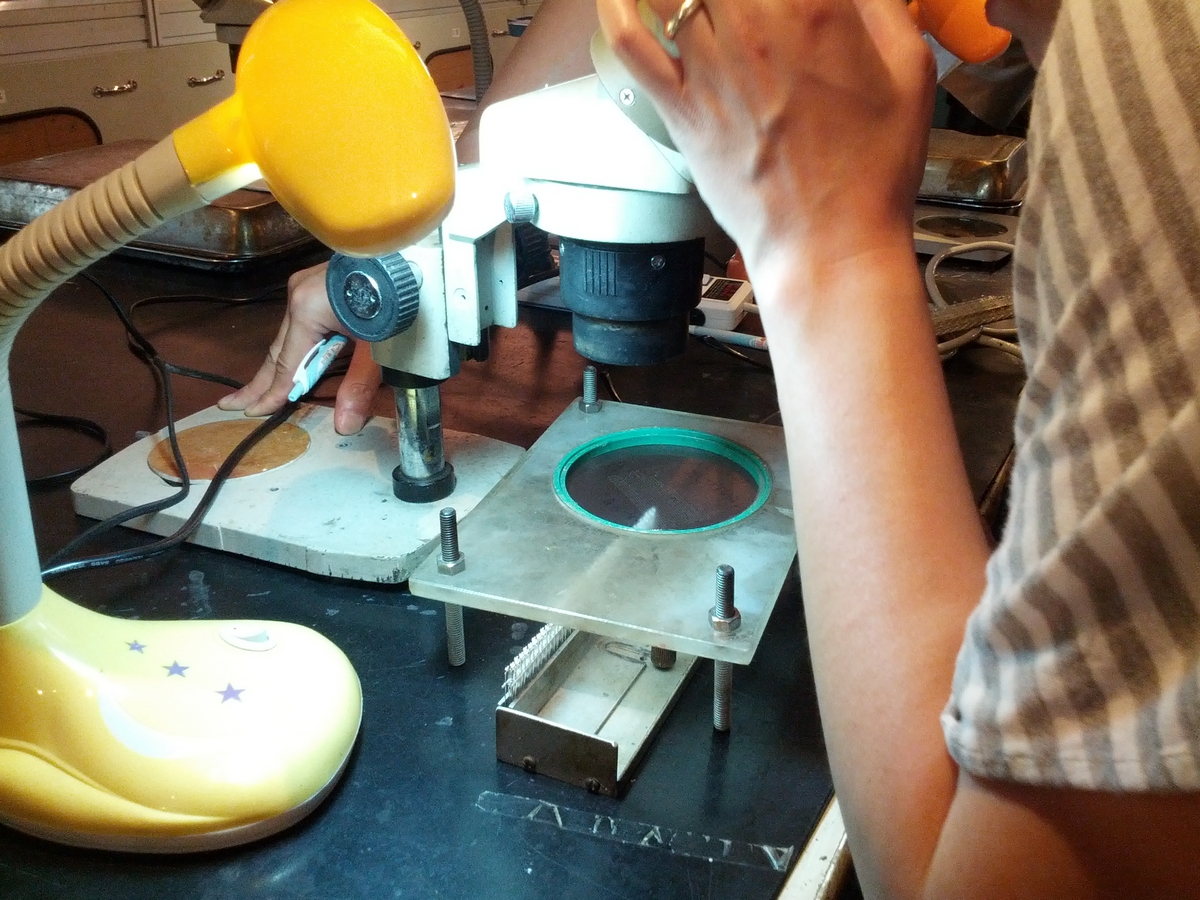
As shipped on the paper sheets, the LED dies are too close together to manipulate. There is a mechanical machine (not pictured) that spreads the dies out and sticks them to a film of weak adhesive. This film is suspended above the lead frames, as shown above. Using a microscope, the worker manually aligns the die, and, with a pair of tweezers, pokes the die down into the lead frame. The adhesive in the lead frame wins (is more sticky), and the worker quickly moves to the next die. We were told they can align over 80 per minute or about 40,000 per day.
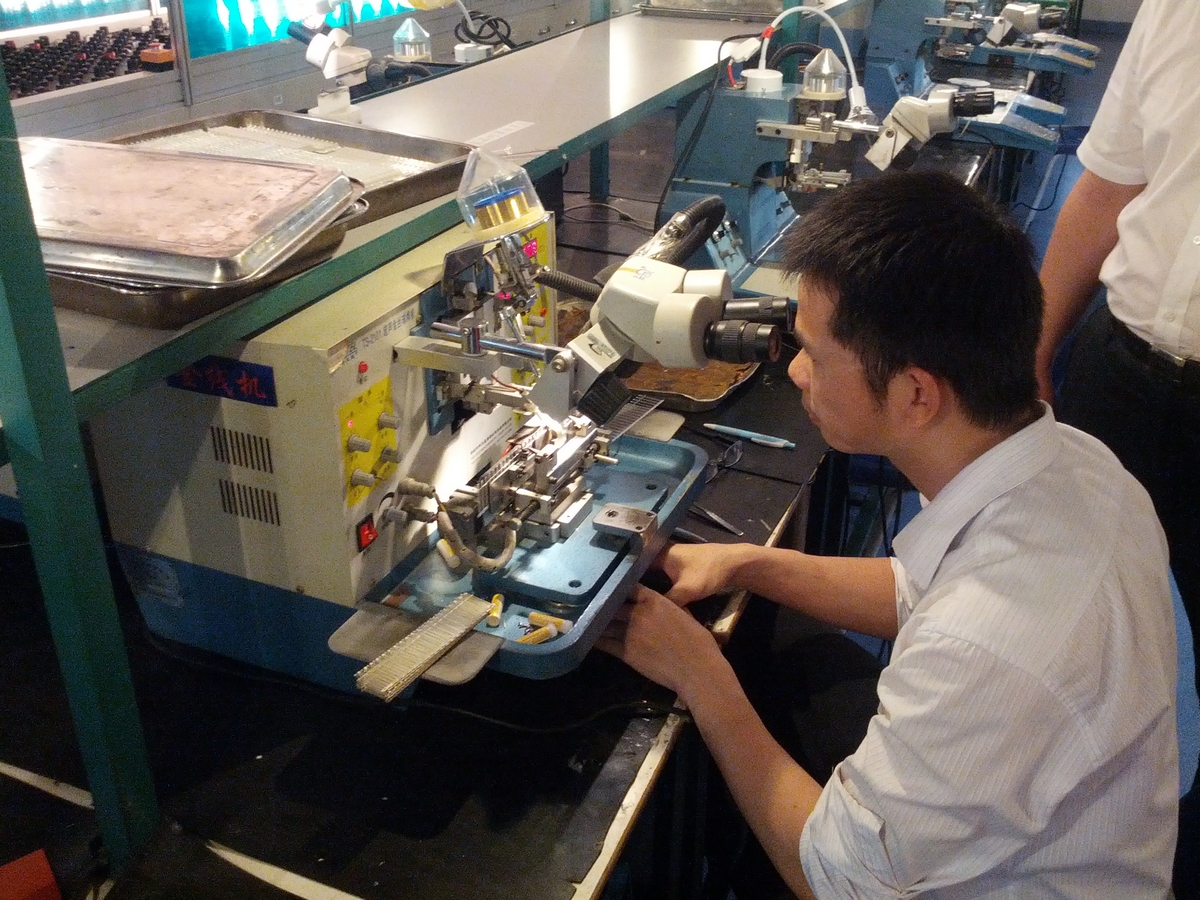
Above is the LED wire bonding machine. This attaches a hair-thin gold wire from the top of the LED die to the anode lead.

One of the first things that surprised me on this tour was that the entire operation was done in open air. For some reason I assumed manipulating silicon dies required clean room technology. I could do this in my basement! Hmm...
ReplaceMeOpen
ReplaceMeClose
This machine took quite a bit of tuning and tweaking to get setup, but once it was up and running, it was impressive to see the unit work automatically without computer aided alignment.
Since there is only one lead being bonded to the silicon die I assume the adhesive on the cathode is conductive. The adhesive sets in about 30 minutes before it goes to the next step.
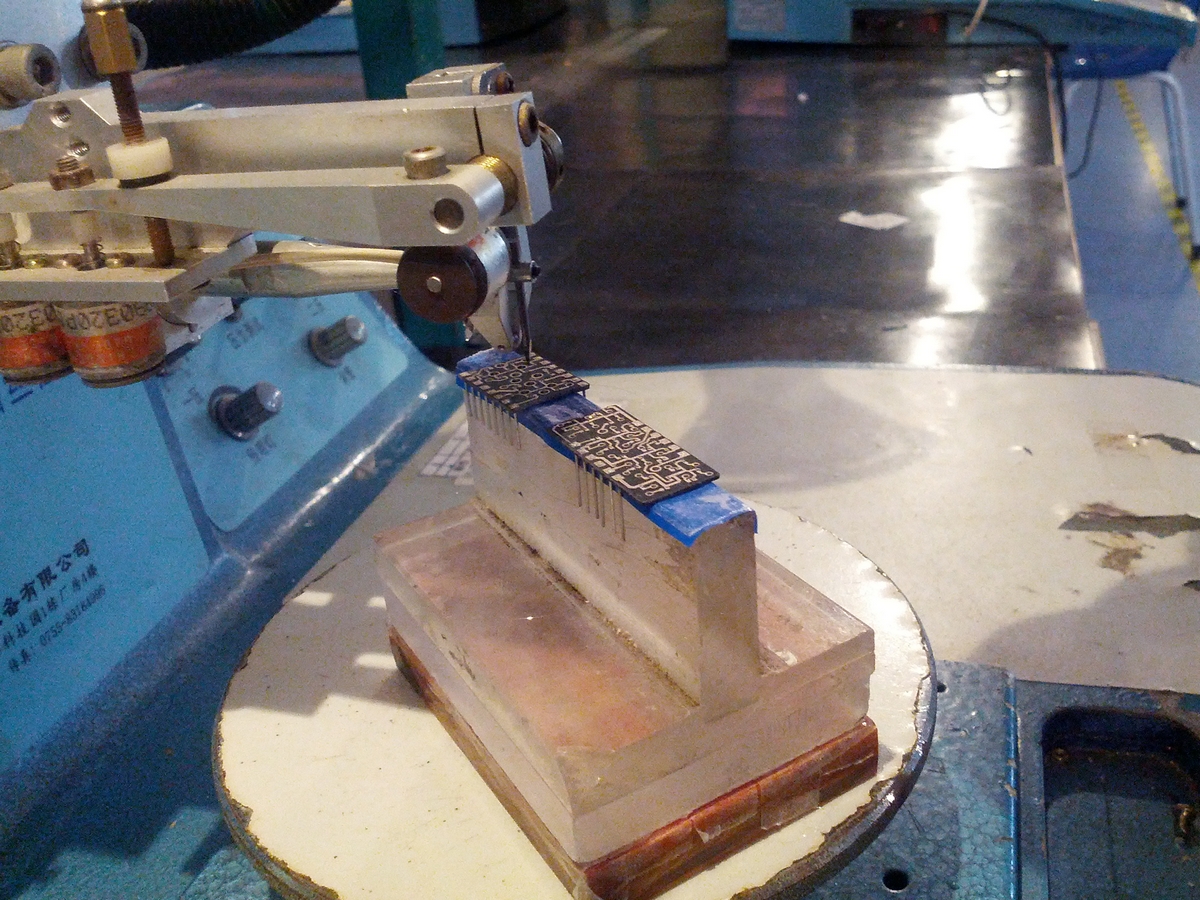
Here was another surprise. These are 7-segment displays. For some reason, I always thought there was full blown 3mm (or some size) LEDs behind the segments of the display. In retrospect, I was obviously wrong, but it didn't hit home until I saw the 7-segment PCBs with dies directly attached to the board.
Molds and Testing
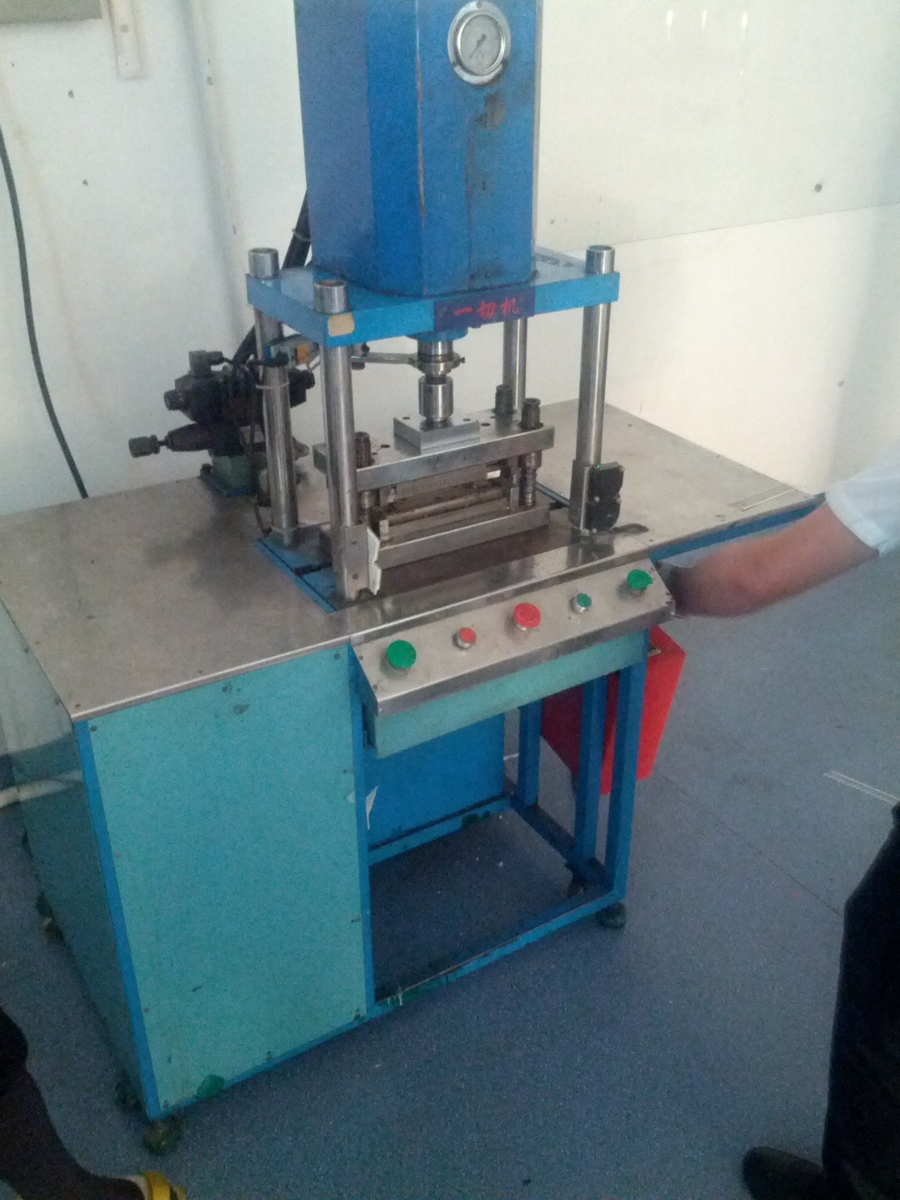
Back to the PTH LED process: Once the wire bond is in place and the adhesive is cured, the lead frame gets placed in the LED mold and gets epoxy resin pushed in around the lead frames.
These molds are what give the LEDs their shape. This was another ah-hah moment. I've seen many different shaped LEDs but always within some sort of dimension. You don't see many 5mm type LED leads with a star shaped head because:
- The mold has to release the head of the LED just like an injection mold. Any shape that has overhangs would be locked in the mold. What about a two part mold? That leads me to #2:
- The entire LED industry is built upon specialty cottage suppliers. This means there are suppliers that only do one thing: silicon manufacturing, lead manufacturing, mold manufacturing, etc. Almost no one owns the entire tool-chain, so YunSun has to pick from the available suppliers' options. While we were very excited to ask YunSun to create a super-custom, awesome LED for us, it would be next to impossible; we'd have to convince not just them but about 5 different suppliers to provide oddly sized lead frames, a mold size that is custom, adjust the machines to accommodate lead spacing that may be incompatible, and then create new test jigs and operating procedures. Not impossible, but far more difficult than I had assumed.
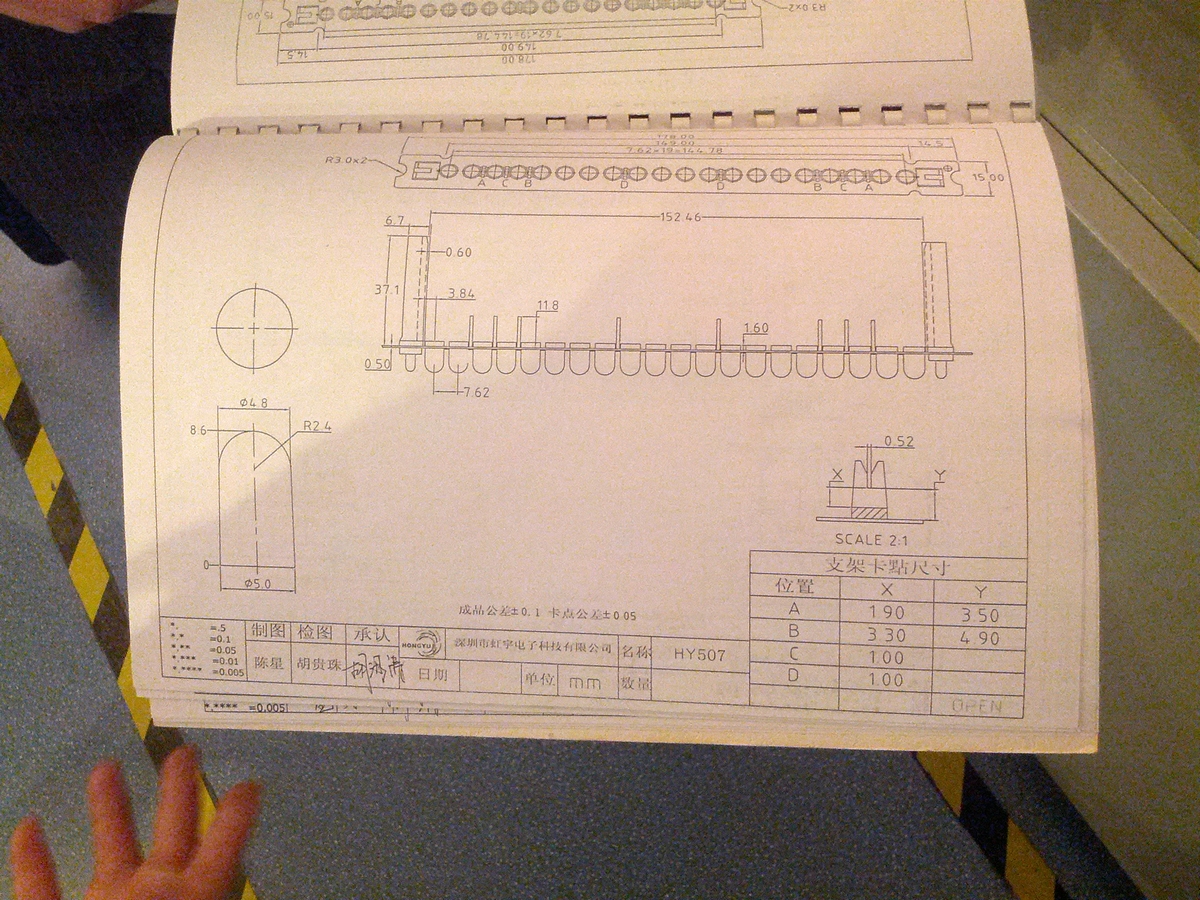
This is one of the mold suppliers' catalog containing a multitude of different shapes and sizes. Again, custom shapes are not impossible, but, if it's not in the catalog, it will be much more difficult to obtain.
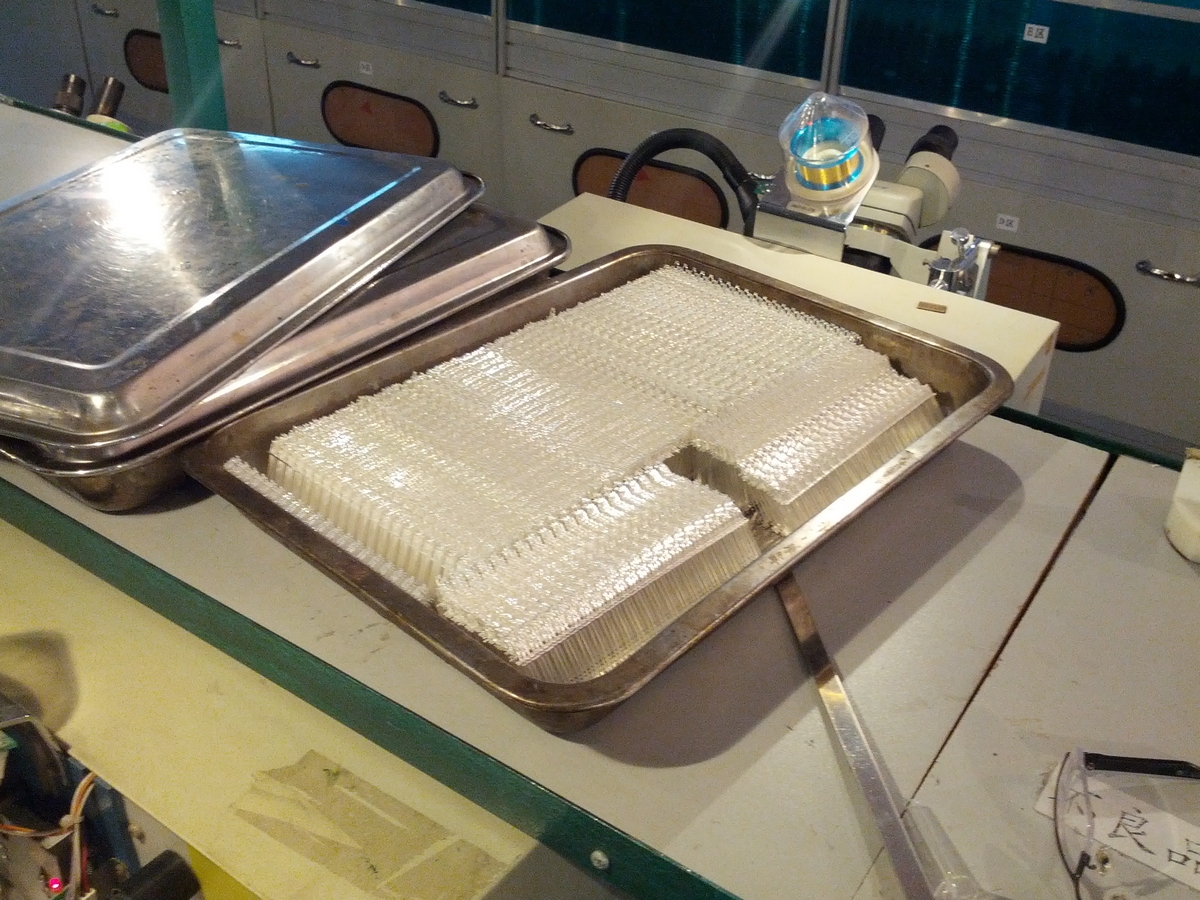
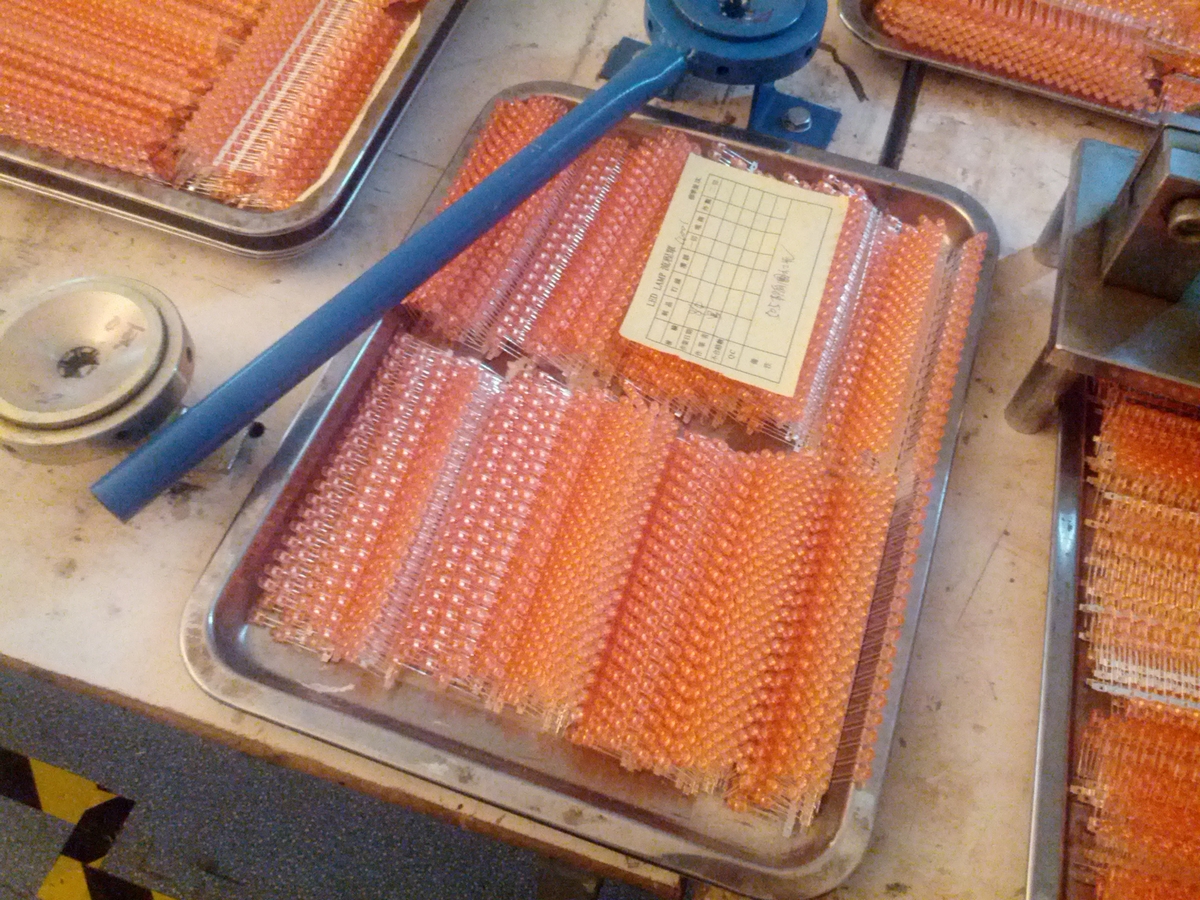
Once the epoxy has been injected, we were told the LEDs are baked for 45 minutes. At this point the LEDs can be released from the molds. They are then baked for another 8 to 12 hours to fully cure the epoxy. Once the LEDs are cured they are grouped in large batches shown above.
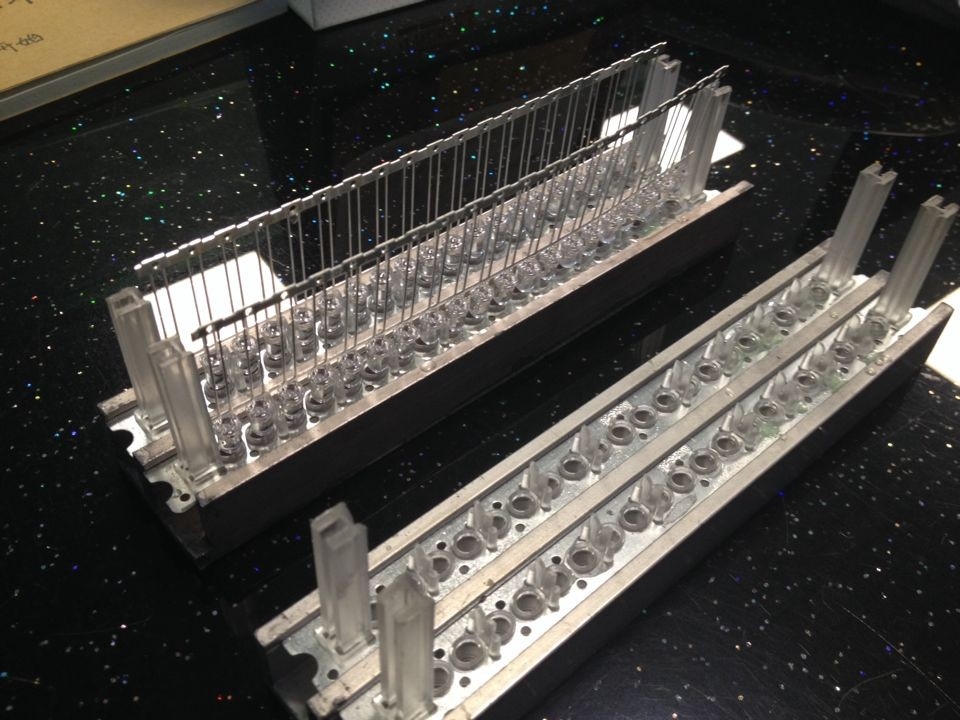
For support during the manufacturing process, the lead frames have bits of metal connecting the anode and cathodes together. Before testing, the above machine cuts the excess metal away so that the cathode is isolated and all the anodes are bussed together. Why is one pin shorter than the other on an LED? Mostly to ease manufacturing automation and testing. Why did they pick the cathode to be shorter? Probably because it's easier to control the low side (cathode) during testing.
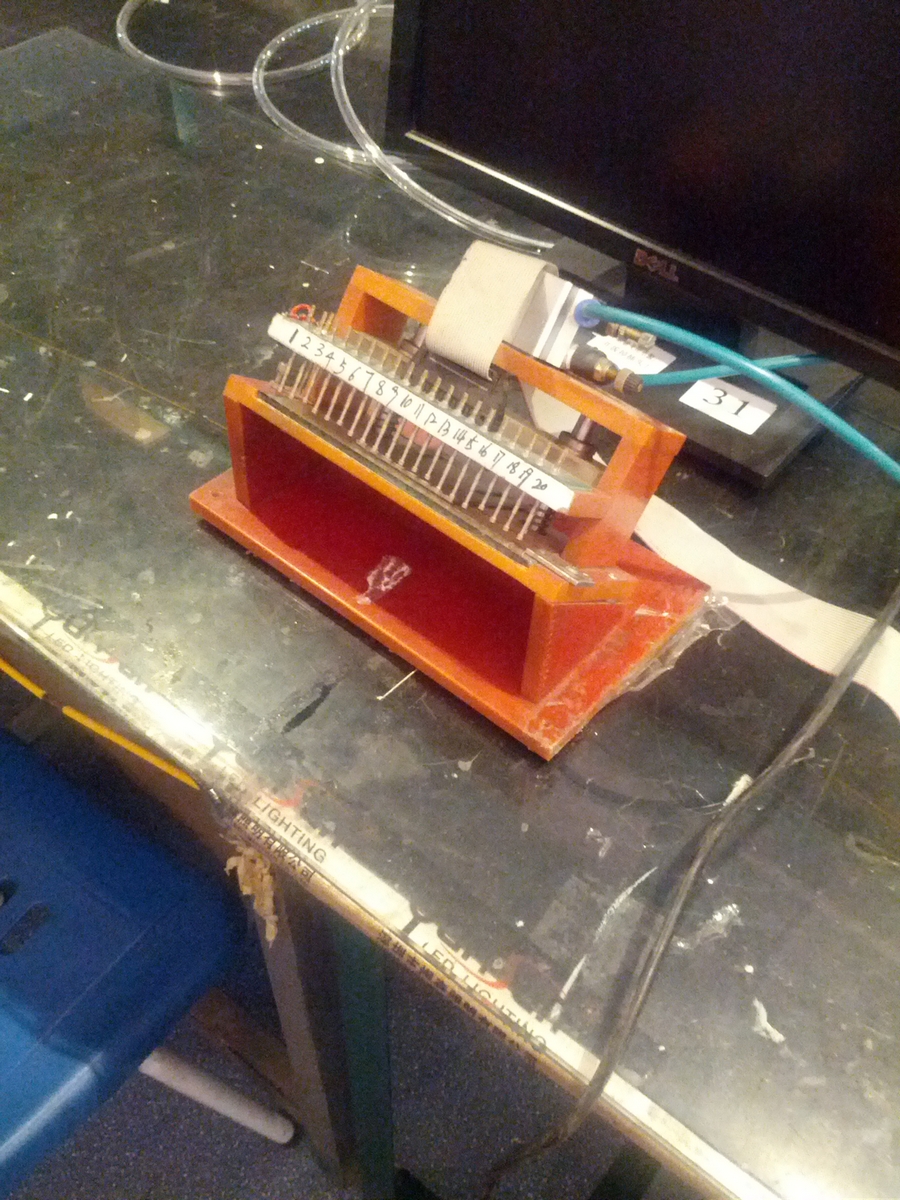
The next step is to test and verify each LED is using the appropriate amount of current. Too little (there is a disconnect) or too much (there is a short) and the LED is removed. Using a series of pogo pins this machine quickly tests each individual LED and displays the output on the computer. This is extremely similar to the pogo pin test jigs we design to test SparkFun products.
Once the LEDs pass QC, they go through another cutting step to separate the anodes from the lead frame.
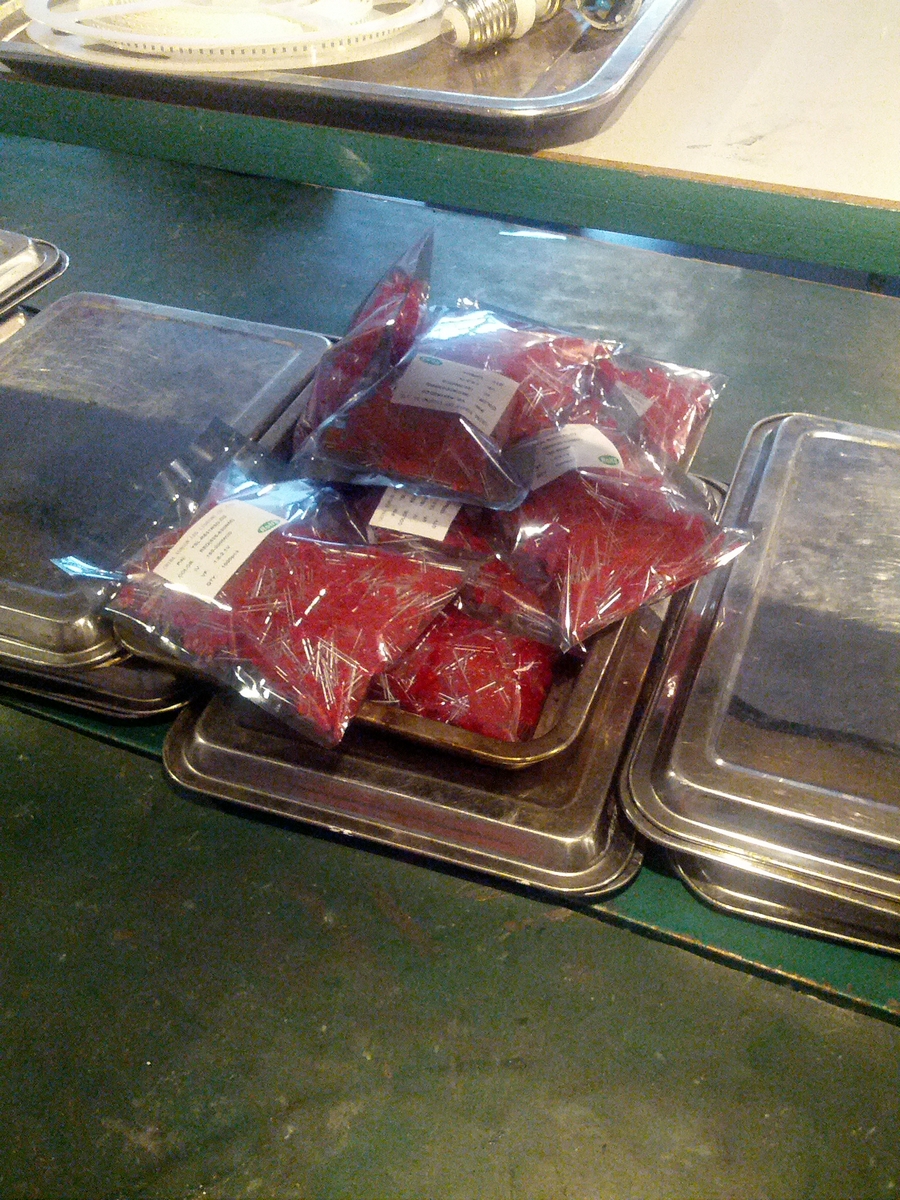
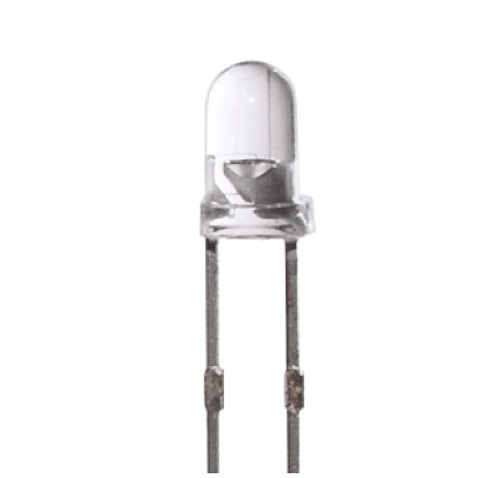
Lots and lots of 5mm red LEDs built just for SparkFun!

Using this same process, a lot of different shapes, colors, and sizes can be made.
Factory Overview

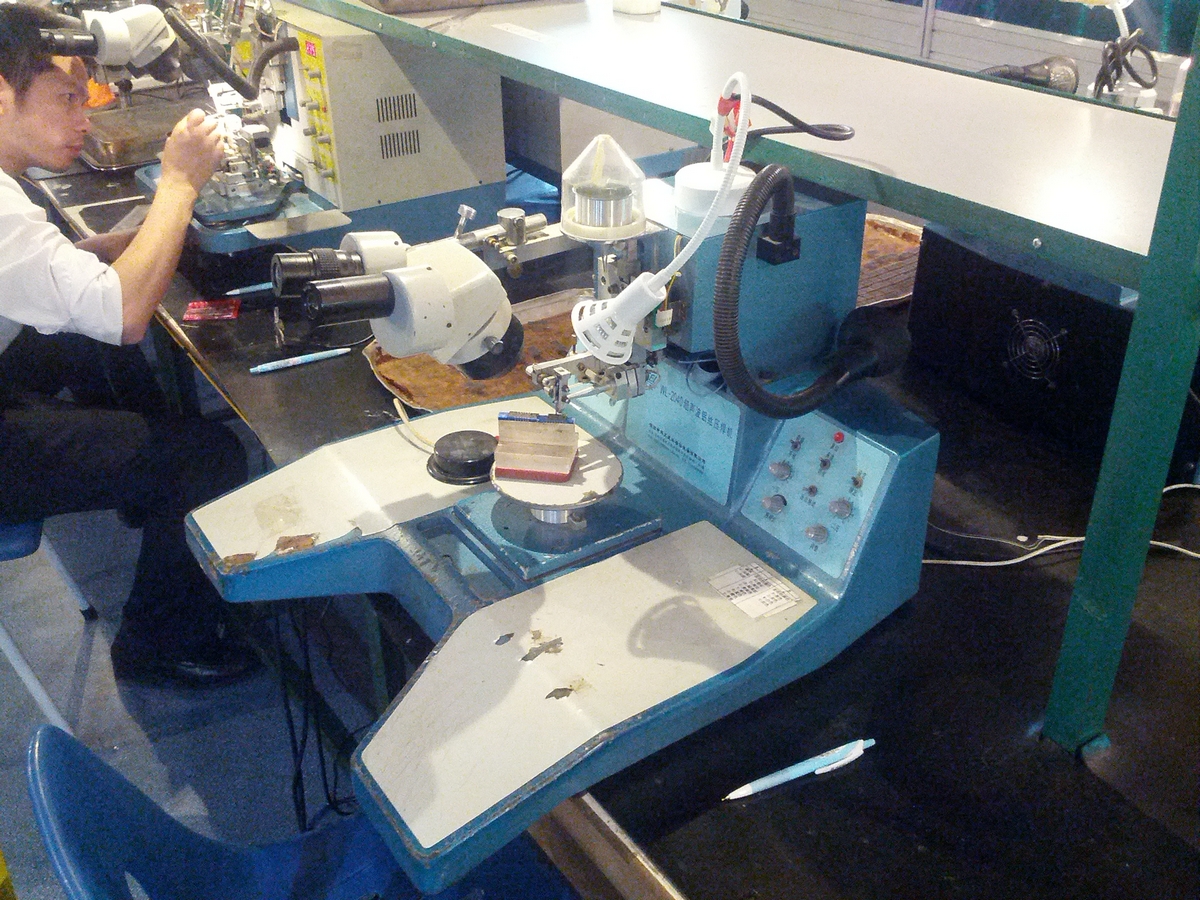
Overall the factory was compact and well laid out. There were four lines available to create whichever shape and type were needed that day.

Merry, Alicia, myself, and Mr. Si. We are very very grateful to YunSun for giving us a tour on their day off! If you ever need LEDs or LED light bulbs consider contacting Merry (merry at 100led.com). YunSun is a wonderful company to work with.
Resources and Going Further
We hope you've enjoyed reading! These tutorials take a lot of work and we hope you learn something from it! If you liked reading please leave a comment and let us know.
Ready to play with some LEDs? Here are a few of our products to checkout:
- LED - Assorted (20 pack)
- LED Mixed Bag - 5mm
- IR Control Kit Retail
- OpenSegment Serial Display - 20mm (Red)
- NeoPixel Shield - 40 RGB LED Pixel Matrix
- 1.0" Single Digit Alphanumeric Display - Red
Now that you've read how LEDs are made here are some tutorials that may strike your fancy: