Hack Your Roshamglo Badge
 Shawn Hymel
Make Something Blink
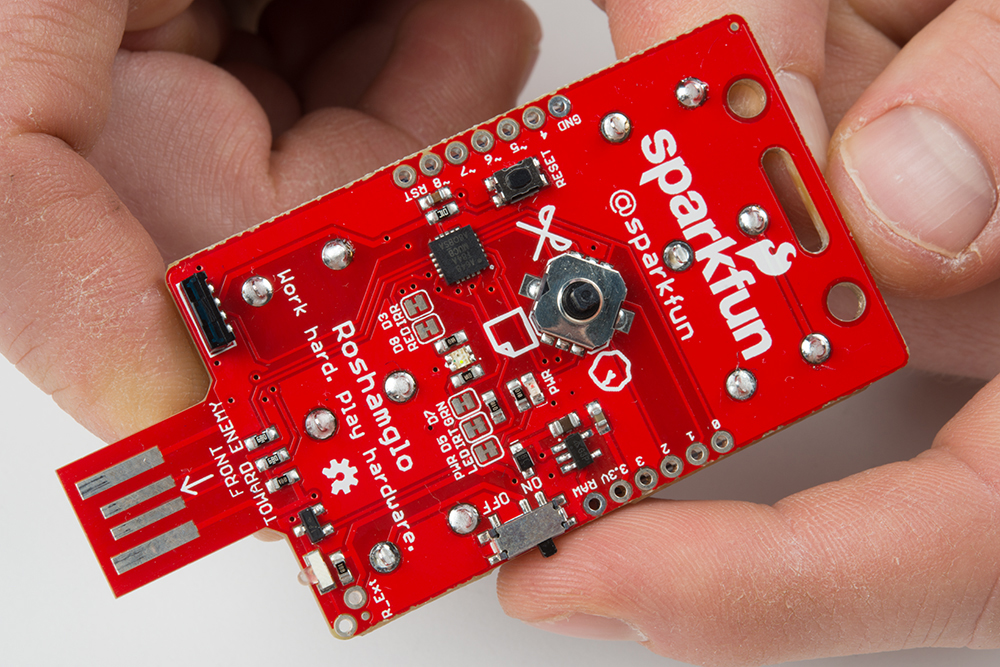
The Roshamglo board comes with two LEDs (a red LED and green LED built into one package), as well as a five-way switch (left, right, up, down and center). We can test that our Roshamglo board can be reprogrammed by writing and uploading a simple program.
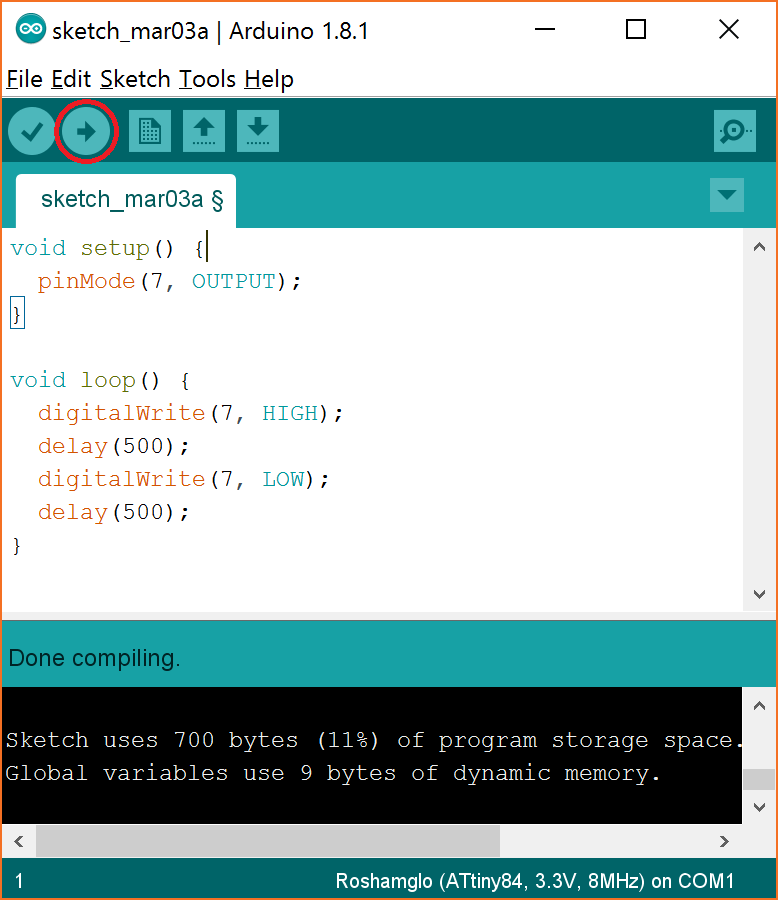
Open the Arduino IDE and enter the following code:
language:c
void setup() {
  pinMode(7, OUTPUT);
}

void loop() {
  digitalWrite(7, HIGH);
  delay(500);
  digitalWrite(7, LOW);
  delay(500);
}
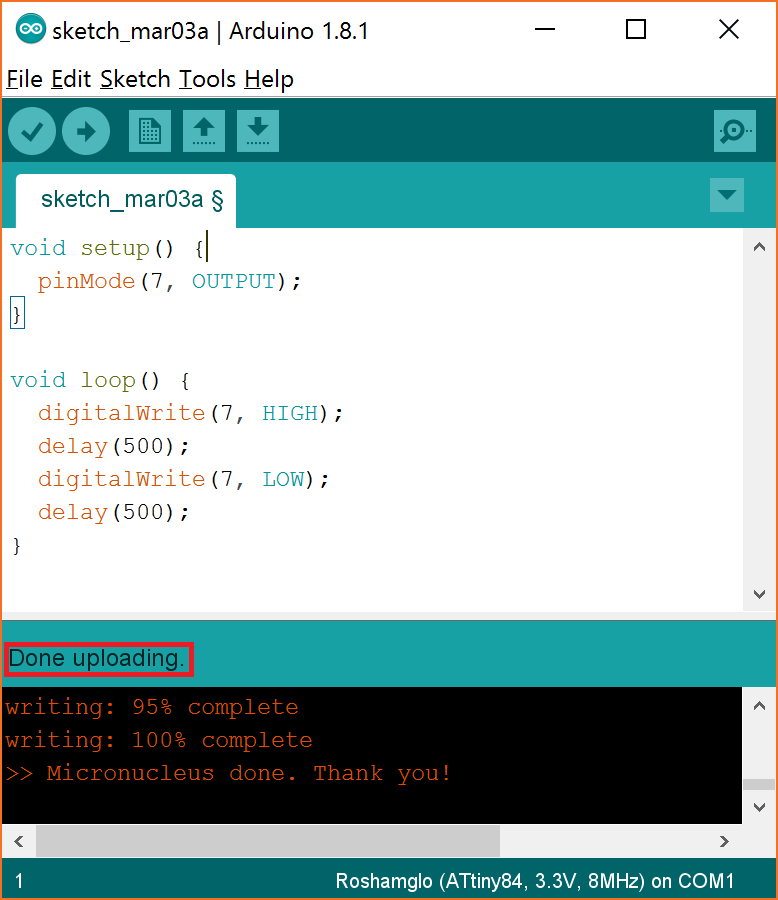
Click on the Upload button.
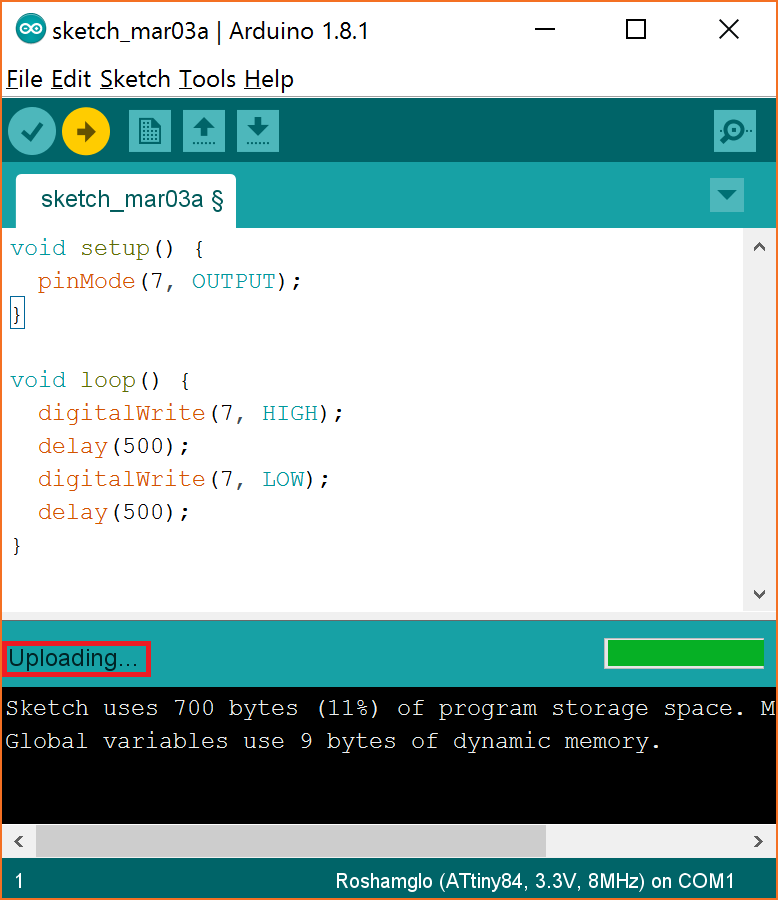
If you are asked to save your work, click Cancel (save it if you want, but you don't need to save to compile and upload your code).
Wait until you see Uploading appear in the Arduino IDE.
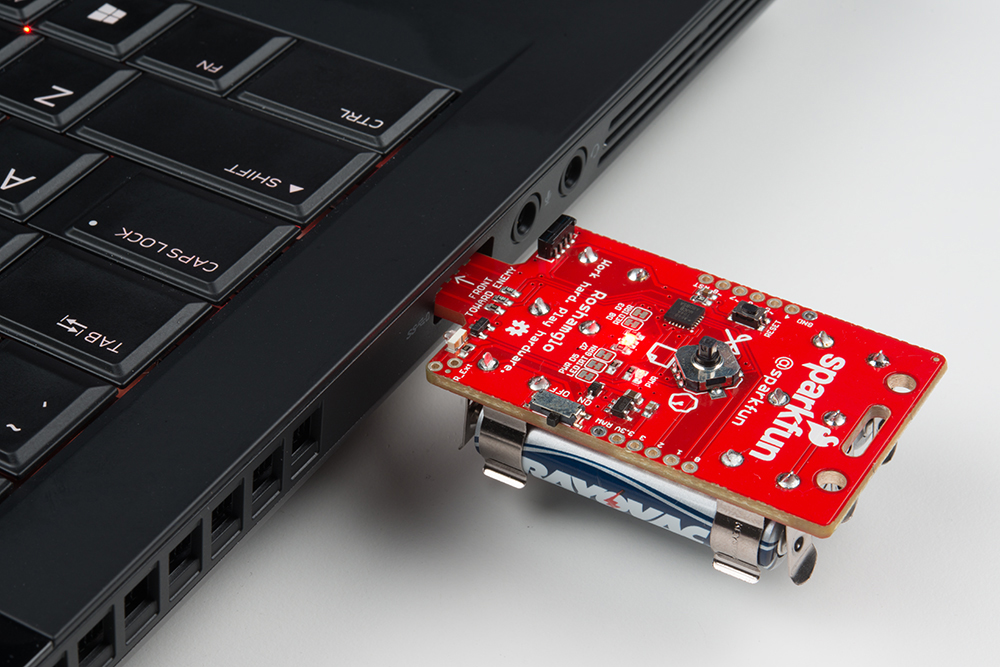
Make sure the Roshamglo board is OFF, hold the Down button (pull the five-way switch toward the SparkFun logo) and insert it into an available USB port while continuing to hold the Down button.
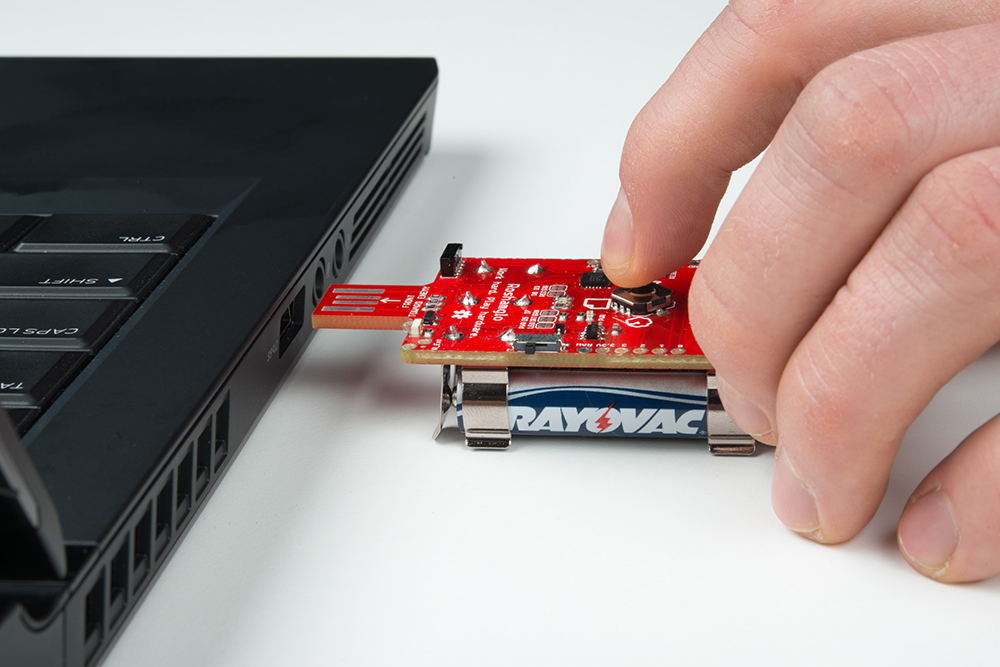
Let go of the Down button, and the status LED should begin to quickly flash red in short bursts. This means the badge is in "Bootloader Mode." You will need to do this every time you upload a new program to it.
After a moment, you should see Done uploading appear in Arduino.
Remove the Roshamglo board from your computer. Slide the power switch to ON.
And that's it! Your Arduino should begin flashing the green LED on and off every second.

- Try a different USB port
- Unplug other USB devices
- Close other programs that might be running
- Reinstall the Roshamglo USB driver
- Try a different computer