Glowing Pin
 Gella
Gella Introduction
In this project, we’ll create a wearable pin using conductive thread to connect a LilyPad LED to a battery holder. Follow along by drawing your own design on a piece of fabric, or download and print one of SparkFun’s designs.
Design and build time: 30 minutes — 1 hour
This is Project 1 from the LilyPad Sewable Electronics Kit, take a look at the other projects in the kit:
- Project 2: Illuminated Mask
- Project 3: Light-Up Plush
- Project 4: Night-Light Pennant
Suggested Reading
If this is your first sewable electronics project, we recommend you read our LilyPad Basics tutorial.
LilyPad Basics: E-Sewing
December 17, 2016
Materials and Tools
Let's go over all of the things you'll need to sew your project together.
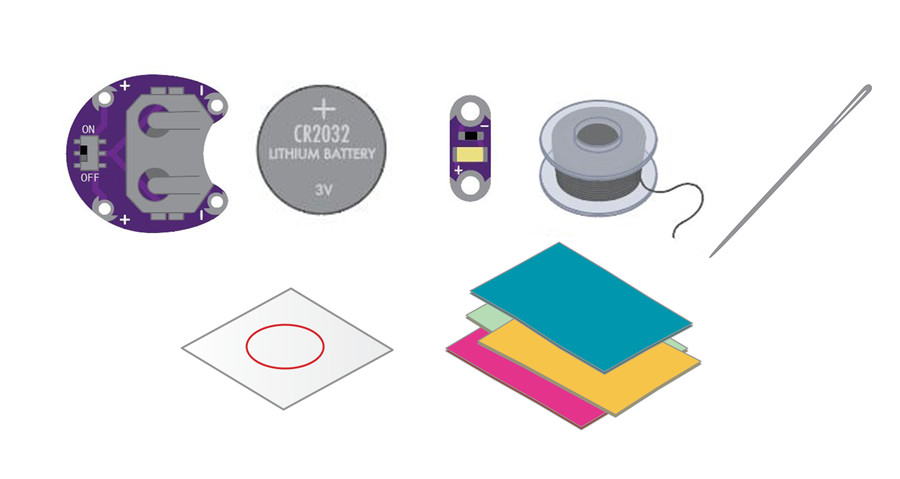
Items included in the LilyPad Sewable Electronics Kit:
- LilyPad Coin Cell Battery Holder
- 3V Coin Cell Battery
- 1 LilyPad LED (carefully snap out from the panel of five)
- Conductive Thread
- Needle
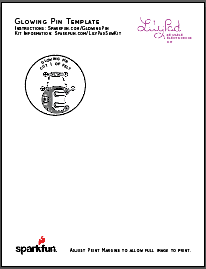
- Pin Template (1 piece) - see Planning Your Project for printable downloads
- White Felt (you will need at least 3 square inches)
- Pin Back
You Will Also Need:
- Pen, marker, or chalk
- Fabric to draw a design on or printable fabric (optional)
- Scissors
- Hot glue gun (with extra glue)
- Printer if you are downloading and printing one of SparkFun’s pin designs
Planning Your Project
Printable Fabric Designs:
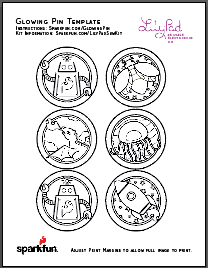

After downloading a design, follow the directions on the package of your printable fabric to print them out. Feel free to create a larger pin by scaling the downloadable designs, if you’d like more room to work with or for a real statement piece.
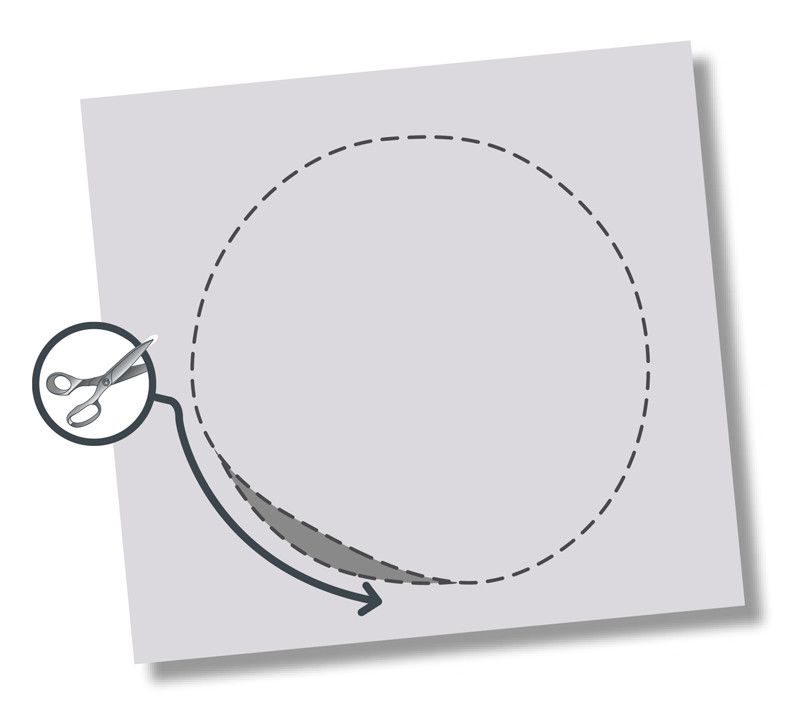
Trace the pin template on white felt and cut out. We’ll be building our circuit on the felt piece, then adding a decorative layer of fabric with designs on top of it. Trace and cut a slightly larger circle or SparkFun design out of thin fabric (or design your own out of felt) for the top layer of the pin.
Understanding Your Circuit
This project is an example of a basic circuit – an electrical loop that travels from a power source along a path (called a trace) to a component (or components) that uses the electricity to function, and then back to the power source. For our project, we’ll use an LED (Light-Emitting Diode). When this loop is completed by stitching the pieces together with conductive thread traces, electricity from the power source is able to flow from the positive (+) side of the battery through to the LED (lighting it up) and back to the negative (–) side of the battery. This electric flow is called current. As you build projects with LilyPad pieces, you will learn different ways to design conductive thread circuits and experiment with additional pieces that help control or use the flow of electricity.
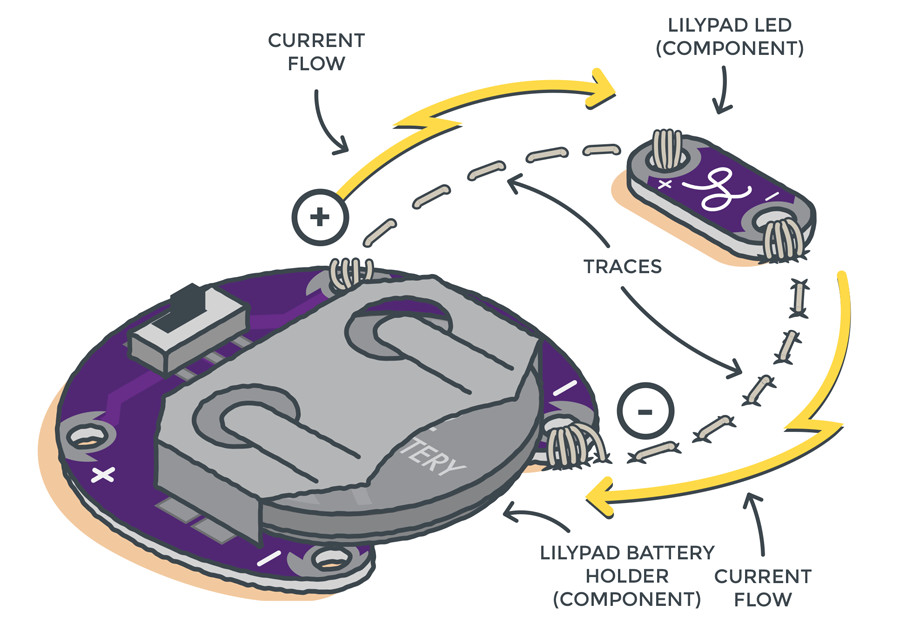
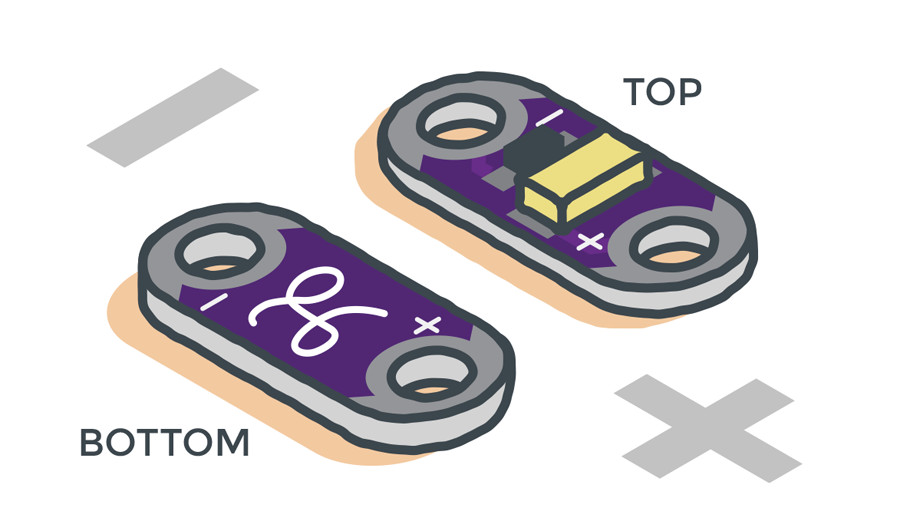
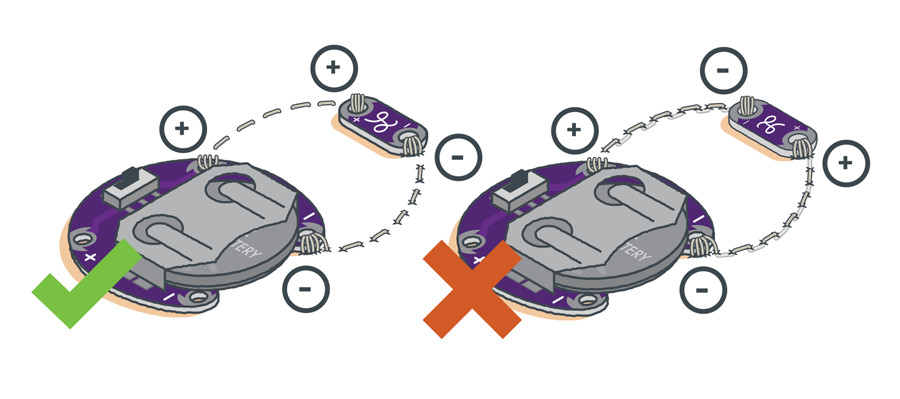
Take a look at the LED and battery holder. Notice that the silver sew tabs are labeled either positive or negative. Many electronic components have polarity, meaning electric current can only flow through them in one direction.
If hooked up incorrectly, they will not light up. The batteries in this kit are also polarized; they have a positive and negative side. Always check the labels on LilyPad pieces to make sure they are correctly oriented before sewing together a circuit.
Arranging Your Circuit
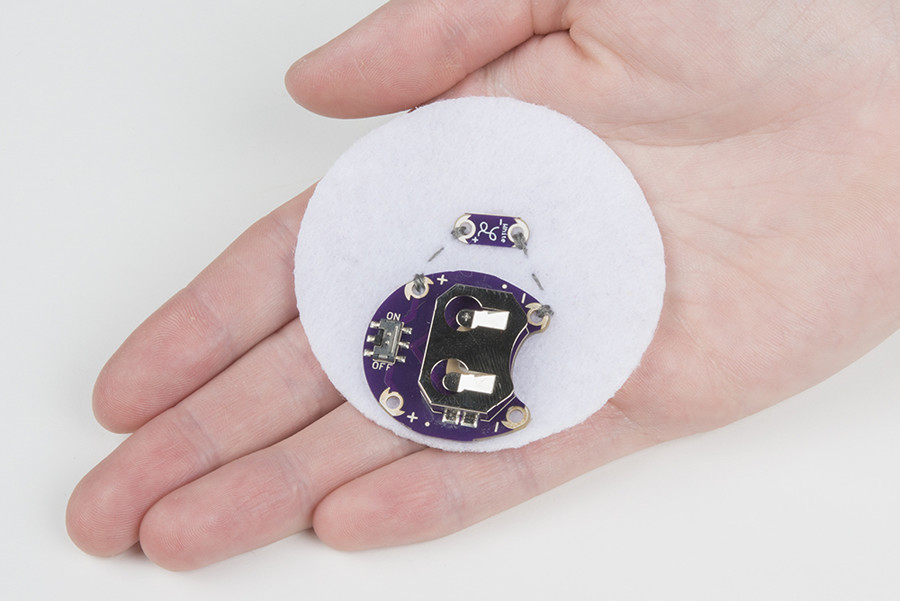
Position the battery holder with the ON/OFF switch to the left side and the bottom two sew tabs close to the bottom edge of the felt. Use a small dot of hot glue in the center of the holder to attach it to the felt, as shown. Gluing the battery holder on this way leaves room for placing the LilyPad LED on the felt.
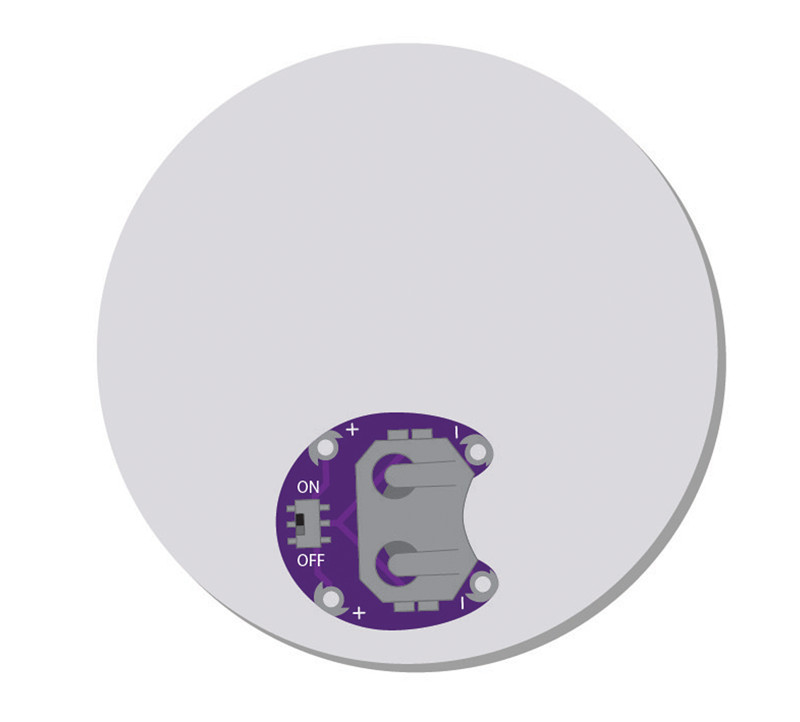
Before attaching the LED, rotate it so the (+) and (–) symbols on the LED board align with the (+) and (–) symbols on the battery holder’s sew tabs. Use a small dab of hot glue on the center of the front of the board to secure to the felt. Be careful not to cover the holes with glue – we’ll need those to sew through later.
Stitching It Together
If you need help sewing with conductive thread, this tutorial covers the basics.
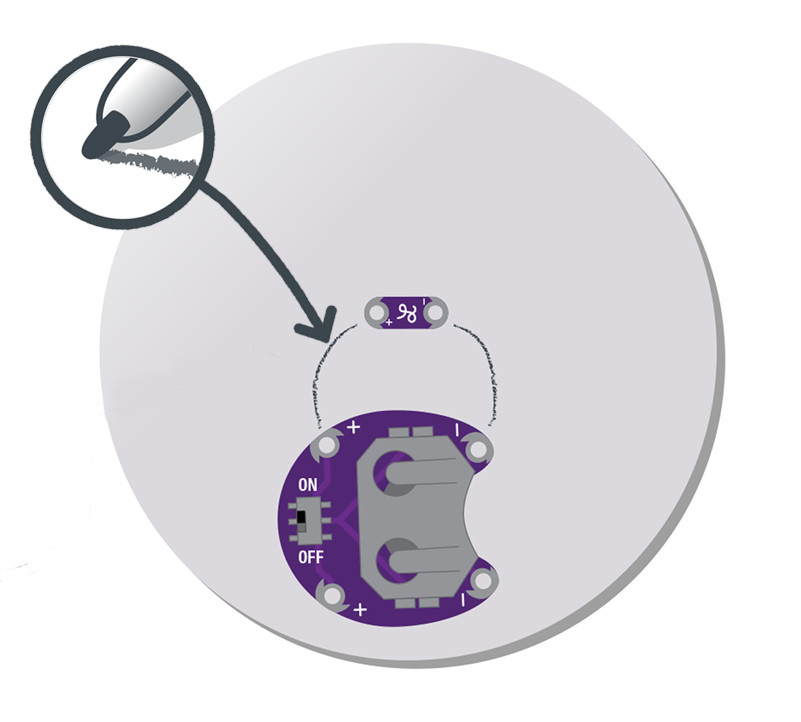
STEP 1:
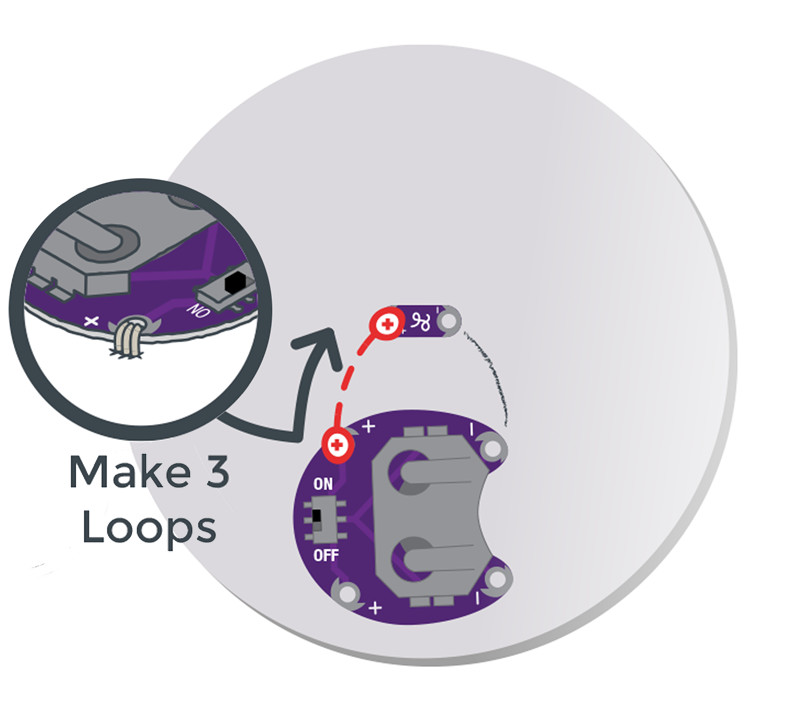
Cut a long piece of conductive thread, thread the needle, and tie a knot at the end. Now, it’s time to connect the LED to the battery holder with the conductive thread. One line of stitching will connect the positive (+) side of the battery holder to the positive end of the LED. A second line of stitching will connect the negative (–) sides of the boards and complete the circuit.
STEP 2:
Finish your first line of stitching by tying a finishing knot on the sew tab and trimming your excess thread.
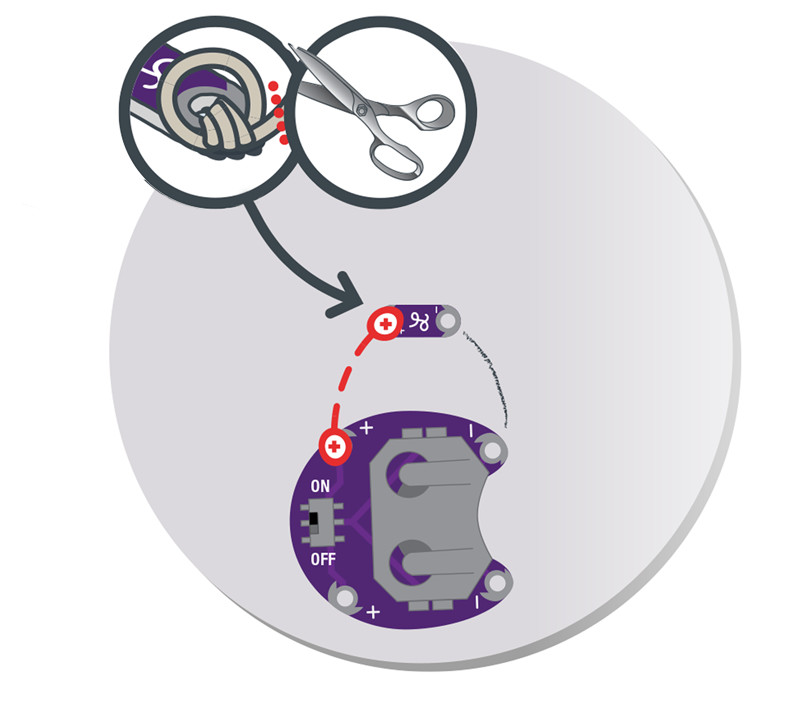
Don’t forget! You’ll need to tie a new knot at the end of your thread before you begin the next section of stitching.
STEP 3:
Repeat the process with a new piece of thread to connect the negative side of the battery holder to the negative end of the LED. Be careful not to let the stitches touch the path used for the positive connections, as that would cause a short circuit. Trim any thread tails before testing. Now, the circuit is complete!

Installing Your Battery and Testing
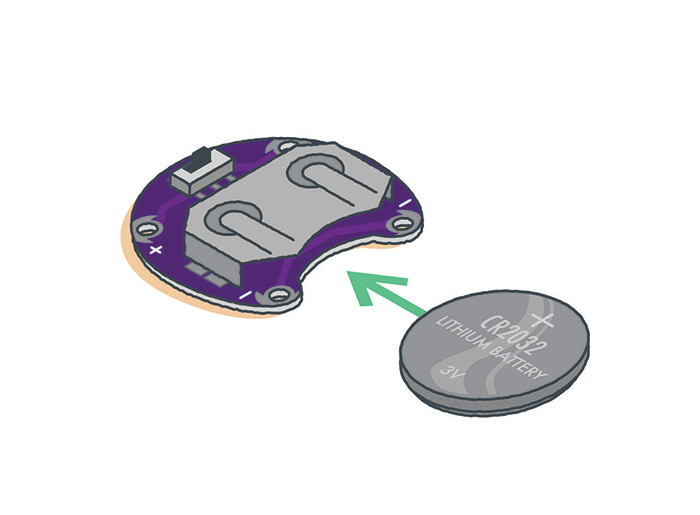
Insert the coin cell battery with the positive side facing up, labeled as (+), into the opening on the battery holder across from the ON/OFF switch. Turn on the switch to allow current to flow through the circuit. Turn off the switch when not in use to prolong battery life.
Troubleshooting
With any electronics project, there are times you will have to troubleshoot if your circuit isn't working. If your circuit isn't lighting up, try a new battery or check that your project is switched on. Check your sewing for any loose threads or ends that may be touching other parts of your circuit and causing a short circuit. Learn more about troubleshooting your project in the LilyPad Basics: E-Sewing tutorial.
Finishing Touches
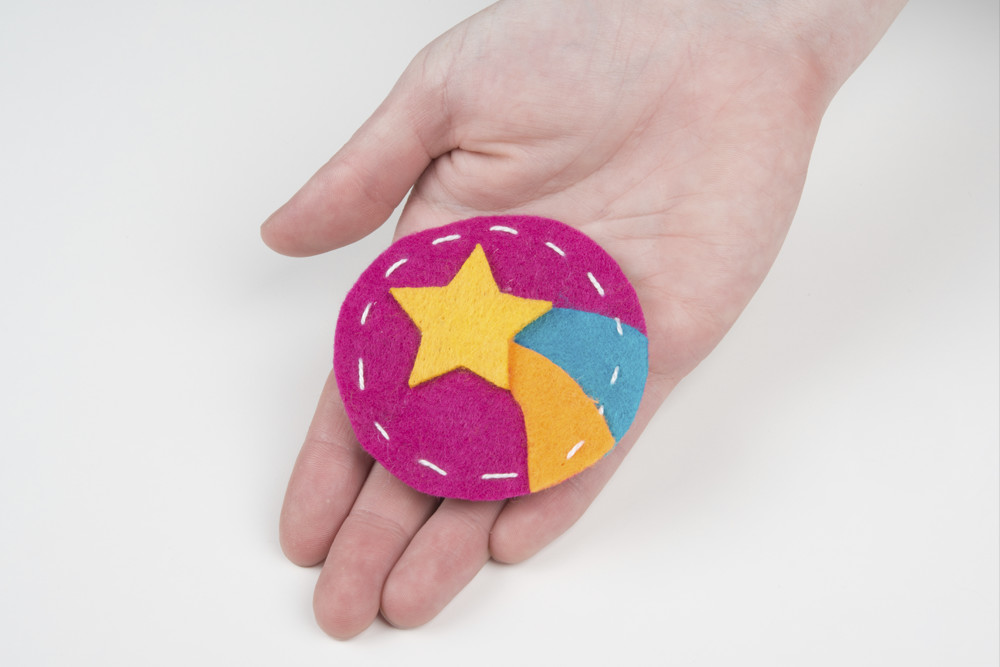
With the battery removed, use a hot glue gun or thread to attach your fabric design over your felt circle so the LED shines through. Draw a design on the fabric, if you’d like (or see design templates in the Planning Your Project step). Turn the project over, and attach an adhesive pin back to finish up your wearable art!

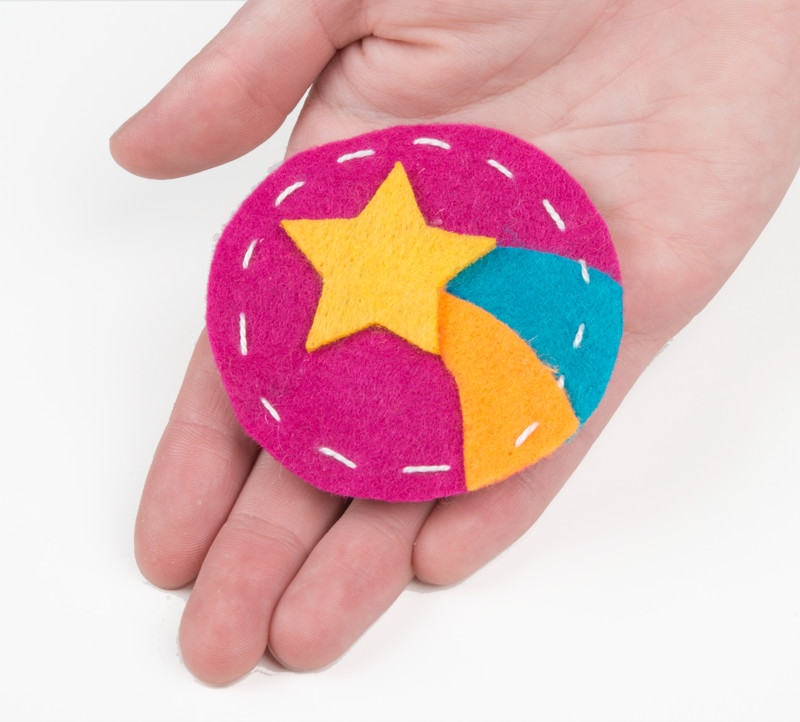
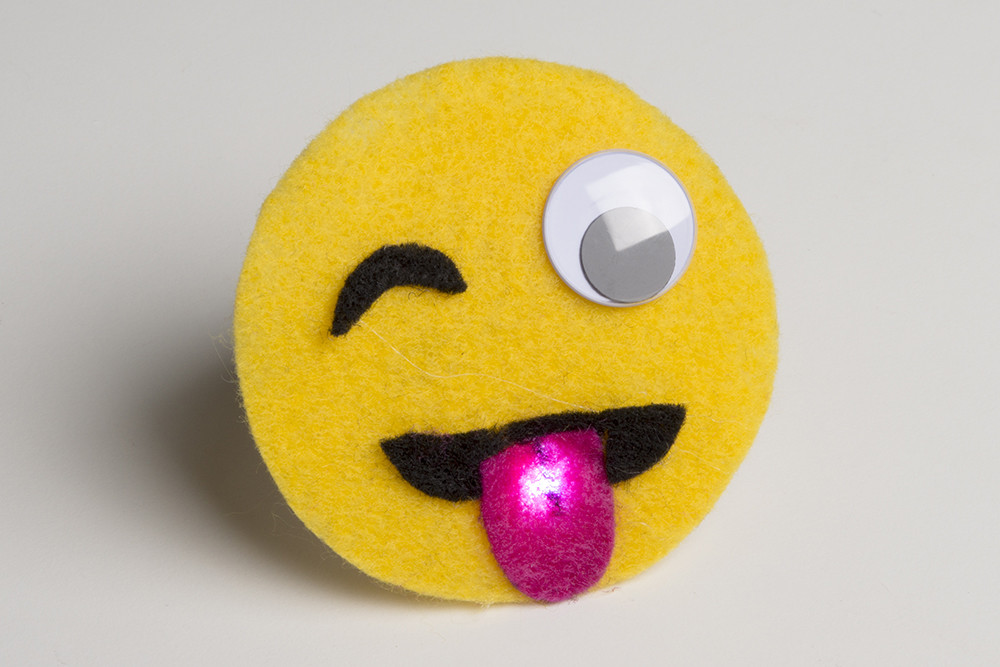
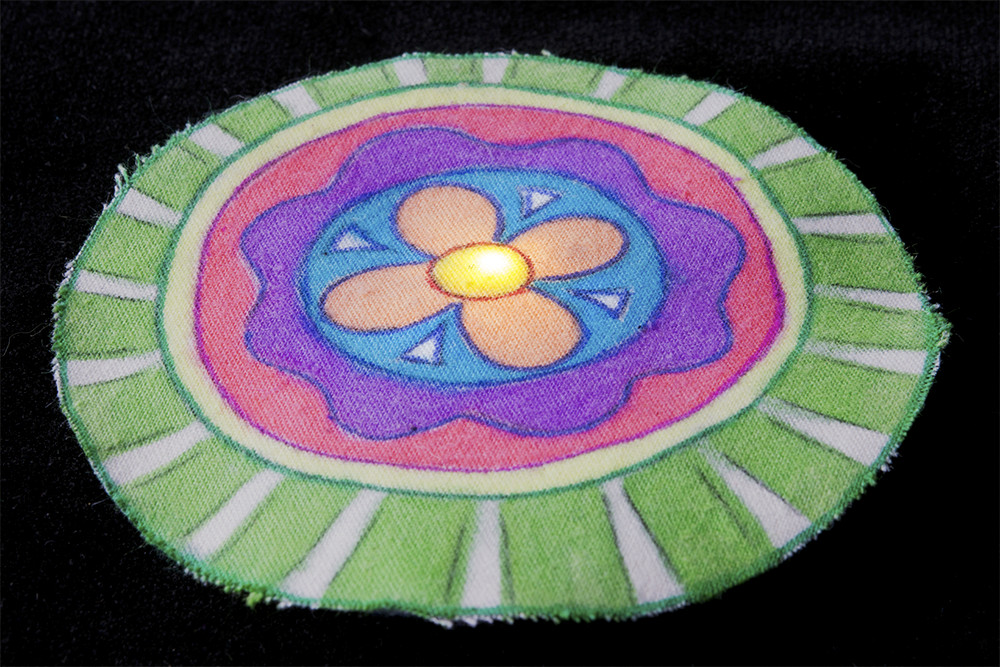
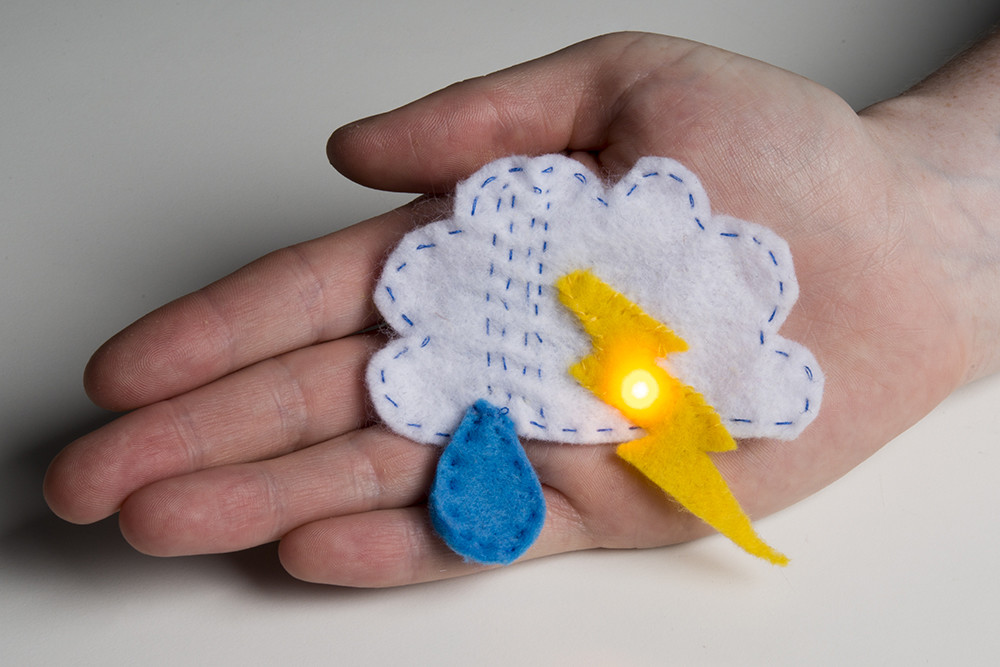
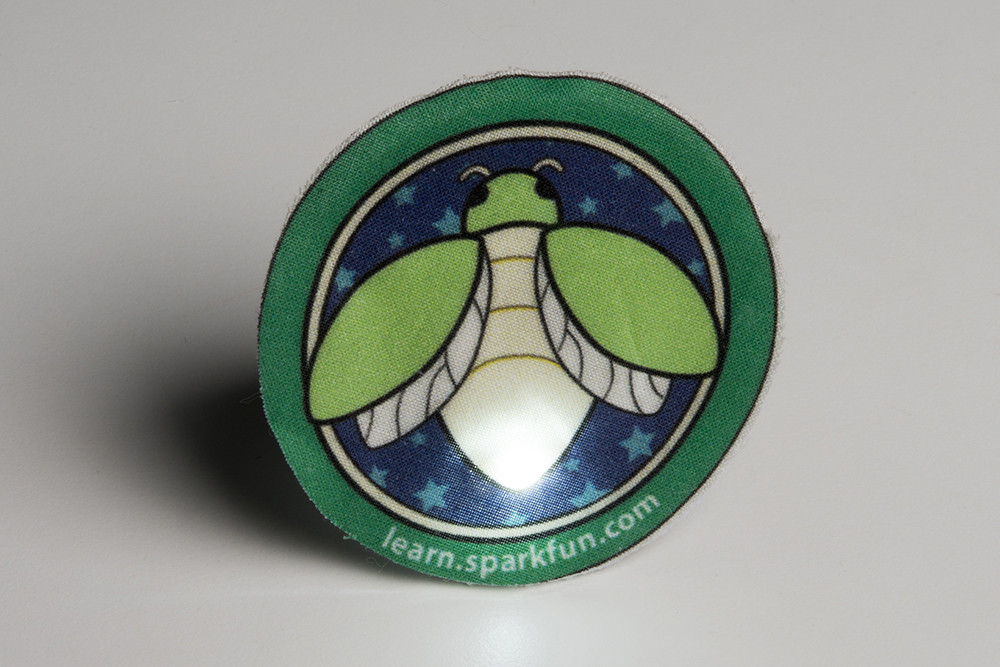
Here are a few examples of creative glowing pins:

Resources and Going Further
Looking for another project? Let's move on to Project 2: Illuminated Mask in the LilyPad Sewable Electronics Kit.
Illuminated Mask
December 16, 2016
These tutorials will guide you through more advanced projects and concepts: