Glowing Pin
 Gella
Gella 
Stitching It Together
If you need help sewing with conductive thread, this tutorial covers the basics.
STEP 1:
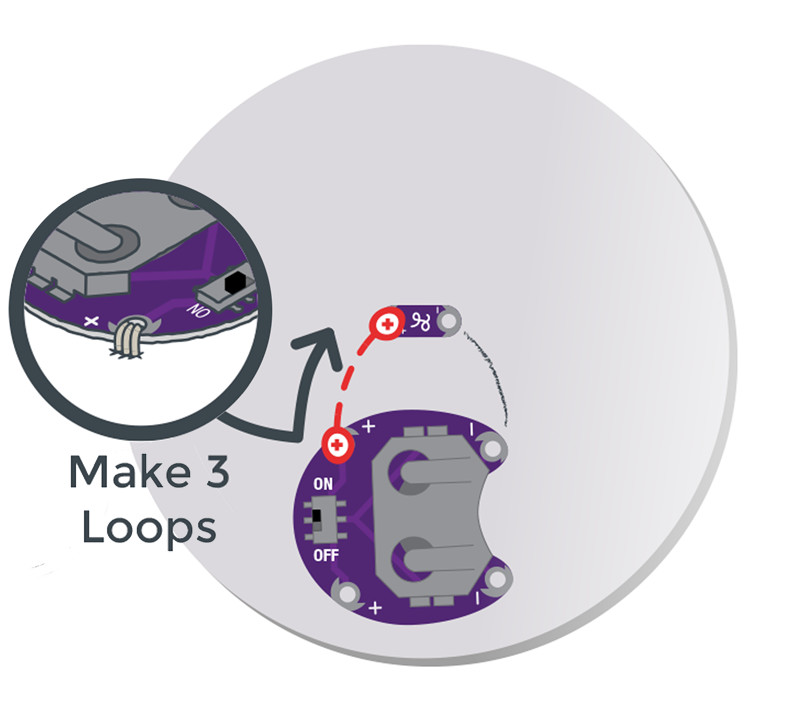
Cut a long piece of conductive thread, thread the needle, and tie a knot at the end. Now, it’s time to connect the LED to the battery holder with the conductive thread. One line of stitching will connect the positive (+) side of the battery holder to the positive end of the LED. A second line of stitching will connect the negative (–) sides of the boards and complete the circuit.
STEP 2:
Finish your first line of stitching by tying a finishing knot on the sew tab and trimming your excess thread.
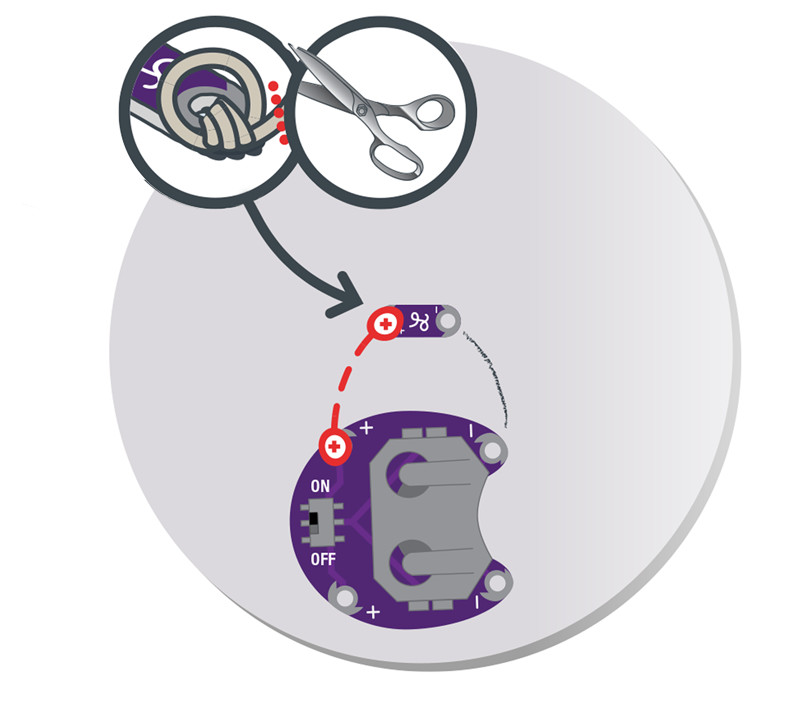
Don’t forget! You’ll need to tie a new knot at the end of your thread before you begin the next section of stitching.
STEP 3:
Repeat the process with a new piece of thread to connect the negative side of the battery holder to the negative end of the LED. Be careful not to let the stitches touch the path used for the positive connections, as that would cause a short circuit. Trim any thread tails before testing. Now, the circuit is complete!
