Glowing Pin
Contributors:
 Gella
Gella
Gella 
Arranging Your Circuit
Don't put your battery in yet.
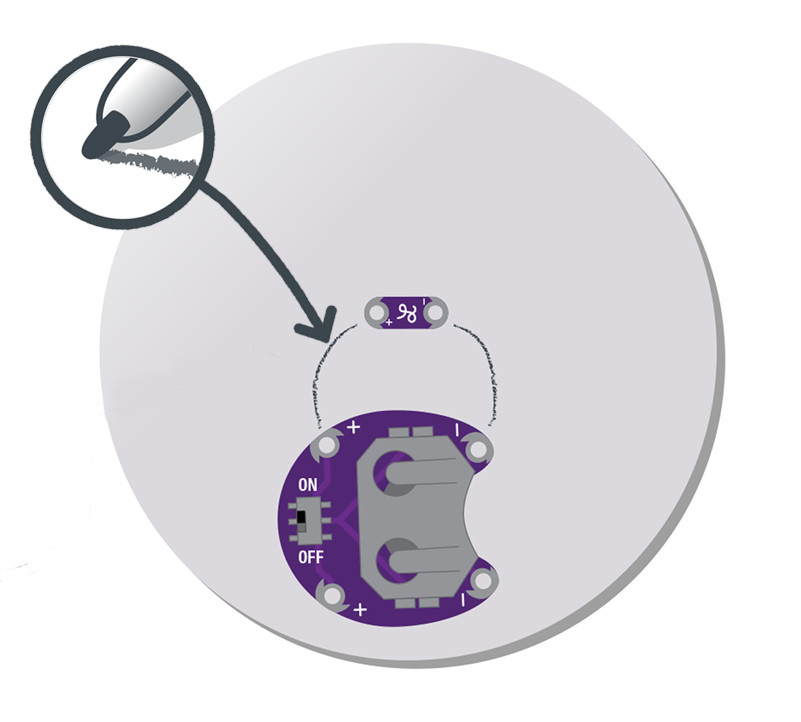
Position the battery holder with the ON/OFF switch to the left side and the bottom two sew tabs close to the bottom edge of the felt. Use a small dot of hot glue in the center of the holder to attach it to the felt, as shown. Gluing the battery holder on this way leaves room for placing the LilyPad LED on the felt.
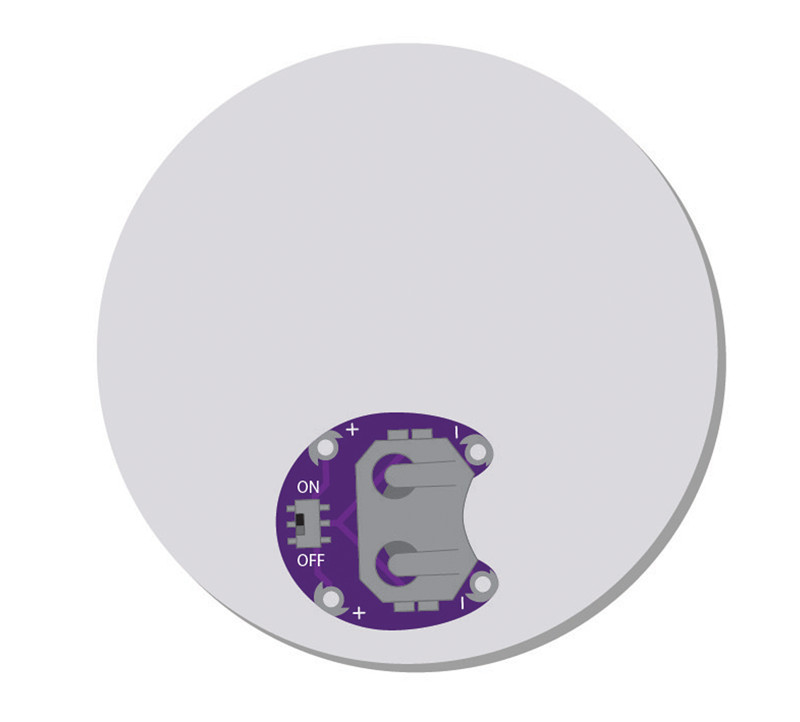
Remember: Glue is great for keeping your components in place, but it can interfere with your circuit. Try to keep glue clear of sew tabs.
While planning the LED’s placement, note that it will need to be slightly above the center or toward the top half of the fabric so it doesn’t touch or overlap the battery holder.
If you are using one of SparkFun’s pre-made designs, hold the design over the felt, and use a fabric marker or chalk to mark where the LED should be placed to shine through. Gather one LED (snap off of an LED panel if needed).
For this project only, we’ll place the LED with the lens facing the felt, allowing it to shine through to the other side. The back of the LED has a cursive L, which should be facing you. For the rest of the projects in the LilyPad Sewable Electronics Kit, we’ll install the LED with the lens up (away from the felt).
Before attaching the LED, rotate it so the (+) and (–) symbols on the LED board align with the (+) and (–) symbols on the battery holder’s sew tabs. Use a small dab of hot glue on the center of the front of the board to secure to the felt. Be careful not to cover the holes with glue – we’ll need those to sew through later.