Getting Started with 3D Printing Using Tinkercad
 Shawn Hymel,
  Feldi
Feldi 
Printing the Box
With the g-code saved on the SD card, it's time to print!
Before you begin pre-heating and printing, you will want to choose a material. For this simple project, we recommend ABS or PLA. If you're curious, Nick has a great video showing you the differences among a few different types of material:
Pre-heat the Extruder and Bed
The extruder needs to reach a particular temperature in order to melt the desired material, and the bed must be heated in order to keep the material warm after it comes out of the extruder. This prevents warping in your print.
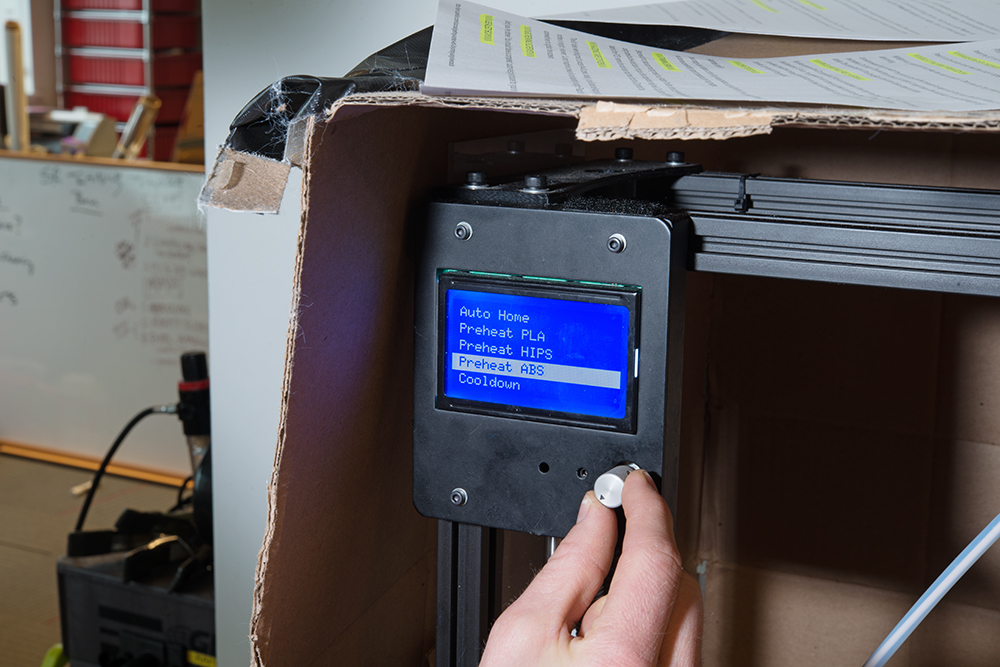
On your LulzBot TAZ, press in on the control knob to bring up the menu. Twist the knob to select Prepare, and click in again. Select Preheat PLA or Preheat ABS, depending on your material. Click in once more to begin the heating process.
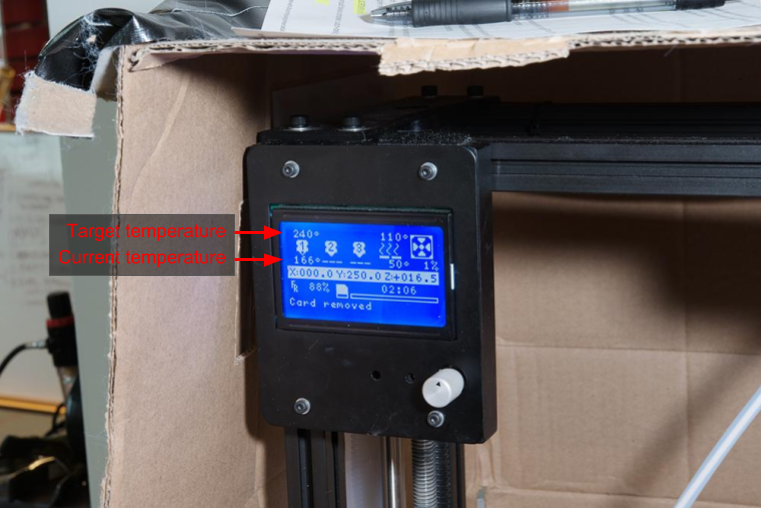
Wait 5-10 minutes while the extruder and bed reach the preheating temperature. You can look at the LCD to see the current temperature and target temperature. Once the current temperature equals the target temperature, you can move on to the next step.
Optional: Change Material/Color
Once your extruder and bed have reached the necessary temperature, you can change out the material.
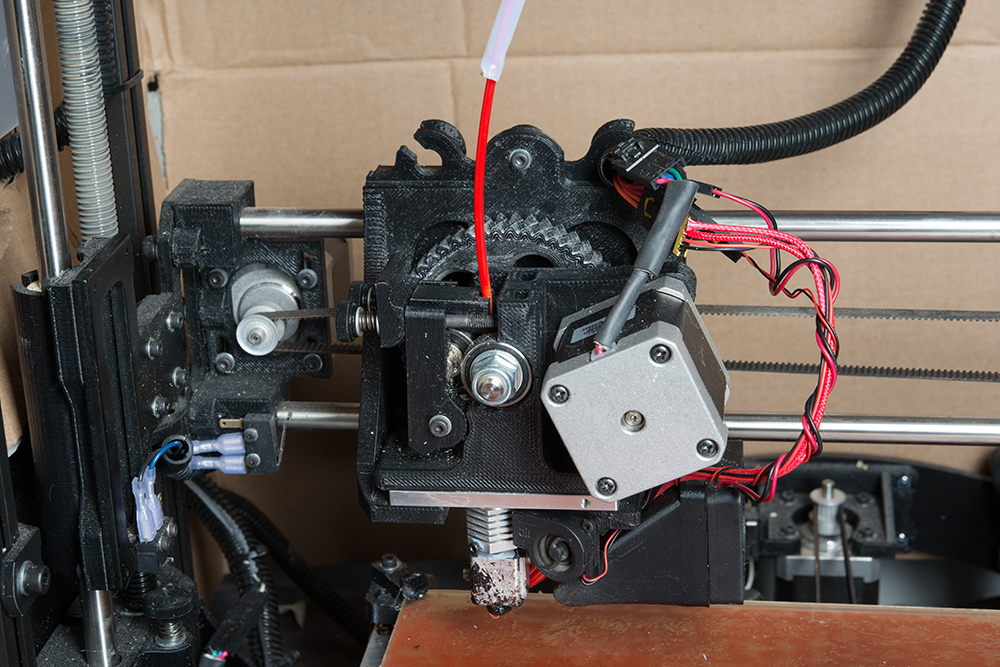
Remove the current material by gently squeezing the idler latch against the bolt heads on the extruder, and flip up the latch. Rotate the idler assembly down to allow access to the material feed on the extruder.

Carefully pull the filament out of the extruder.
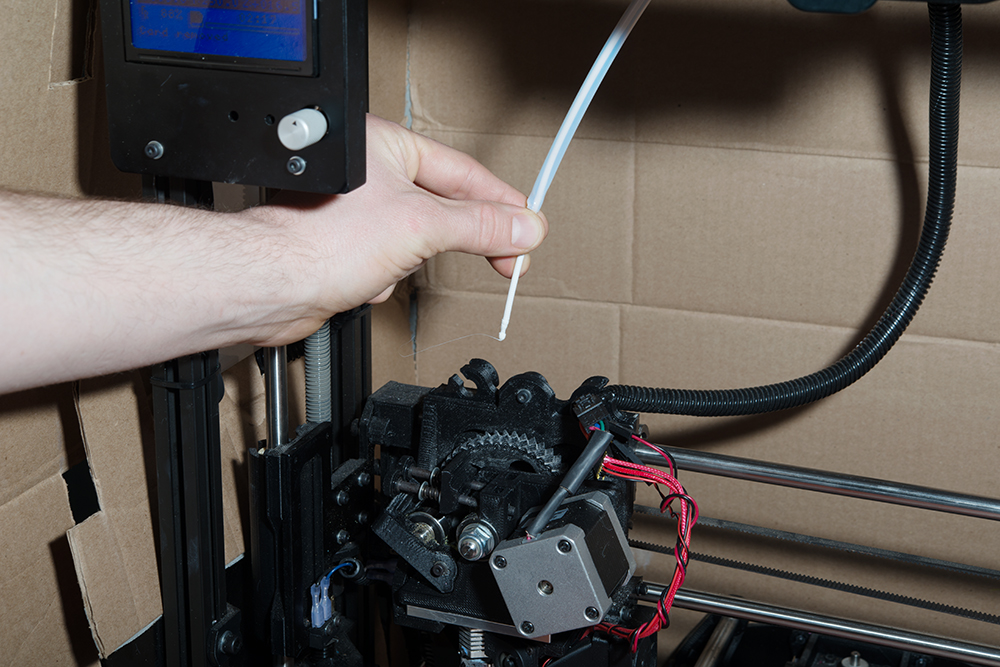
Holding the filament spool, carefully pull the material out through the feed tube, and wrap it around the spool for storage.
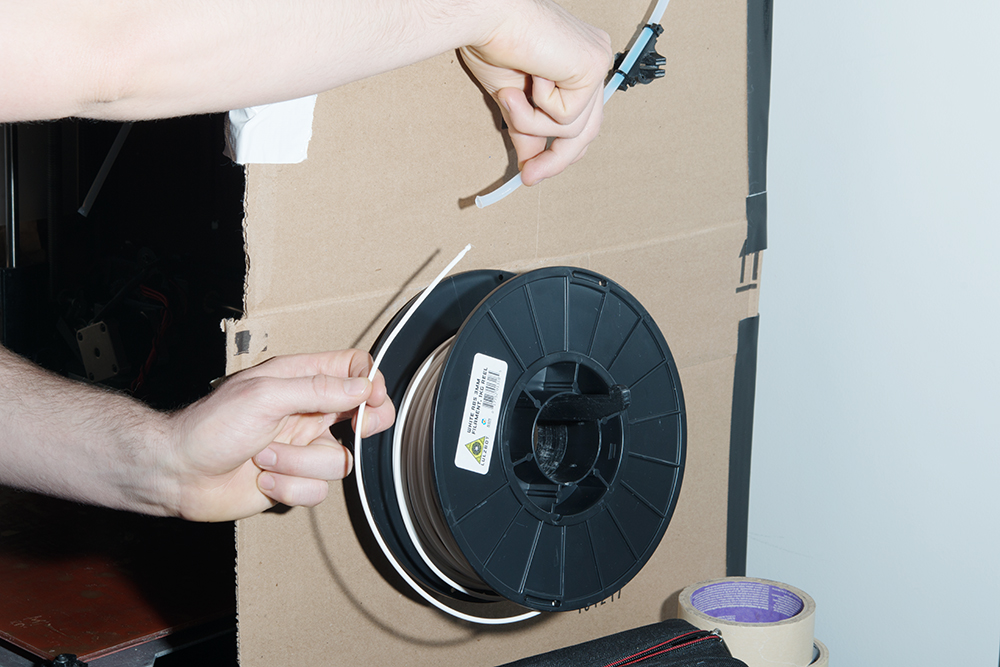
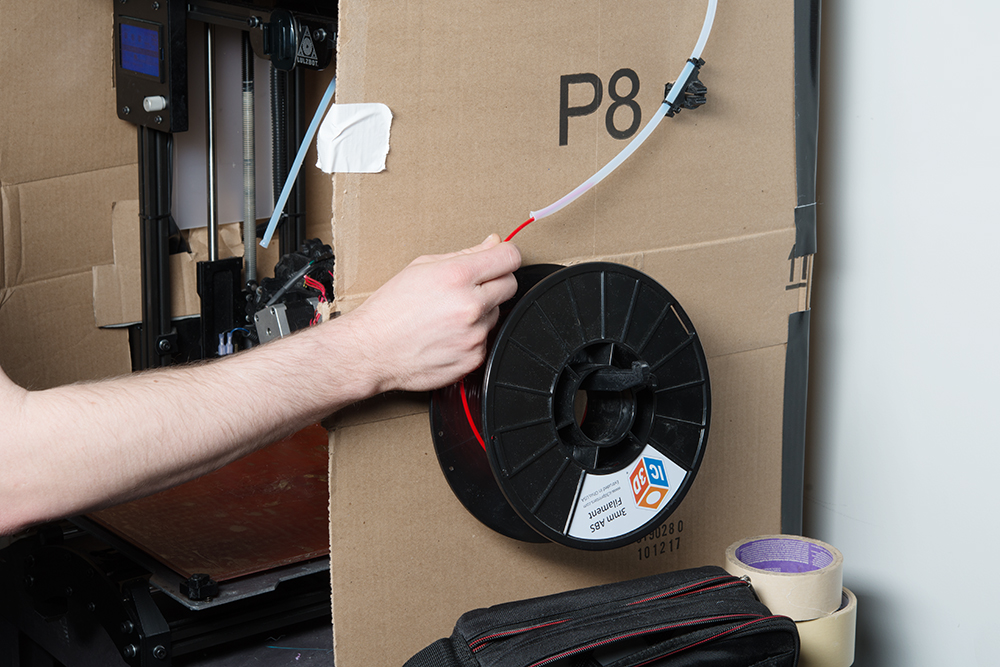
Grab the new material, and place it on the filament arm. Find the end of the spool, and feed the filament through the feed tube until it pokes out near the extruder.
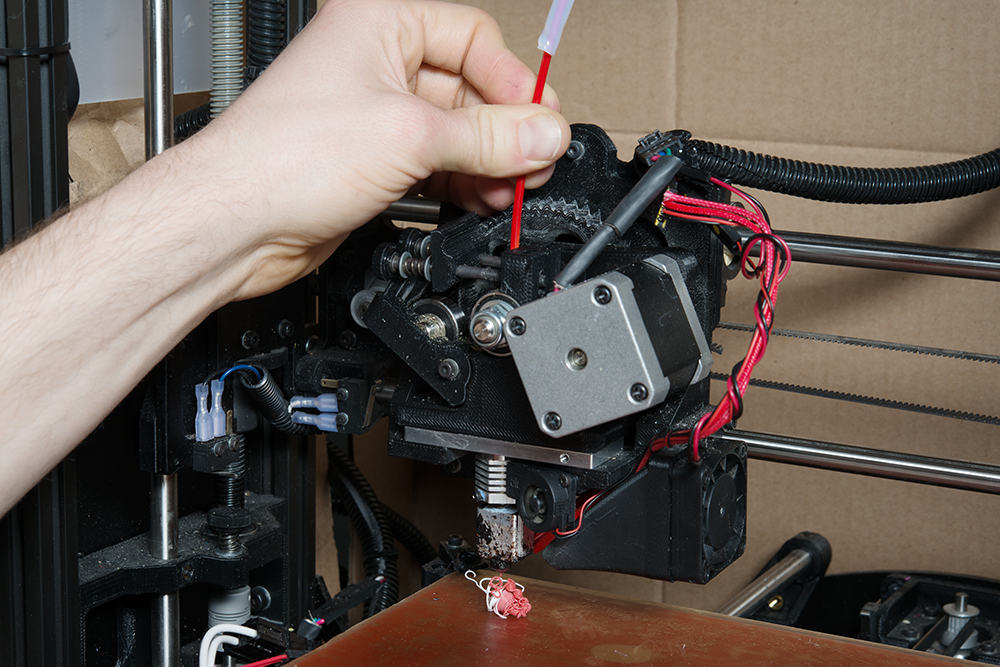
Grab the end of the filament (the part that's poking out of the feed tube), and poke it through the feed hole in the extruder. Slowly increase the amount of pressure in order to manually feed the filament through the extruder. It should melt and begin coming out of the extruder nozzle. At first, you should see the old color/material, as most extruders will retain some material even after you pulled out the filament. You might see a blending of colors. Keep pushing until the extruded material appears the same color as the new filament. This process can take 10-20 seconds.
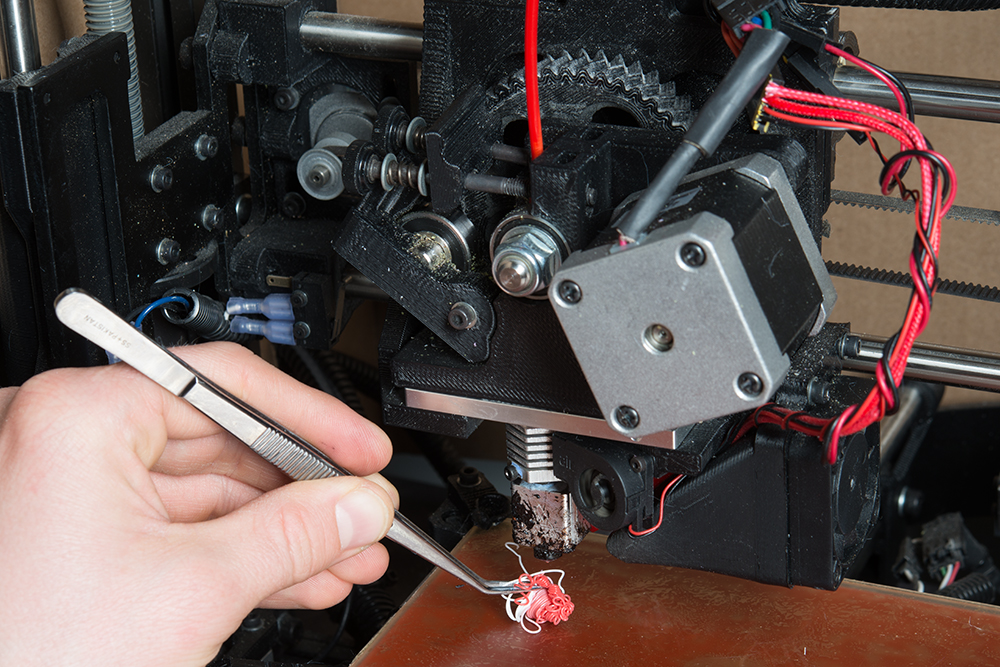
Use a set of tweezers to remove the extruded material.
Move the idler assembly back into place (the new filament should fit into the notch in the idler). Swing the idler latch down to clamp the idler, locking it into place.
Print!
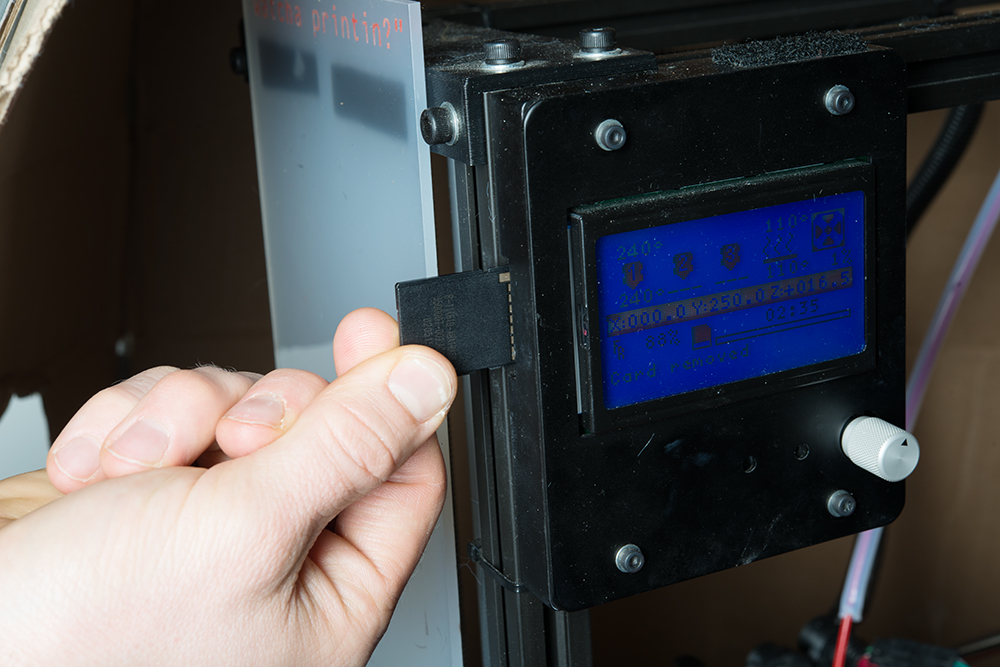
Insert the SD card into the side of the printer.
Press in on the control knob, twist the knob to highlight Print from SD, and press in again to select it.
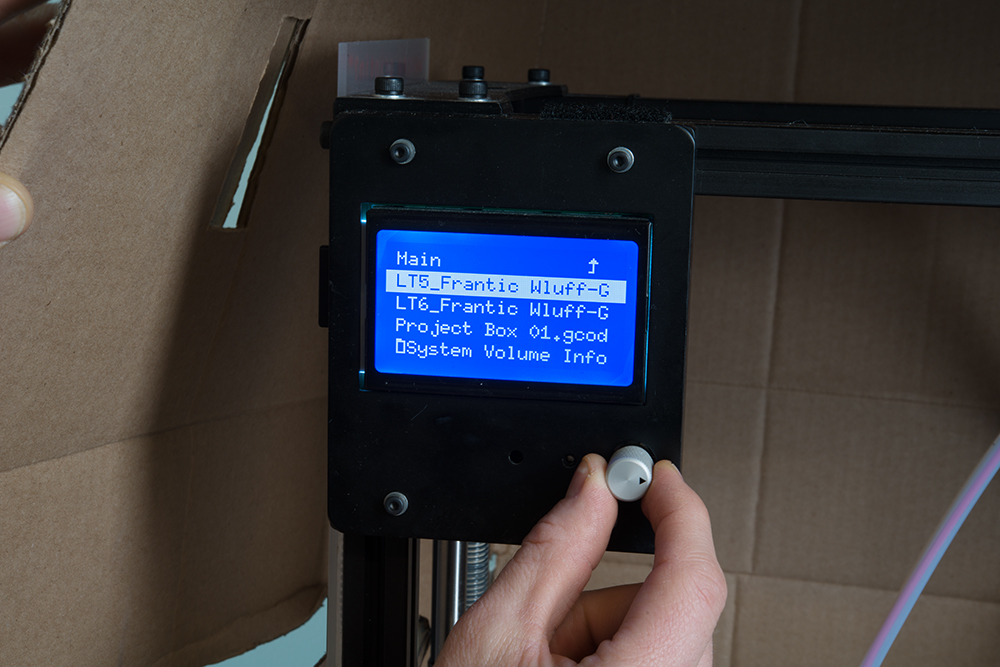
Highlight your .gcode file (verify it's the same filename that you saved from your slicer program!), and press the knob to select it. Once you do, the printer will automatically calibrate and start printing.
It's recommended that you watch the print for the first few minutes to make sure that your first layer sticks to the bed properly. Don't worry if the skirt/brim doesn't print right. It might take a few seconds for the material to begin sticking. Only cancel the print if the first layer of the actual object does not stick.

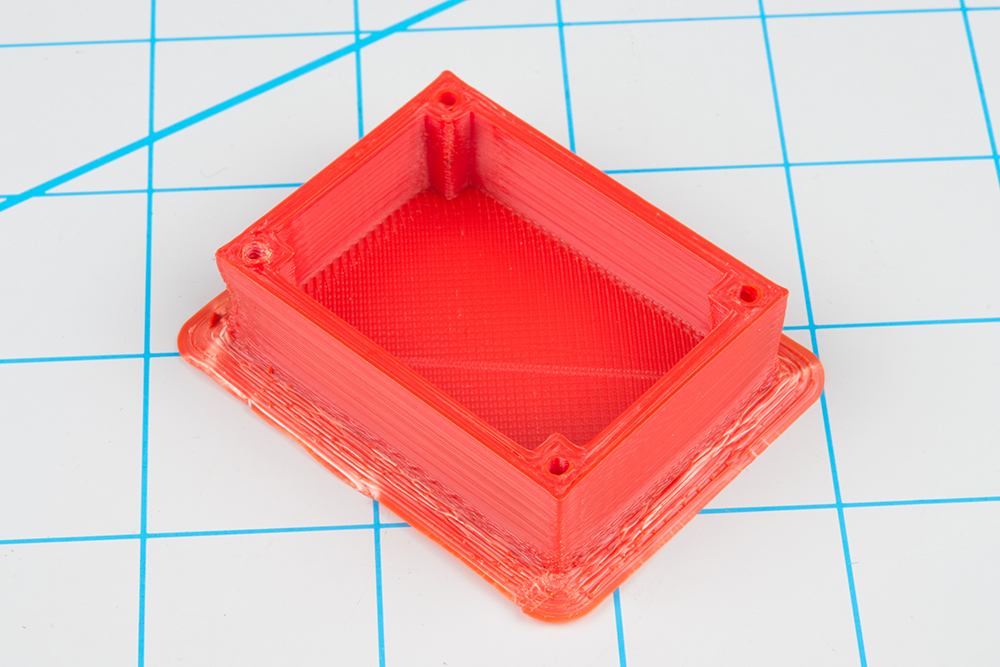
Your slicer program or the 3D printer should give you an estimate of how long it will take to print. The box we made should take around 1.5 hours. You may want to set a timer, and check back around then. After the print is done, you will want to wait a few minutes for the extruder and bed to automatically cool off. Use a a flat object, like a clam knife, to pry the part(s) off the print bed.
Assemble the Box
Use a hobby knife or clippers to trim off any excess pieces, such as the brim (if you printed with one). If you wish, you can use some sanding paper to smooth out any rough edges.

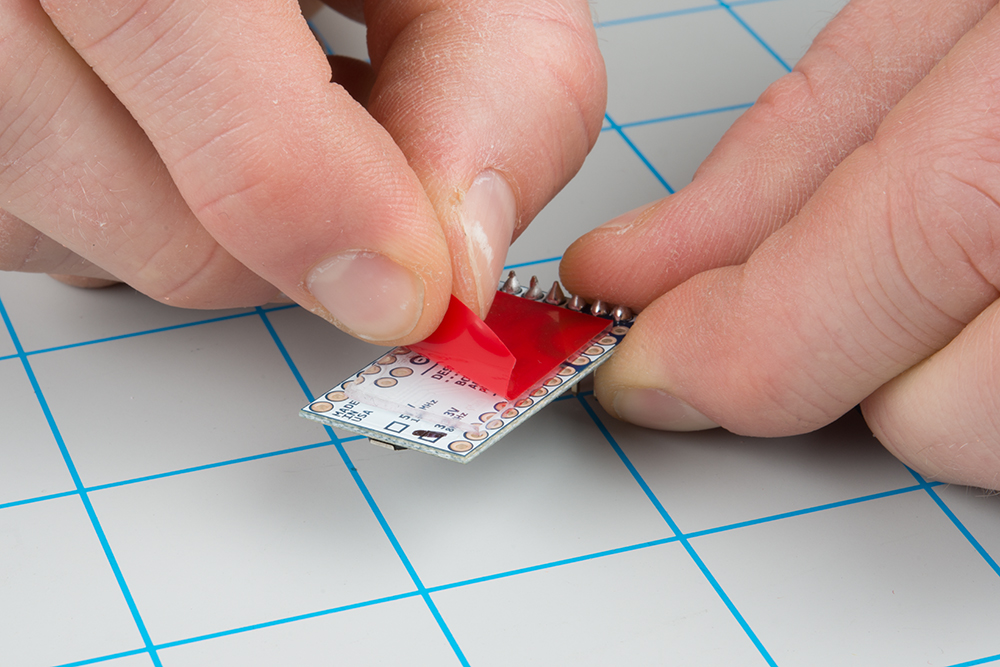
Since we did not place any mounting holes for our Arduino Pro Mini in the box, we will need to adhere the PCB using some double-sided tape or hot glue. Servo tape works really well. Cut a piece just big enough to cover the back of the PCB, remove the outer layer, and press the board into the 3D printed box (you might need more than one layer of tape if there are components or header pins sticking through the bottom side).
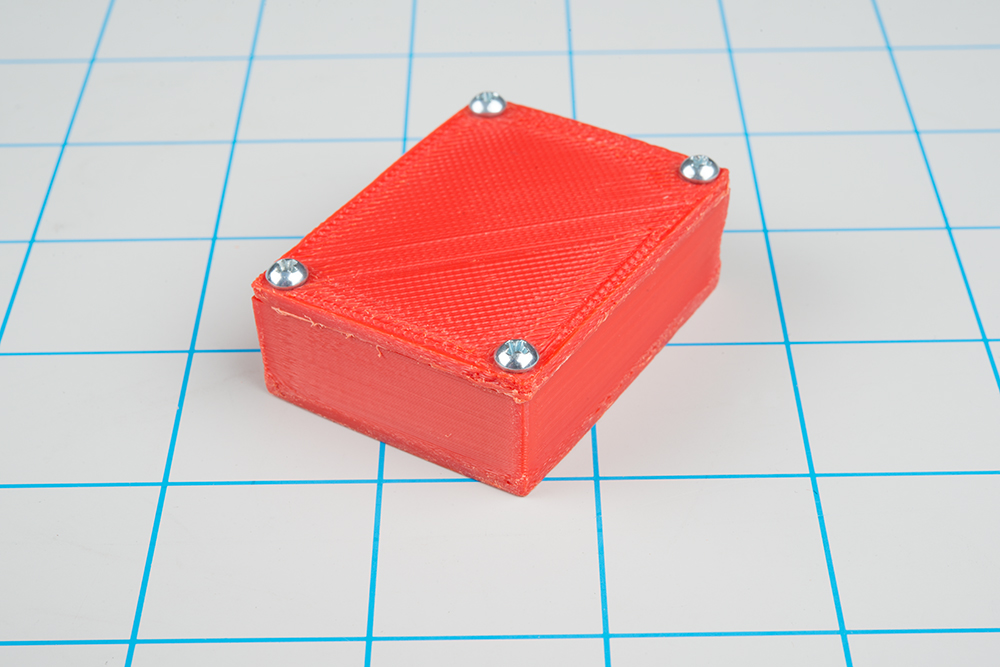
The lid holes were designed to accept #4-40 screws. Ideally, you will want self-tapping screws that are around 3/8 inches in length. However, 1/4 inch machine screws will work decently enough. Place the lid over the box and use a screwdriver to tighten the screws.

And you're done! You should have a completed, custom-designed enclosure for your electronics project.