Gator:bit Hookup Guide
This Tutorial is Retired!
Note: This tutorial is for the SparkFun gator:bit v1. If you are using any of the newer model (v2) with the barrel jack instead of JST connector, please refer to the new tutorial.
View the updated tutorial: SparkFun gator:bit v2 Hookup Guide
 LightningHawk
Example Project: LED Animations
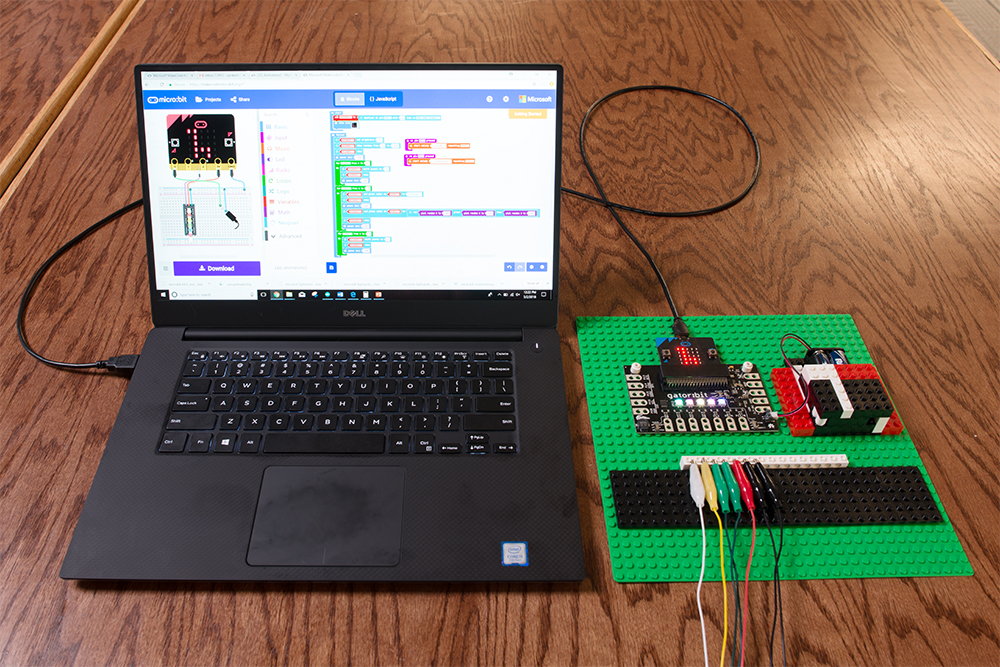
From one baseplate we've built a rack for the gator:bit, a battery enclosure, and along the bottom an alligator clip cable management system. When you are done learning all about microcontrollers, radio and bluetooth communication, and data collection and visualization, you can hang your baseplate up and keep everything organized.
Installing the NeoPixel Extension for Microsoft MakeCode
To use the addressable LEDs on the gator:bit, you will need to install a MakeCode extension. Click on Advanced -> Add Extension. Search for the neopixel extension and click on the extension to add it to your list of usable extensions.

Example
Re-create the following code into your MakeCode editor or download the example by clicking the download button to test it out!
This program starts out with a rainbow pattern across the LEDs and then turns the LEDs off sequentially from the left. Once they have all turned off, a new animation will start sequentially from the left; the LEDs will turn blue but will fill the previous LEDs with a random color rather than turning off. The brightness is turned down to 75 to save your eyes and your battery life!