FLIR Lepton Hookup Guide
Introduction
When our team found out that we’d be testing a Long Wave Infrared (LWIR) camera, there were two words that we couldn’t stop saying: Predator Vision. That’s right, we were finally going to be able to see the invisible world of heat, which would aid us greatly if we ever found ourselves hunting a team of special operatives in a remote jungle… or, you know, trying not to scald ourselves on a hot cup of tea.
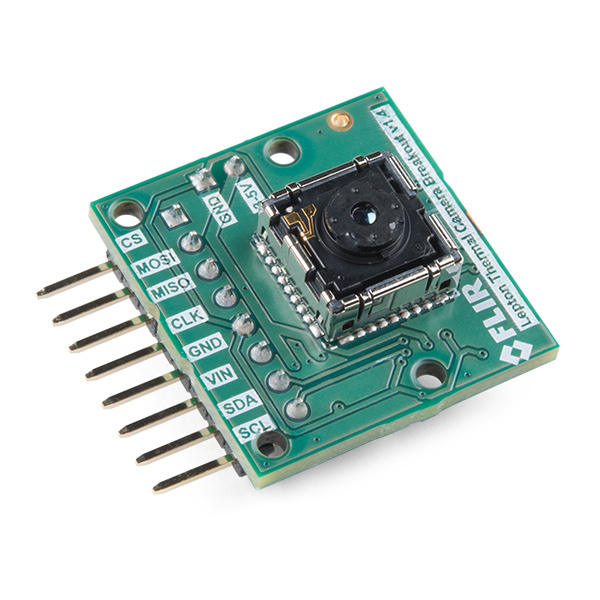
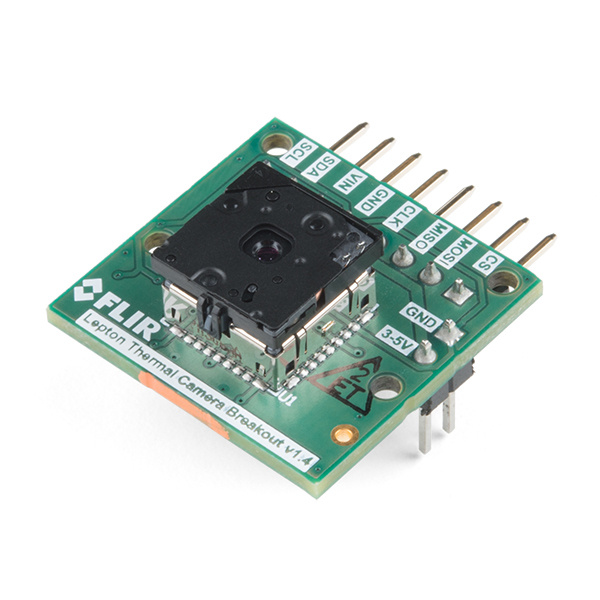
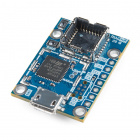
As it happens, the FLIR Lepton is an excellent little module for the price and Pure Engineering has done a bang up job spinning the breakout board and documentation.
FLiR Dev Kit
KIT-13233FLIR Radiometric Lepton Dev Kit
KIT-14654There are, however, a few minor “gotchas” in the setup process and so we figured it was best if we shared what we learned in playing with this thing. But first… A bit of theory...
Suggested Videos
Required Materials
To follow along with this tutorial, you will need the following hardware and software. You may not need everything though depending on what you have and your setup. Add the hardware to your cart, read through the guide, and adjust the cart as necessary.
Hardware
Today we’ll be setting up the Raspberry Pi example code as provided by Pure Engineering and featured in our product videos. At a minimum, we’ll be needing a Raspberry Pi... and not much else, actually. Just a handful of jumper wires as well as a monitor, keyboard, accompanying cables for your Raspberry Pi, and the FLIR Lepton camera of your choice.
Below is a wishlist of the suggested parts:
Software
The example code has been tested on a Raspberry Pi model B, but it should work fine on any model so long as you have Raspbian installed.
You will also need to install the QT dev tools and example. Check out the Software later in the tutorial for more information.
Suggested Reading
If you aren’t familiar with the following concepts, we recommend checking out these tutorials before continuing. This tutorial will assume you have a little bit of Raspberry Pi knowledge. If the Pi is new to you, have no fear. You can visit our Installing Raspbian and DOOM tutorial, if you need a primer. Also helpful is our Raspberry Pi GPIO tutorial. The Lepton uses SPI communication to send its video stream and it uses an I2C-like Communication protocol as the control interface. If you are unfamiliar with either of those communication methods, please visit the corresponding tutorials.
