FLIR Lepton Hookup Guide
Software
As I mentioned earlier, you’ll want to have the Raspbian OS installed on your Raspberry Pi. Boot it up, and open the Terminal program. Our first matter of business will be enabling the Pi’s SPI and I2C interfaces. Luckily, Raspbian makes this easy to do by including a utility called raspi-config. To run the utility just type:
language:bash
sudo raspi-config
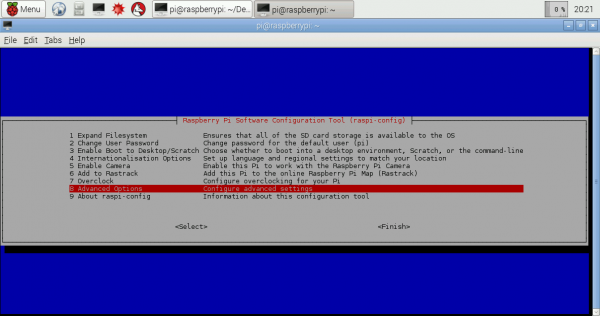
You should be presented with the following screen as shown below. Click on the "Advanced Options" menu.
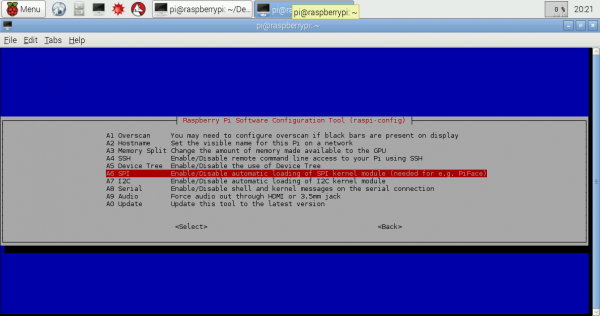
Select SPI and follow the instructions on the following screens. After you've completed the SPI steps, do the same thing for I2C. When you exit raspi-config, it will ask if you want to reboot. Go ahead and do it so that the changes we just made will stick.
QT Application
Pure Engineering’s example code is a QT application so we’ll need to get that dependency installed before we can compile it. Don’t worry, it’s easy to do. Make sure that the Pi has an Internet connection, and run the following command to install the QT dev tools:
language:bash
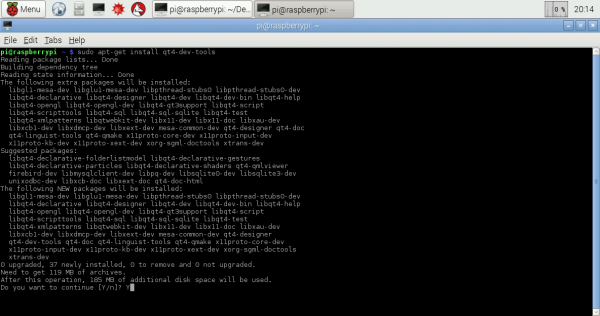
sudo apt-get install qt4-dev-tools
Which will look something like this...
Raspberry Pi Video
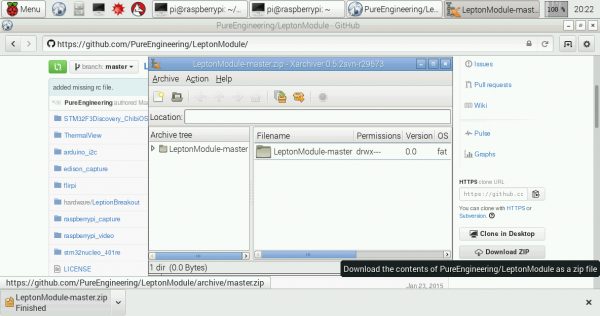
Once installation is complete, go to the Pure Engineering GitHub repo to download the examples.
If you’re familiar with git, you can do this from the command line. For most people, it’s just as easy to browse to the above link, and click “Download ZIP”. You can download the file to whatever directory you like, then cd to that directory in Terminal, and unzip it using the following command:
language:bash
unzip LeptonModule-master.zip
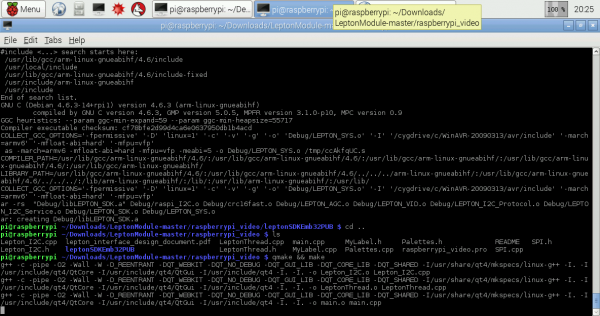
Now cd into the unzipped folder "LeptonModule-master". First, we need to "make" the Lepton SDK. Use the cd command to navigate to the ".../software/raspberrypi_libs/leptonSDKEmb32PUB" directory and run the make command.
Once that process has completed, use the cd .. command twice to move back out of the folders. Then use the cd to move into the ".../raspberrypi_video" directory. This directory contains all of the files you need to compile the example code. run qmake && make:
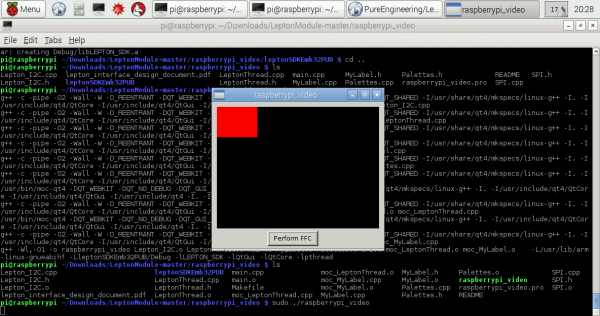
Congratulations! You've just compiled the example code, and you're ready to run it. Simply type the following into your command line:
language:bash
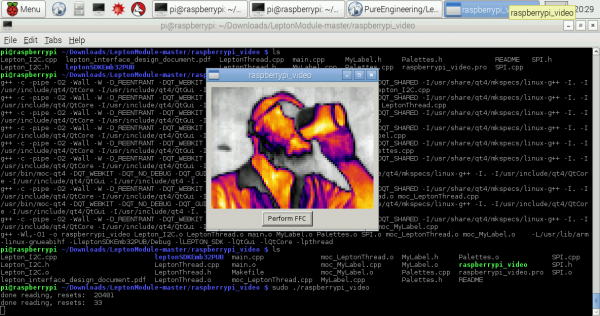
sudo ./raspberrypi_video
Remember, if you have issues getting the camera to work with pin 26 on the Pi, you may need to adjust the CS pin to pin 24 (next to the CLK pin) like this tutorial from FLiR.
Aim the camera at something hot or step in front of it to begin viewing heat signatures!
