Fingerprint Scanner Hookup Guide
This Tutorial is Retired!
Note: This tutorial is for the GT-511CXX models. If you are using any of the newer models (i.e. GT-521F32 and GT-521F52), please refer to the new Fingerprint Scanner (GT-521Fxx) Hookup Guide.
View the updated tutorial: Fingerprint Scanner (GT-521Fxx) Hookup Guide
FPS Experiments
Underneath the enclosure, the scanner uses 8x blue LEDs and tiny camera to read a fingerprint. On the back, there is a processor that will try to read whatever is placed on top of the scanner's enclosure. Here is an image that shows the fingerprint scanner that was carefully opened:
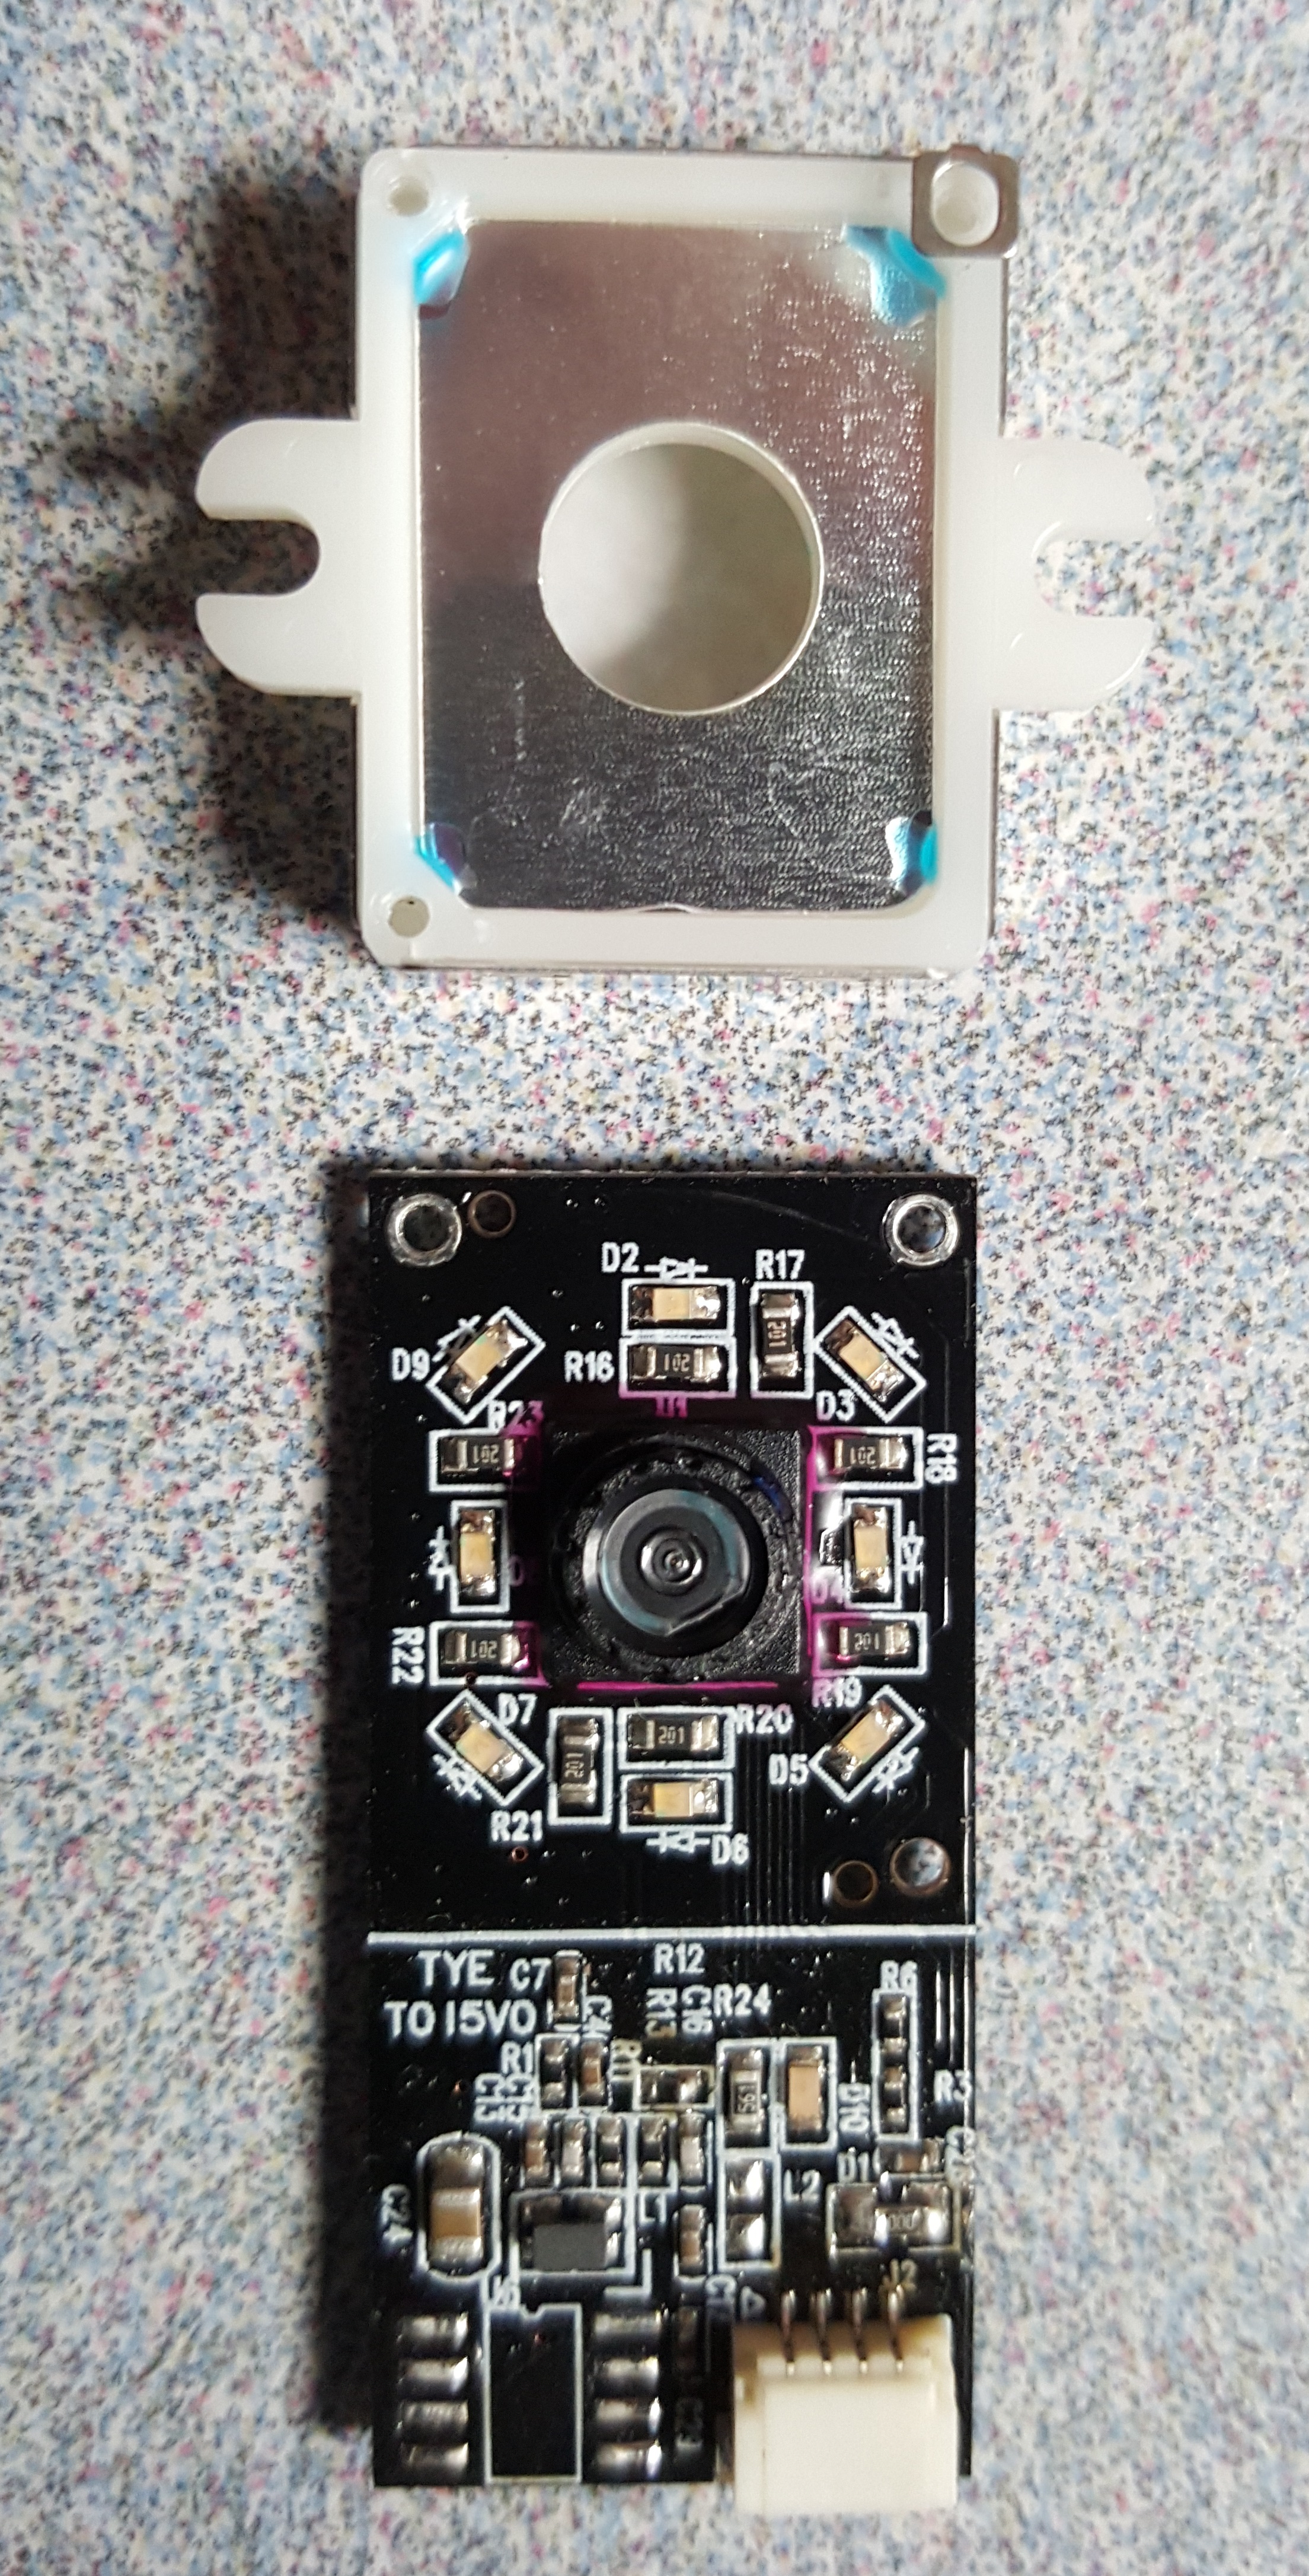
Hand Drawn "Fingerprint"
I was interested in seeing if the fingerprint scanner was able to identify any other items placed on the fingerprint scanner. I tested using a few drawings on a sticky note:
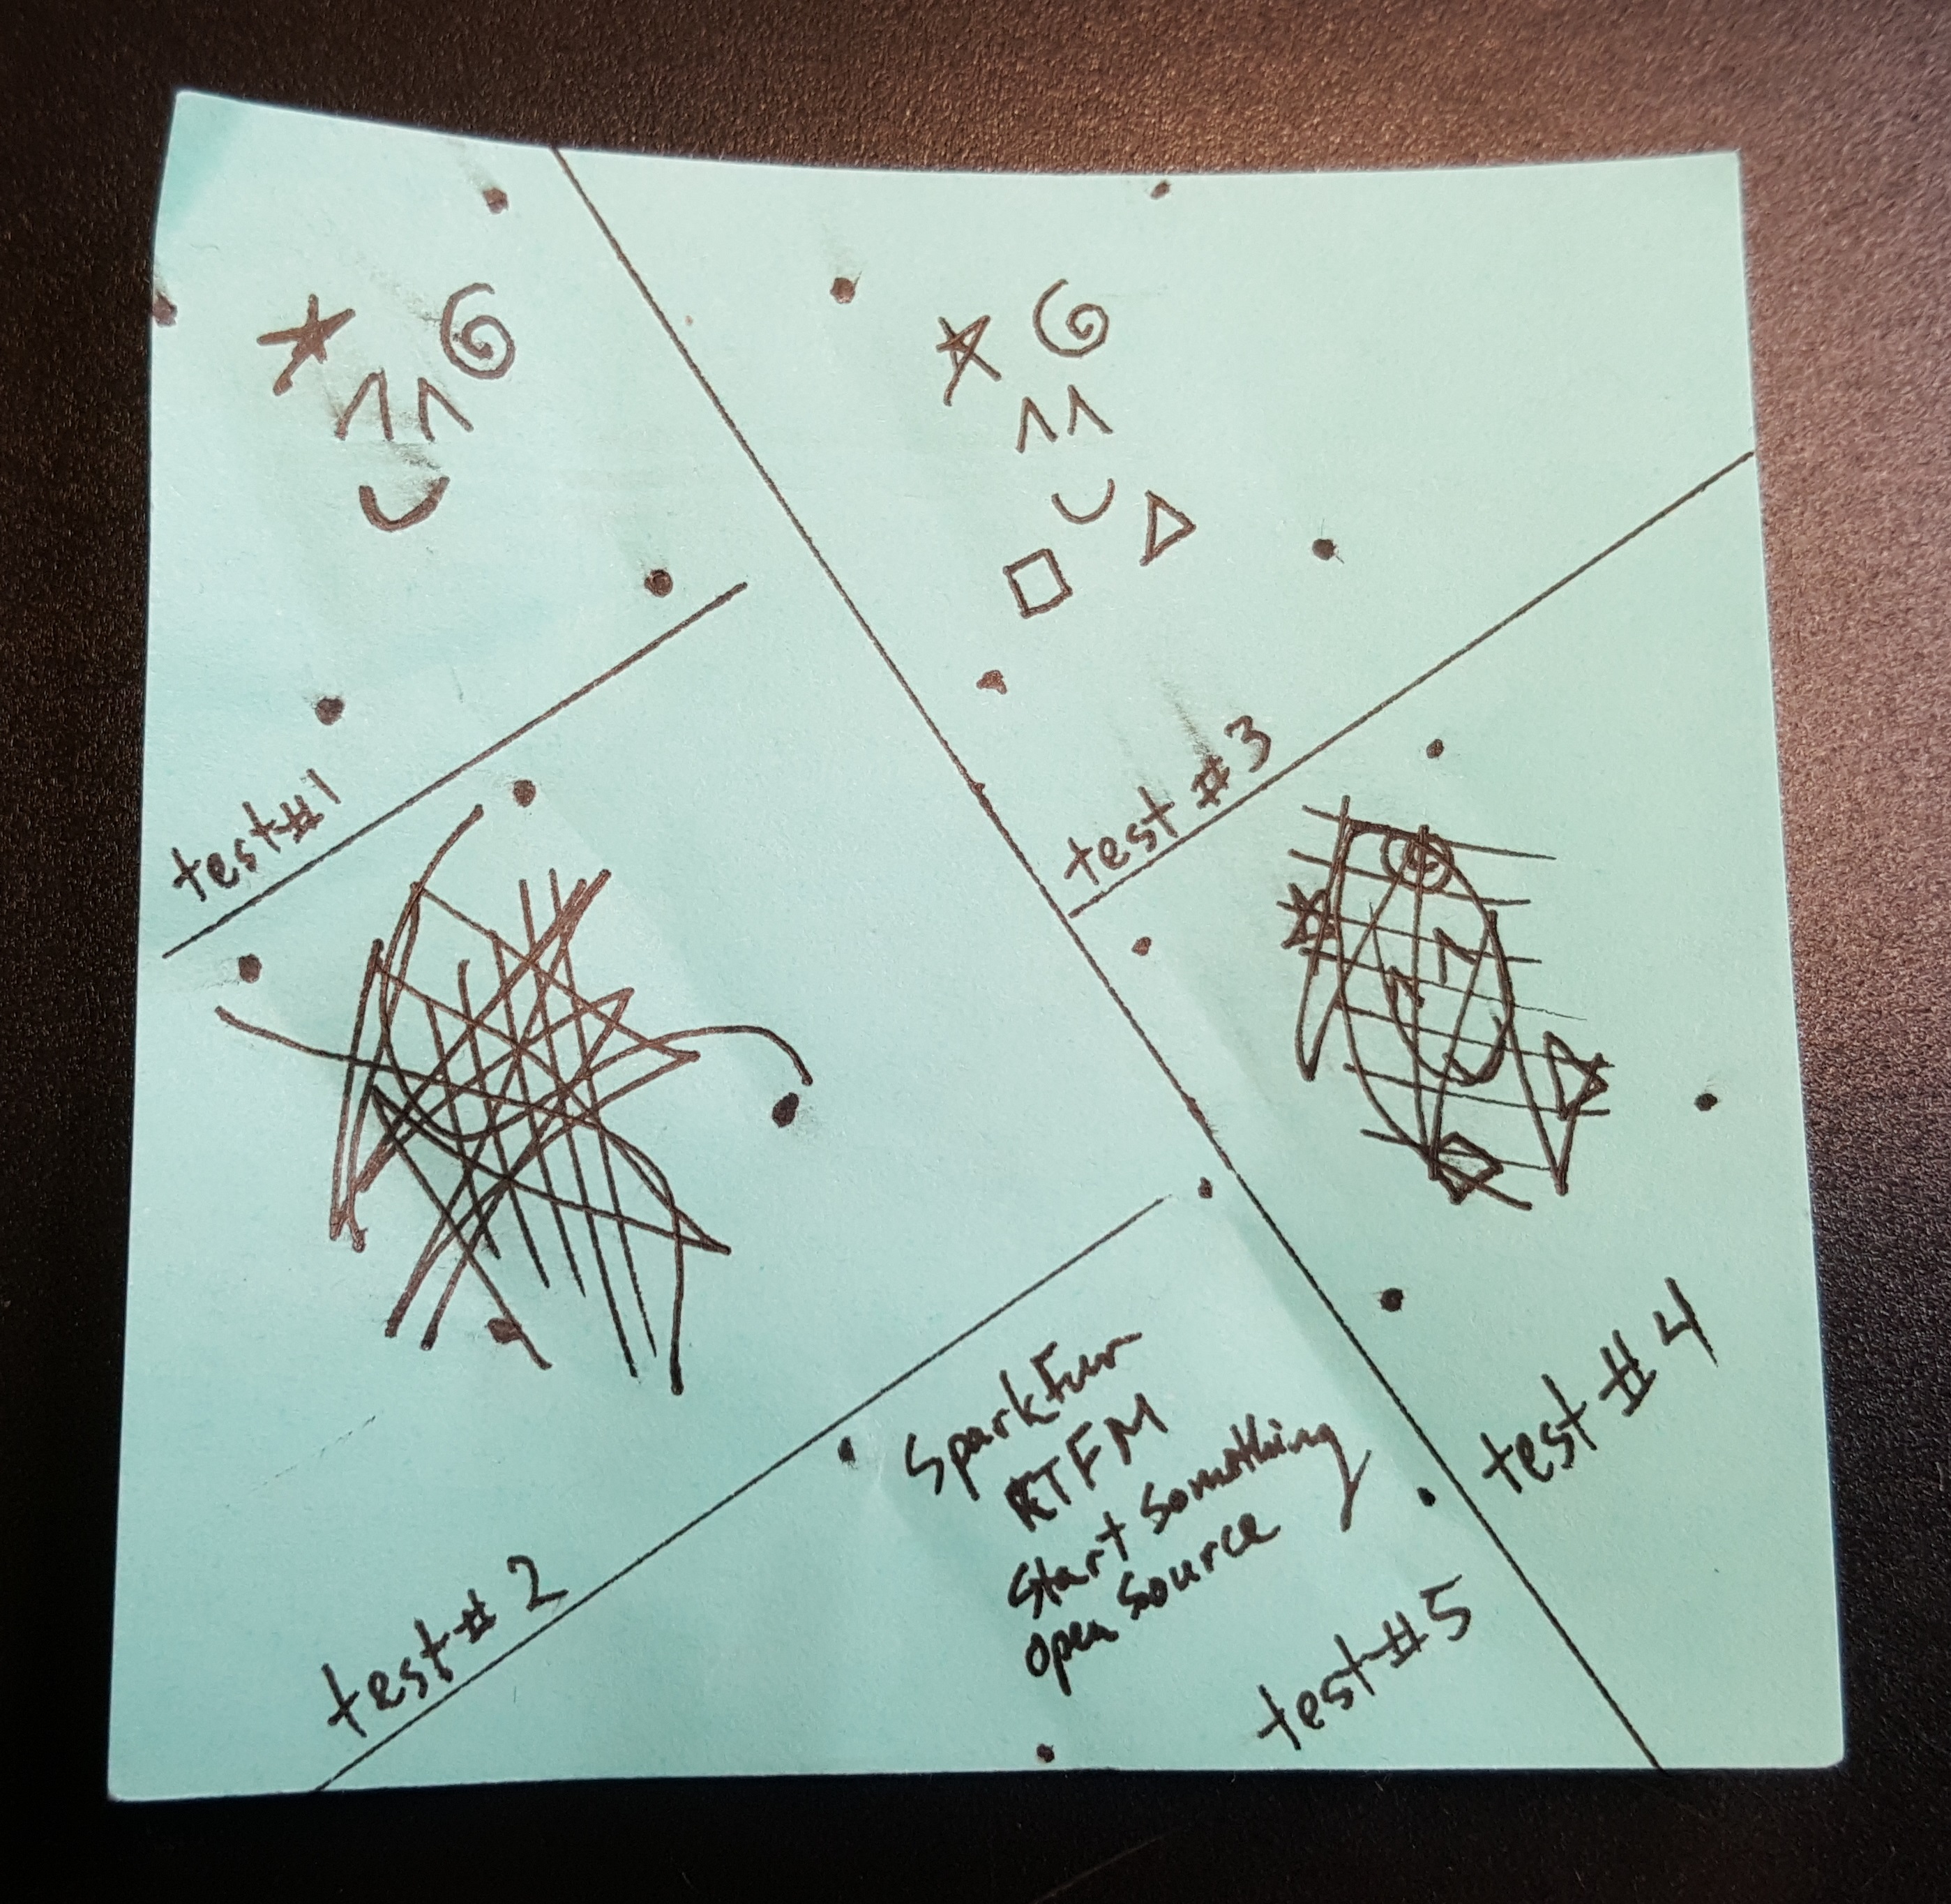
I drew fiducials to align the fingerprint scanner's with the drawing in the image below. This ensured that the fingerprint was placed in the same position for each scan.
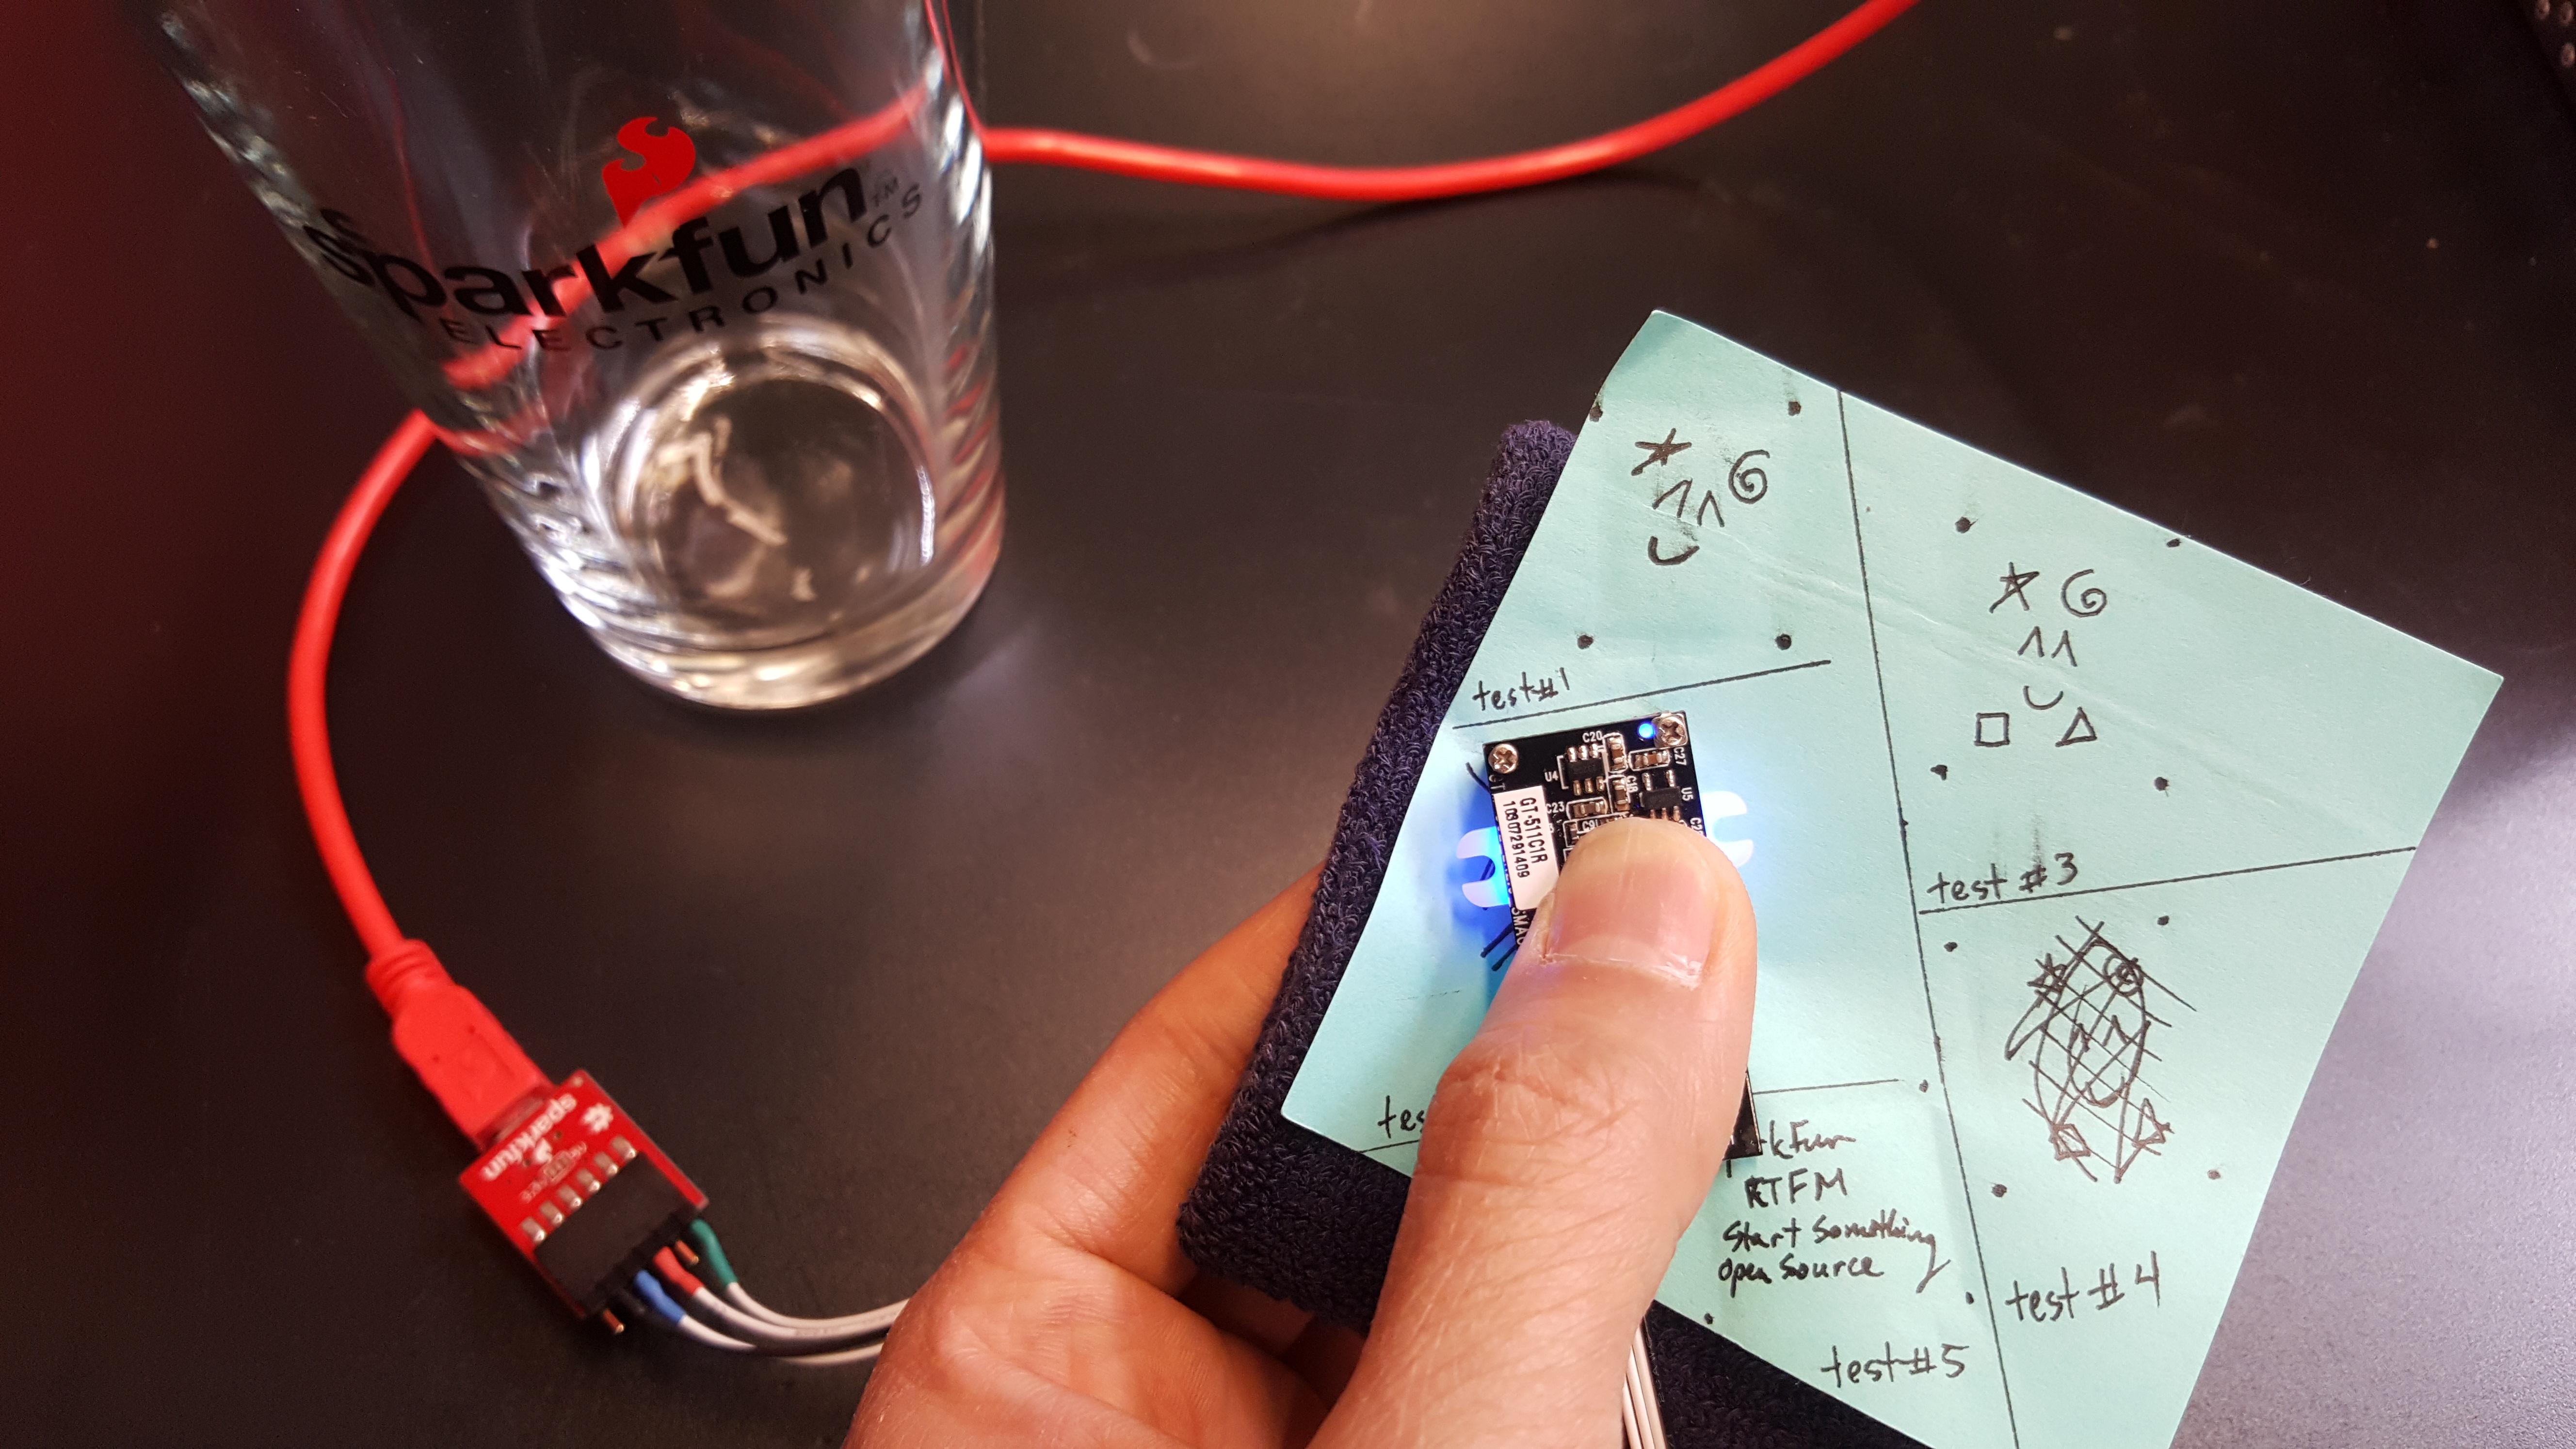
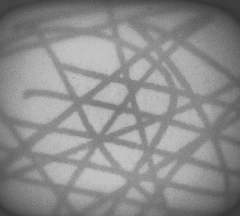
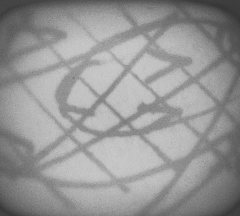
I first drew a pattern in test #1 and test #2 . Test #1 failed to enroll properly, since it did not have a lot of details. I continued to test the drawing in test #1 to see when the scanner would accept the drawing. Test #2 was successful in enrolling and identifying by adding a little bit more detail. In test #3, I drew a bit more, but the fingerprint scanner was unable to recognize the drawing. The drawing in test #4 was enough for the scanner to recognize by adding lines and scribbles similar to the unique patterns of a person's fingerprint. In test #5, I was interested in seeing if the scanner was able to recognize words as a fingerprint. While the fingerprint scanner was able to recognize that there was a "finger" pressed on the scanner, it failed to complete the enrollment process. The words probably did not create enough of a pattern for the scanner to accept.
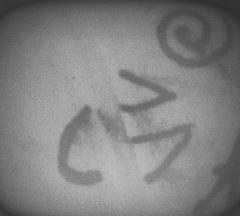
I was also interested in how each of the images would look like after it was scanned. Luckily, the SDK_Demo.exe had a feature to get the image and save as a bitmap. The "Get Image" button requires a valid fingerprint press before the device begins scanning. The "Get Raw Image" immediately scans whatever is on the scanner even if it is not a valid fingerprint pattern. After clicking on the "Save Image To File", a 240x216 sized bitmap image was taken from the GT-511C1R's optical sensing area and saved to my computer. Below are images of the tests after saving the patterns:
| Test #1 (FAIL) | Test #2 (PASS) | Test #3 (FAIL) | Test #4 (PASS) | Test #5 (FAIL) |
|---|---|---|---|---|
|
|

|
|

|
More Failed Attempts
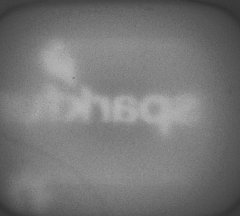
I tried using the silkscreen and traces of the SparkFun EL Sequencer to see if the scanner was able to enroll. Unfortunately, it was not able to accept the board as a fingerprint. The board seem to be too far away causing the image to be dimly lit and the silkscreen was not sufficient enough to pass as a pattern. Below is an image taken of one of the SparkFun EL Sequencer's silkscreen that failed to enroll:
As a final test, scanner was used with the palm of a hand. While it was able to enroll once, the scanner was not able to recognize it a majority of the time. It was not easy to place the fingerprint scanner on the same location of the palm. The scanner was only able to recognize the palm once. It's possible that the ridges on the palm of a hand and the amount of pressure that was placed on the scanner was not sufficient to enough.