Electric Imp Breakout Hookup Guide
 jimblom,
  Shawn Hymel
impRoduction
The Electric Imp is a deviously awesome development platform. Disguised as an every day SD card, the imp is actually a unique combination of microprocessor and WiFi module. The imp makes connecting any device to the Internet a breeze. Looking to catch on with this "Internet of Things" fad? The imp is an excellent place to start.
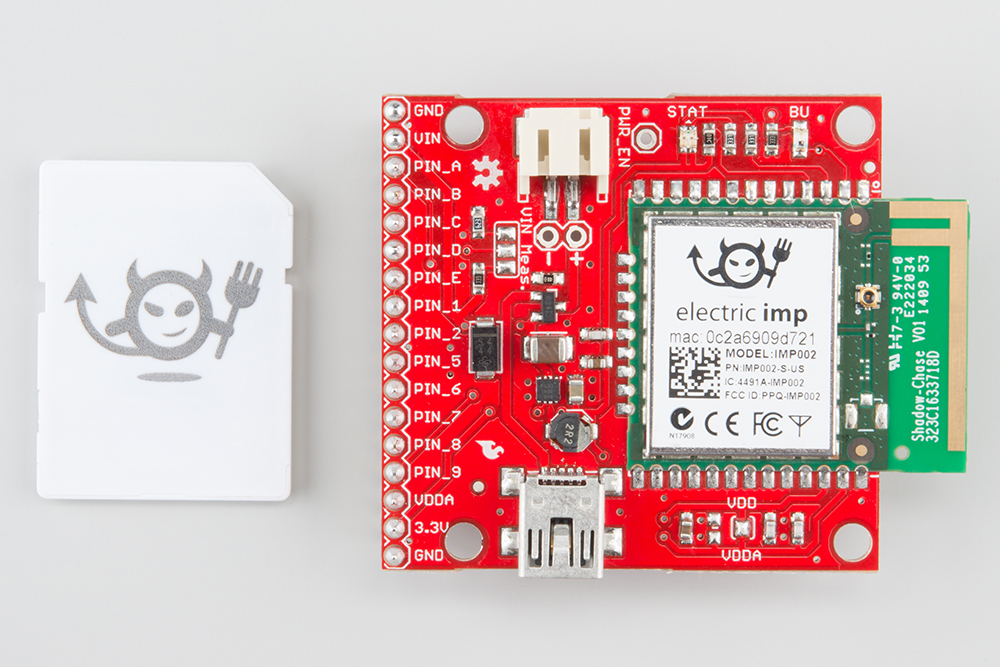
In this tutorial, we'll be explaining how to use the imp card with one of our Breakout Boards as well as the imp002 breakout board. You will have the choice of which platform to use (the imp card or the imp002).
First, we'll cover how to hook up the hardware end of the imp and imp002. Following that we'll head over into the firmware domain, programming the imp to blink LEDs and read analog and digital inputs. The last code example shows off the coolest part of the imp: controlling hardware over the Internet!
Required Materials
You have a choice to make! You can either use the imp card and Breakout Board, or you can use the imp002 Breakout Board.
If you want to use the imp card, you will need an imp card and the Electric Imp Breakout Board.
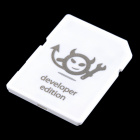
Electric Imp
WRL-11395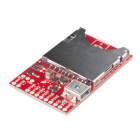
SparkFun Electric Imp Breakout
BOB-12886If, on the other hand, you want to use the imp002, you will need the Electric Imp imp002 Breakout Board.
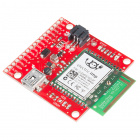
SparkFun Electric Imp imp002 Breakout
BOB-12958Aside from one of those platforms, we'll use a few common electronics parts you may already have. Here's a wishlist of everything else we'll be using.
In addition to those items, you'll also need the following non-SparkFun materials:
- Wireless network with Internet access
- Electric Imp planner account (sign up is free/easy)
- Electric Imp planner website pulled up in your web browser
- SmartPhone w/ the Electric Imp app (Android or iOS)
Tools
There will be some soldering involved. The Breakout Board does not come with header pins soldered on, which you'll need in order to interface with the imp's I/O pins. You'll need a simple soldering iron and a bit of solder (If you've never soldered before, this is a great place to start! The solder points are easy, through-hole jobs).
Before We Begin
This tutorial builds upon some basic electronics concepts. If you aren't familiar with any of the topics below, consider reading through that tutorial first:
- How to Solder - Through-hole
- How to Power a Project
- Voltage Dividers
- Pulse Width Modulation
- Light-emitting Diodes
Aside from the imp's programming language, Squirrel, there will be a variety of coding languages used in later parts of this tutorial -- primarily HTML and Javascript. Don't worry if you're not too familiar with those, as the examples aim to be short, sweet, and easy-to-modify.
Let's start by overviewing the imp hardware itself. It's hard, at first, to wrap your head around the fact that this little, module is actually a powerful WiFi-enabled microcontroller platform.