ELastoLite Hookup Guide
 Pearce
Choosing an Inverter
When choosing ELastoLite products, it's very important to take into account how much power your inverter can provide. Therefor, before you begin buying ELastoLite panels, you should look at the inverter options to make sure you have enough juice to power all the panel you want in your project.
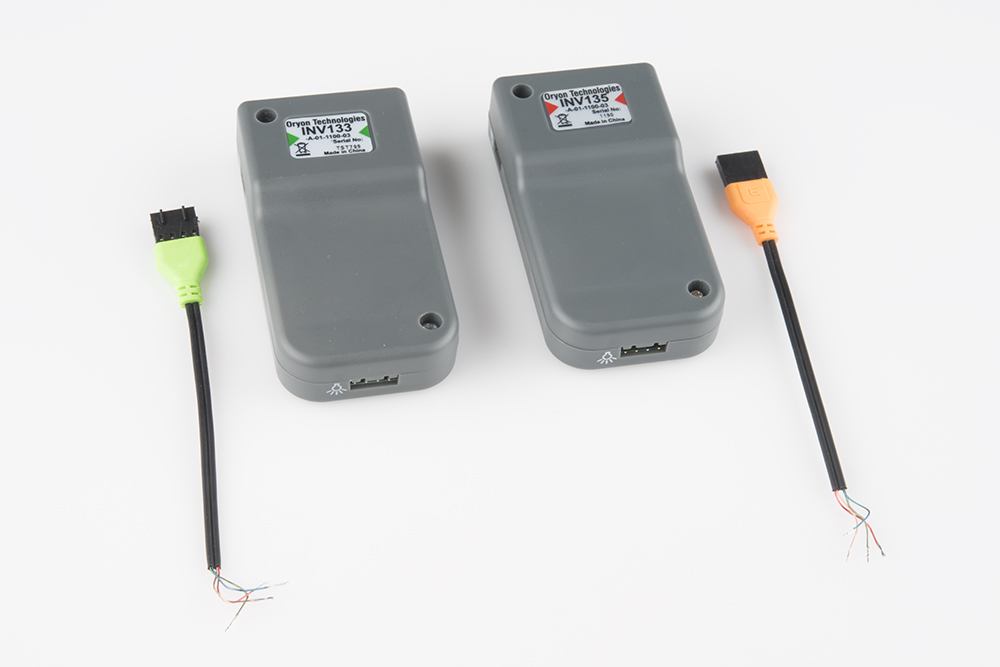
Oryon technologies have provided SparkFun with these great inverters designed specifically for ELastoLite. In addition to being rechargeable, the button is perfect for use in a garment. To cut down on the likelihood of false presses in a garment pocket, a prolonged press of the button is needed to change the flash rate or turn it on or off . There are two sizes of inverter, the INV133 and the INV135. Don’t let the numbers fool you, the INV133 is the more powerful of the two.
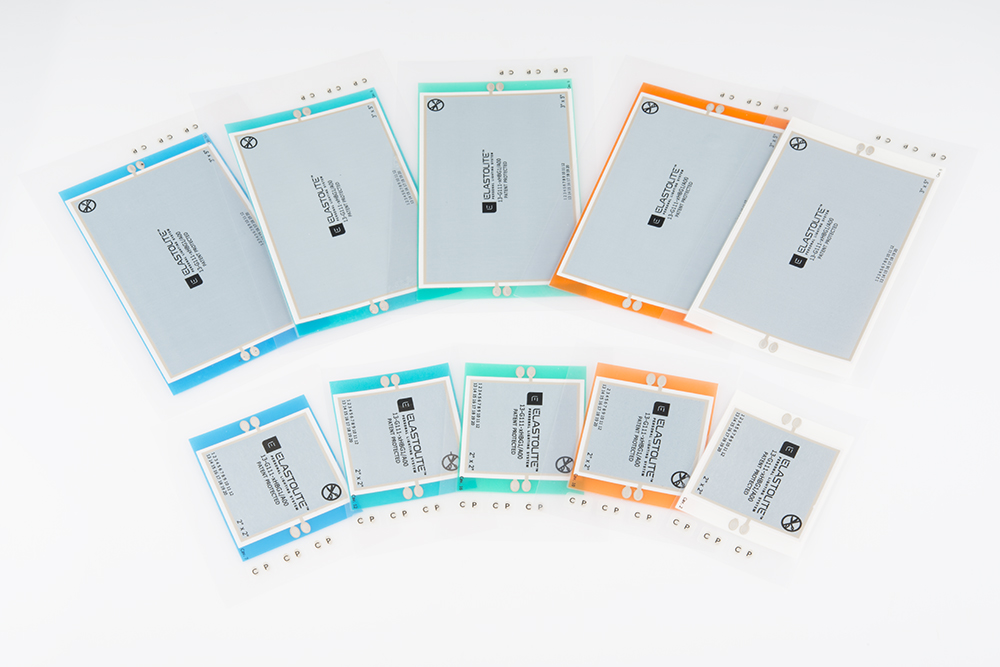
Which one you use will be dictated by how much lamp (panel space) you are using in your project. If the total area of the ELastoLite lamps you are using falls under 8 in2 then you want to use the INV135. It's important that you use this inverter for the smaller areas as the built in circuit protection of the inverter could trip should load not be large enough. If your total area falls between 8 in2 and 20 in2, then you want to use the INV133. Any area above that will be too much for a single inverter and will need a combination of two or more. Here’s a set of equations to use to calculate this:
The dimensions on the product page for each panel should include the area of each lamp. If not, the numbers in the product title will suffice (example: 3x5 inch lamp has an area of 3*5 or 15 in²).
Once you have the correct inverter(s) selected, you need to choose Molex connectors to go with the inverters. If you haven’t started already, I recommend start writing down the bill of materials. There are two colors that are associated with the two inverters respectively. I highly recommend buying the correct color as this will serve as an excellent reference for which inverter your circuit needs to be properly powered. The inverters have fantastic safety features, so a smaller area of lamps might not draw enough current to turn off the safety feature of the INV133. Additionally, the INV135 won’t have enough power to power some of the larger lamp configurations. Buying the correct color Molex connector will save you a lot of frustration down the road.
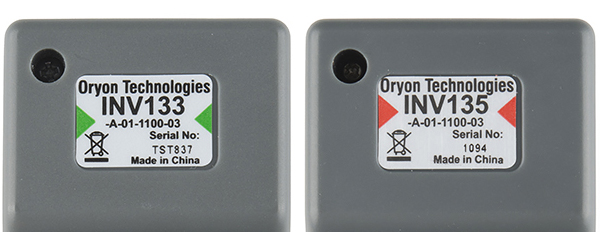
The INV135 corresponds to the orange Molex connector and the INV133 corresponds to the green one. You can double check this by the colors denoted on the label on the inverters.
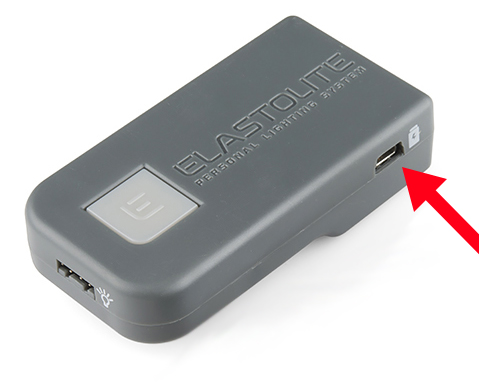
Charging the Inverter
The inverters ship discharged, so you need to charge them before the first use. Simply plug the supplied USB Mini B cable to the Mini B USB connector on the inverter. This is the same method for re-charging when the inverter gets low on juice. Both the INV133 and the INV135 charge at 3.7V with a 1100mAh current. There is internal circuitry that regulates a 5V input down to the required 3.7V, so you can charge from a computer USB port or from a USB wall wart.