ELasto-Nightlight
 Chelsea the Destroyer
Anatomy of a Nightlight
Here are all the bits I started with:
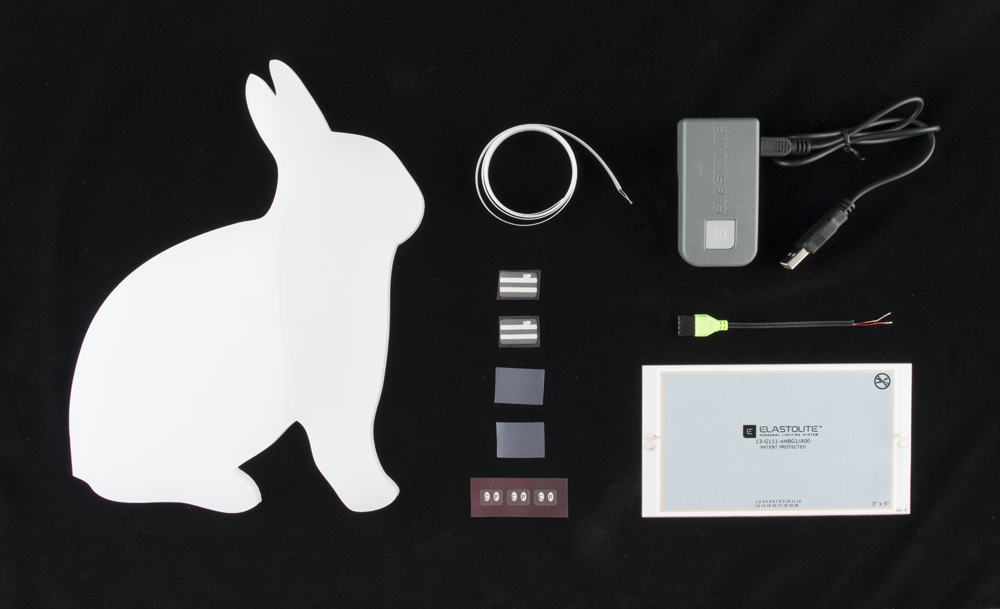
Here is a wishlist of parts to take the guesswork out of it for you.
Note: Once you're comfortable with these materials you are welcome to adjust the size of your inverter and panel as needed (there is a size/power limit on each, so it's important to use the correct inverter depending on the area of your panel). There is more information on the Whys of inverters in the hookup guide.
I used SparkFun's laser cutter to make the rabbit-shaped pieces of translucent white acrylic. I realize not everyone has access to one of these, but the good news is that the ELastoLite panel doesn't put out any heat if connected properly. It will get slightly warmer than room temperature, but that's it. So, you can use anything you like for your enclosure: acrylic, fabric, plastic, etc.
You will also need an iron, some wax paper, and a small exacto/hobby knife. Go forth, and gather these things.
I recommend reading through my whole tutorial before getting started, as I learned some valuable and annoying lessons along the way. You might as well save yourself some trouble, and learn from my mistakes, which I will spare you none of.