ELasto-Nightlight
Let's Build a Rabbit - Pt. 2
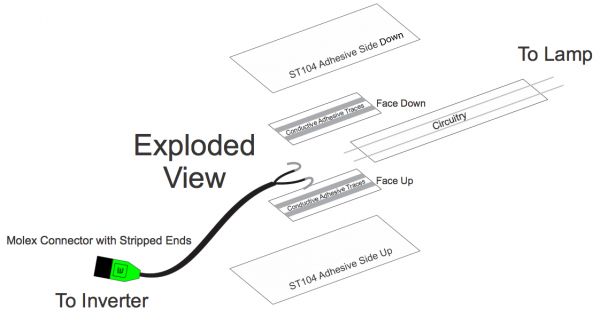
Now that our wires are ready and our inverter is charged, it's time to connect the circuit. I'll start with a simile because the assembly process was a little frustrating; It may help to think of it like you're assembling an electronics sandwich, and the fixins aren't totally excited about being eaten. Here's a reminder on how our circuit will be assembled:
Now's a good time to lay down the wax paper, and turn on the iron to the cotton setting.
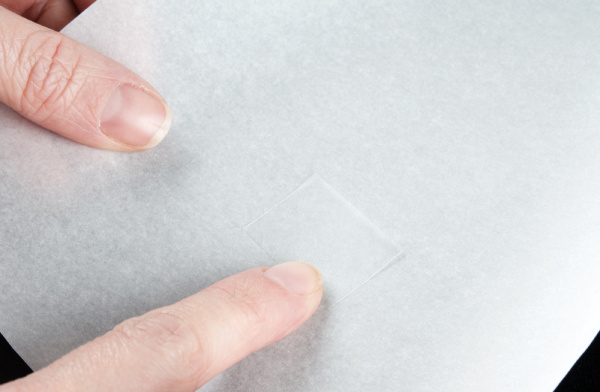
You should have received a 2-inch strip of the adhesive iron-on tape. Cut that guy right in half; we'll use each 1-inch piece as our bread. On the wax paper, start by laying down one half of the iron-on tape, adhesive (stickier/rougher) side up, as if you have buttered one side of the bread and it is ready to receive its delicious sandwich ingredients.
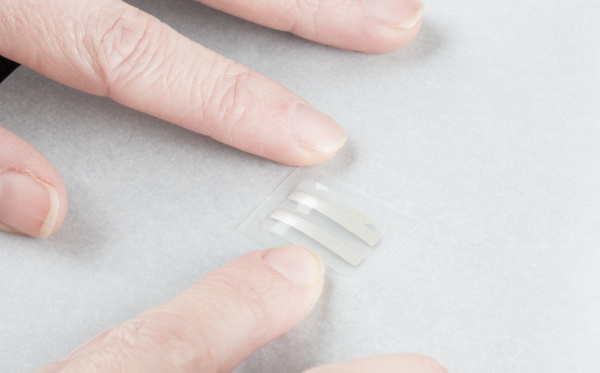
Then, take one of the conductive adhesive traces, and lay it face up (so you can read the word "UP") on top of the bread tape.
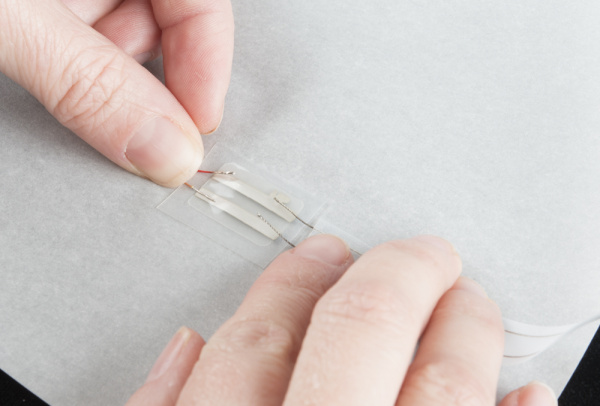
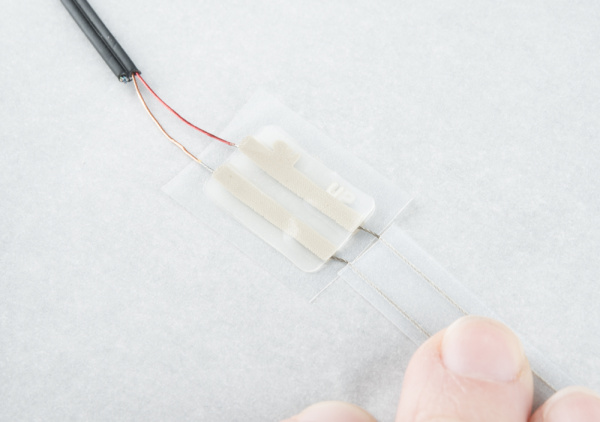
Now it gets a little tricky. Maneuver the bare ends of the red and tan wires of the Molex connector onto one side of the traces and the exposed conductive thread from the circuit tape onto the other. This requires some patience and heavy breathing.
Once you've gotten those to sit still where they're supposed to, mash that other conductive adhesive trace face-down over them so everything lines up and the wires are held onto the traces (the word "UP" on this second piece of conductive adhesive trace tape is now meaningless and should appear backward).
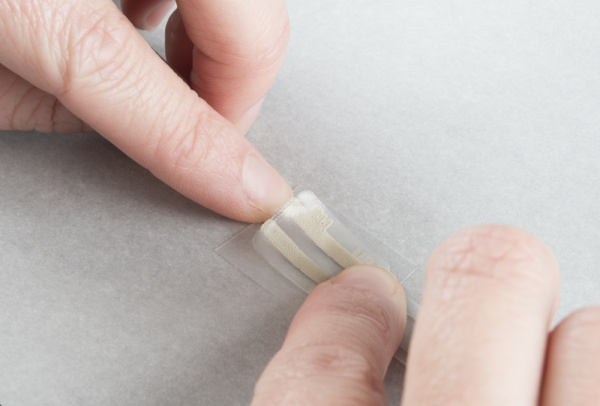
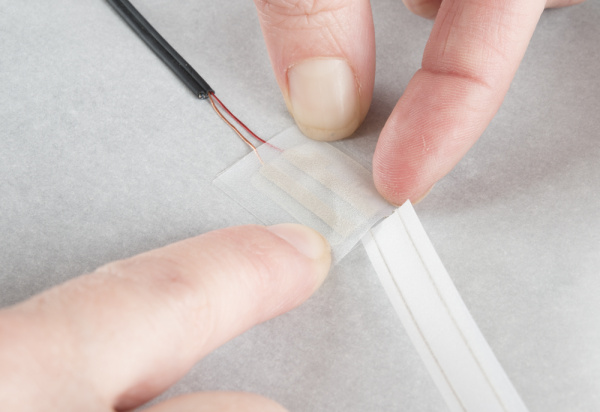
Lastly, we will place our other piece of iron-on tape/sandwich bread adhesive/butter side down to hold it all together, and use the tip of the iron to carefully melt it all together for a few seconds. Let it cool.
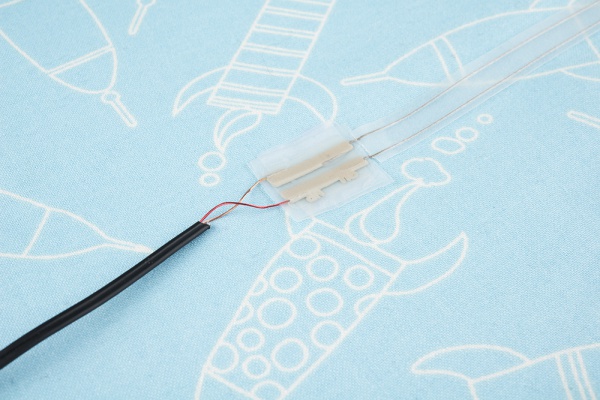
This is the part where I started to lose my mind a little bit, because I did not use just the tip of the iron and accidentally got the iron stuck to a corner of the face-up adhesive tape-bread. My circuit tape thread kept wiggling out of its connection, which meant I had to peel apart the ironed-together circuit, replace everything, and gingerly re-iron it. This happened three times, and in the end I had mostly ruined one side of my circuit and had to patch it together with one of the extra CP stickers that come with the lamp panel (we're getting there, I promise). This is what it SHOULD look like:
Anyway it turns out mine still works great, which fortunately means you can get away with some screw-ups in this process. Don't give up, we're almost there!
