Cackling Apple Head Witch
 Mando,
  MikeGrusin
Step 5: Getting Crafty with the Witch
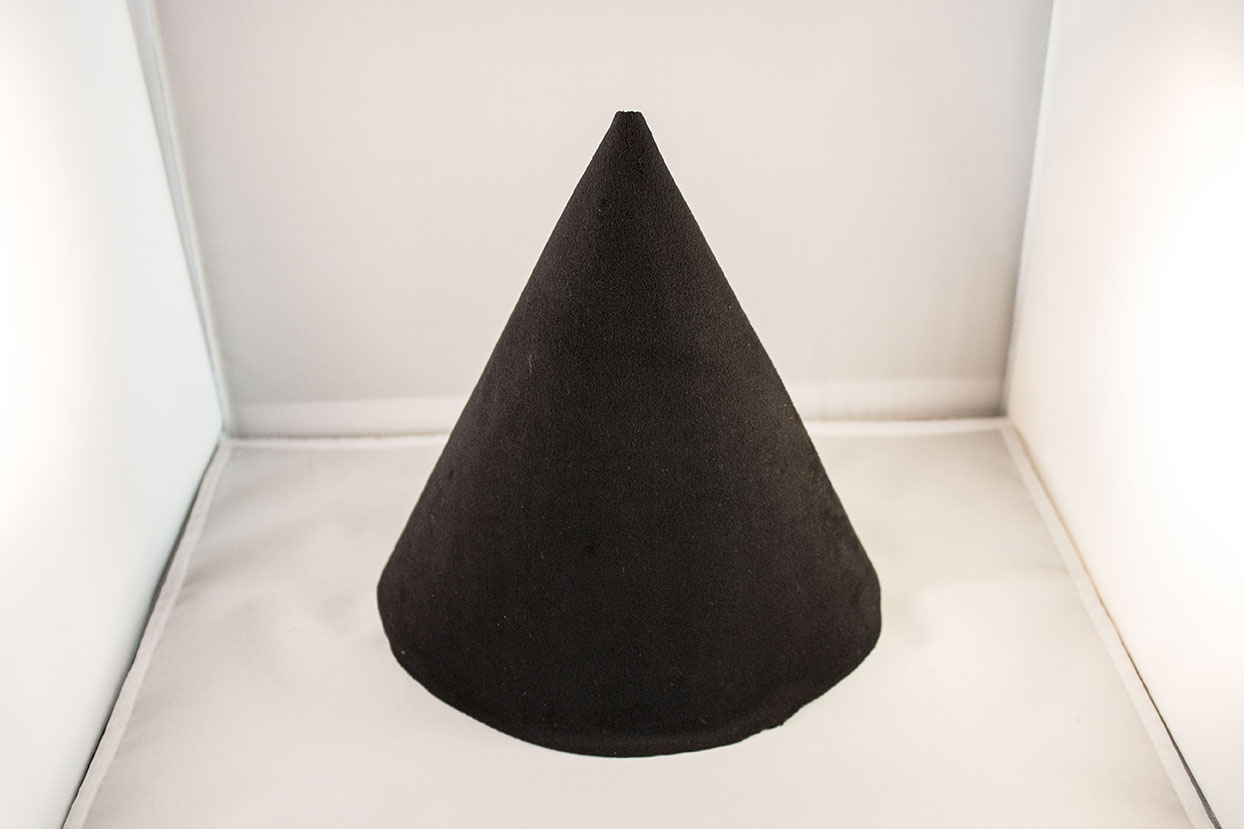
Take your half circle of interface and fabric that are glued together with all of the components, and wrap it into a cone shape. Glue it together with your hot glue gun or some sort of strong, fabric adhesive. Make sure to leave enough space for your pencil body to go through at the top of the cone. (about ¼ inch diameter)
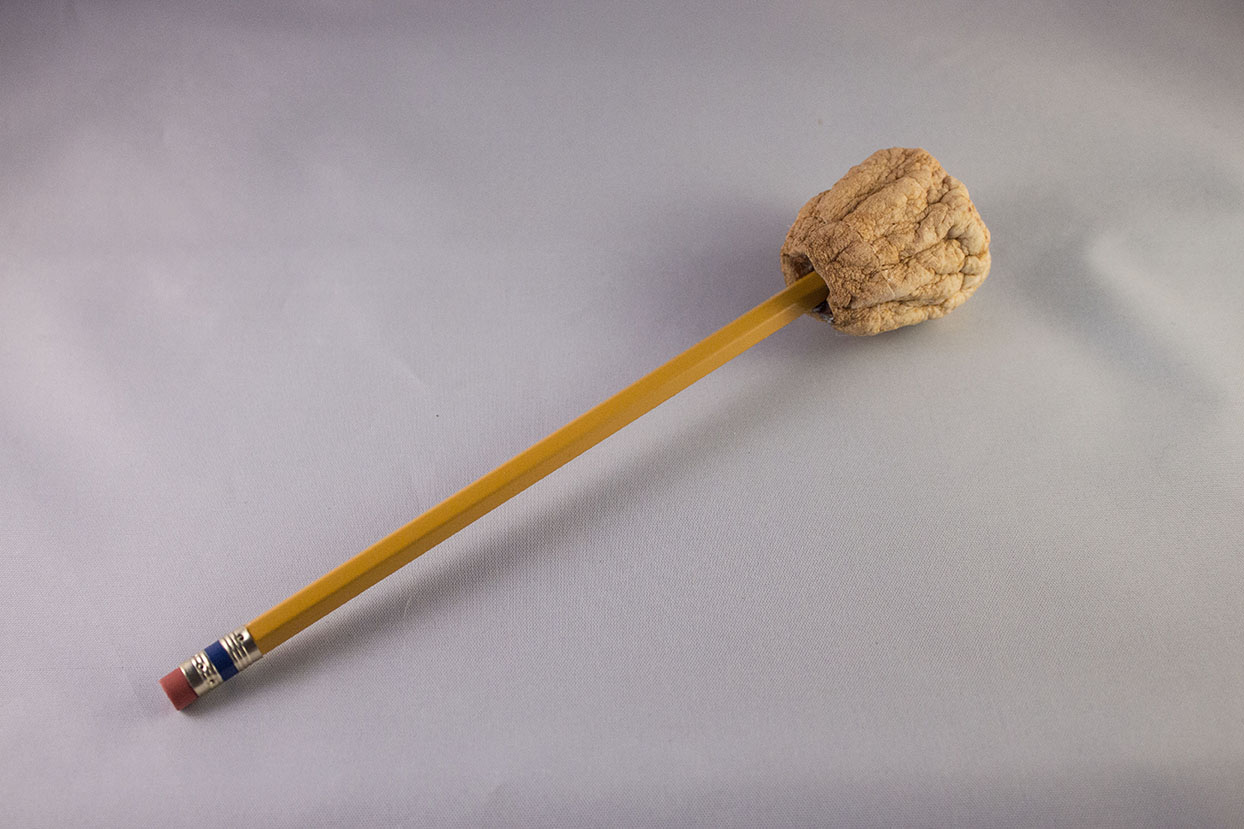
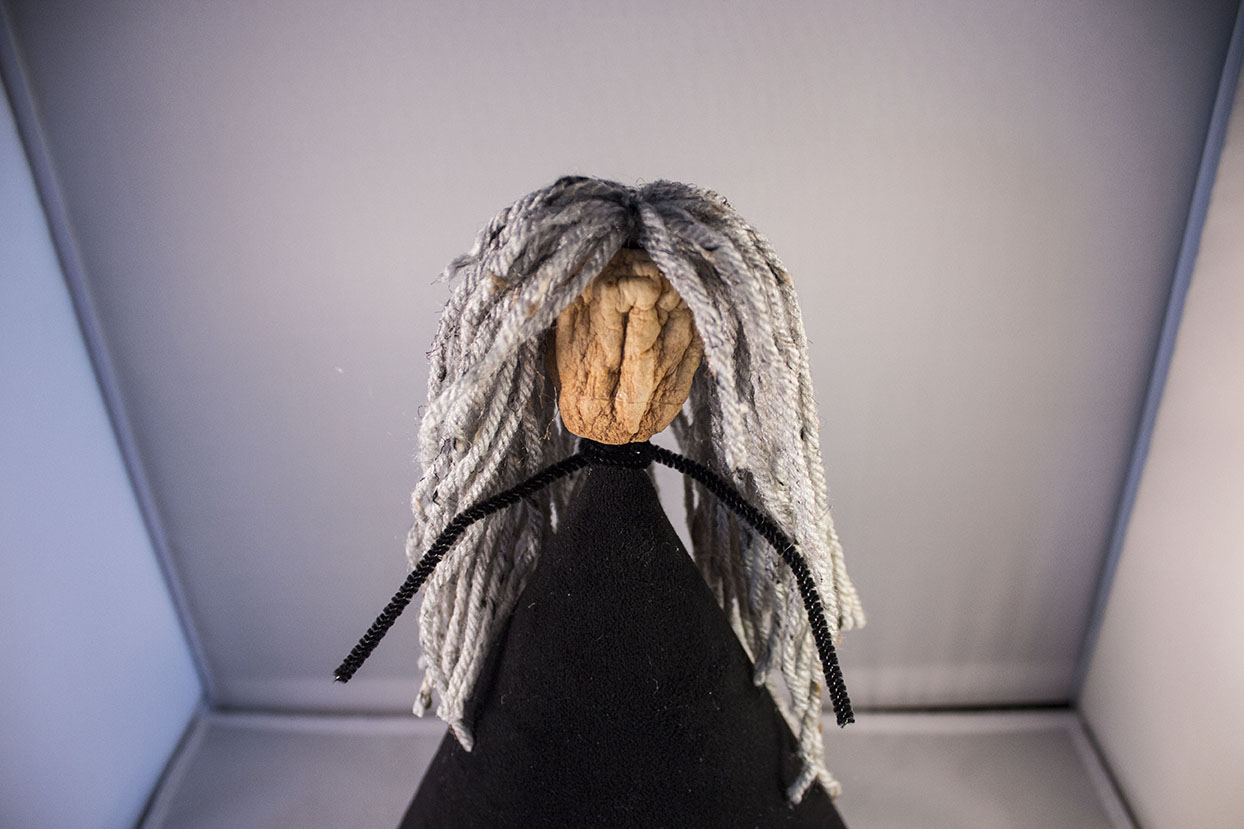
Make sure your pencil is sharpened. Use the leaded side of your pencil and stick it about halfway through the dried out apple. This will be your witch body. You may need to reinforce it by adding some hot glue so it stays in place.
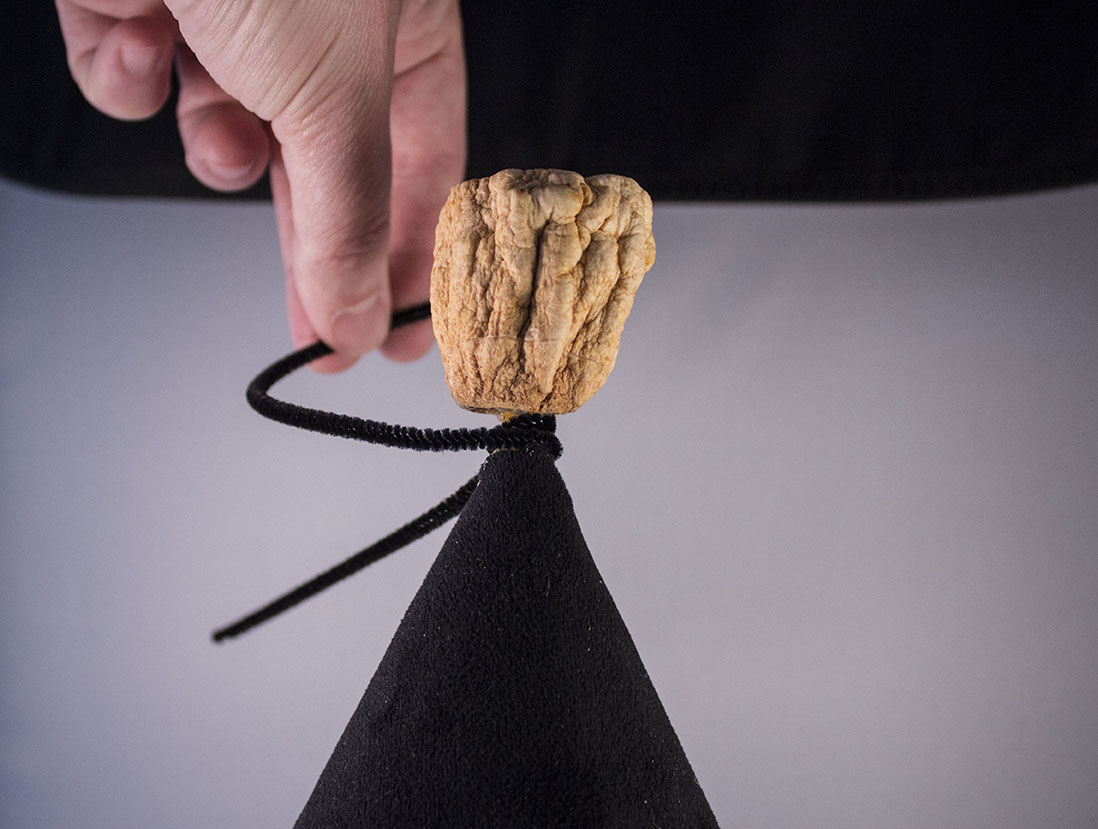
Take your apple head on the pencil, and slide it through the top of the cone dress until the head is about ¼ inch away from where it’ll meet the dress. Glue the cone dress to the pencil with your hot glue gun. Make sure the bond is secure.
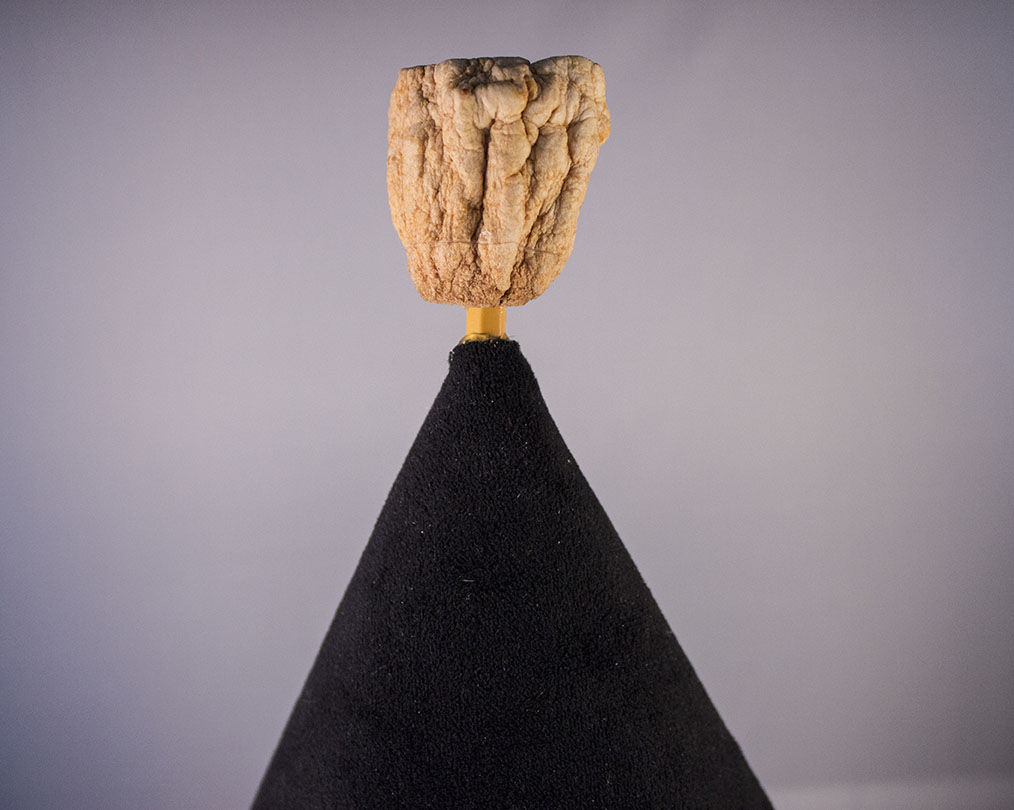
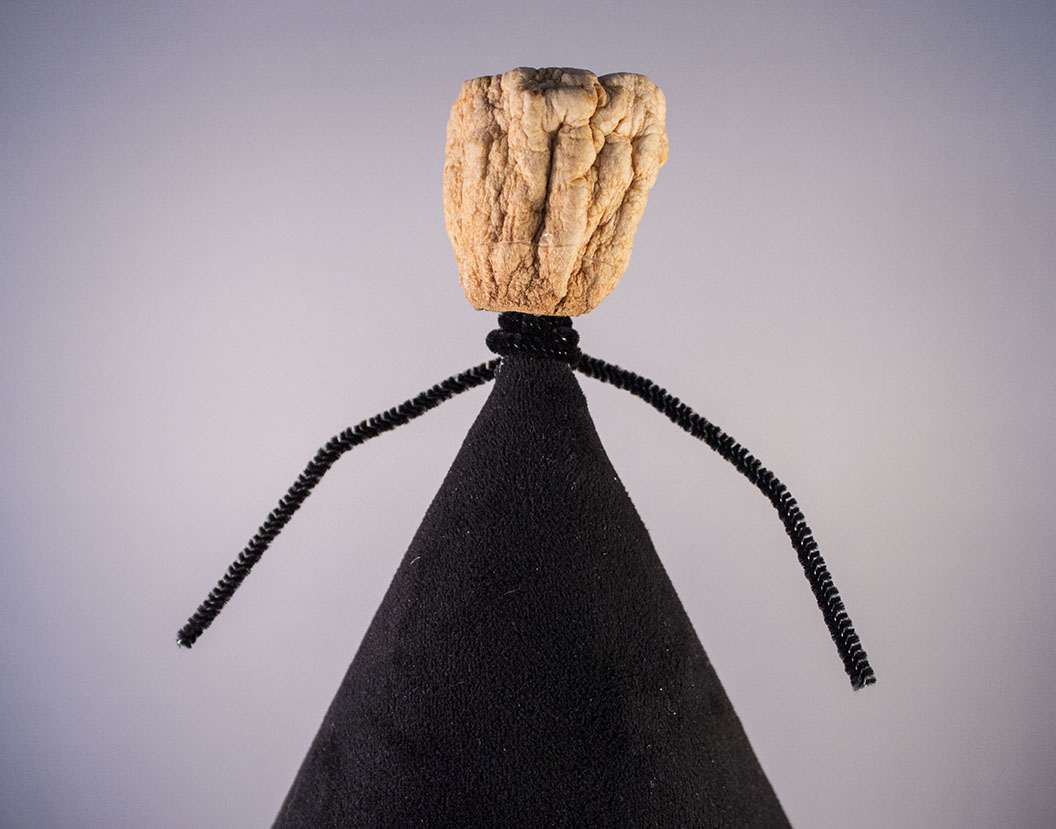
Take one black pipe cleaner, and wrap it around the area of the pencil that is exposed (in between the apple head and the dress). You are making the witch arms, so be sure they are even on both sides.
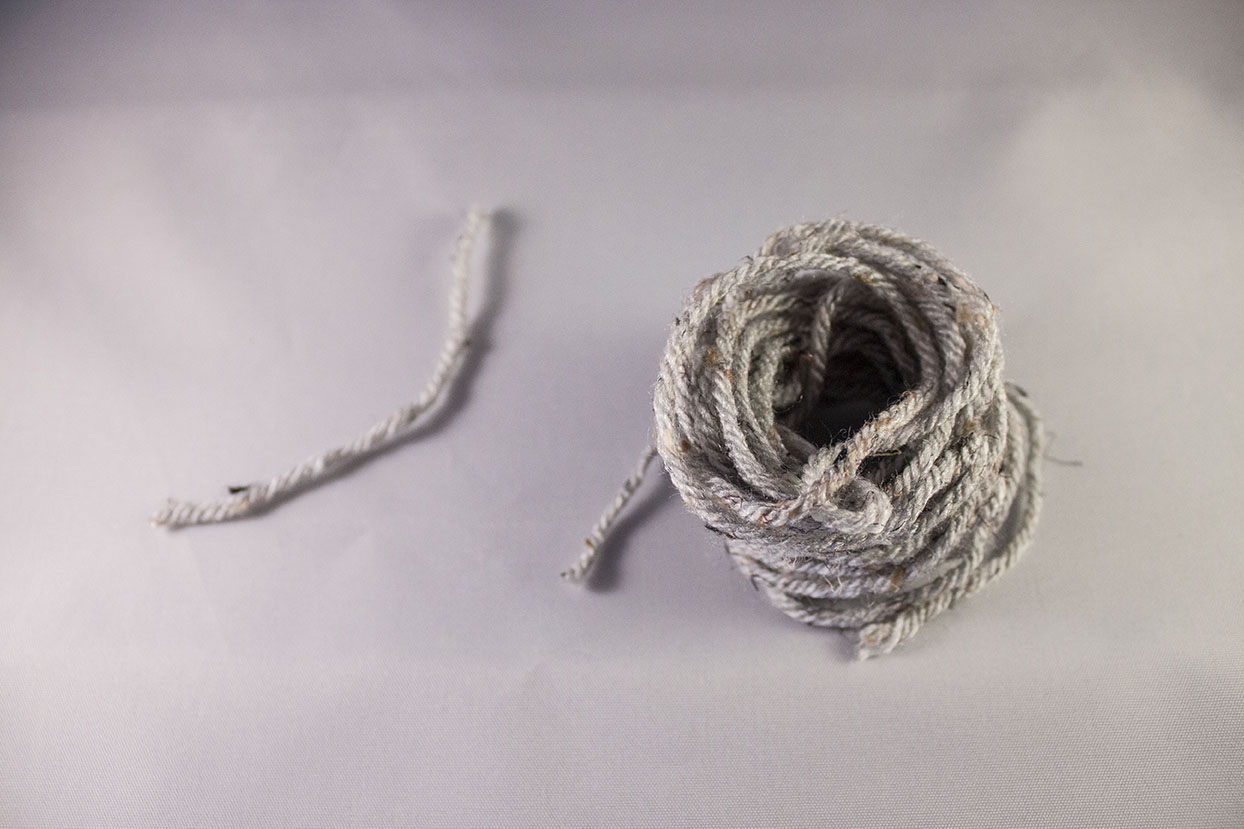
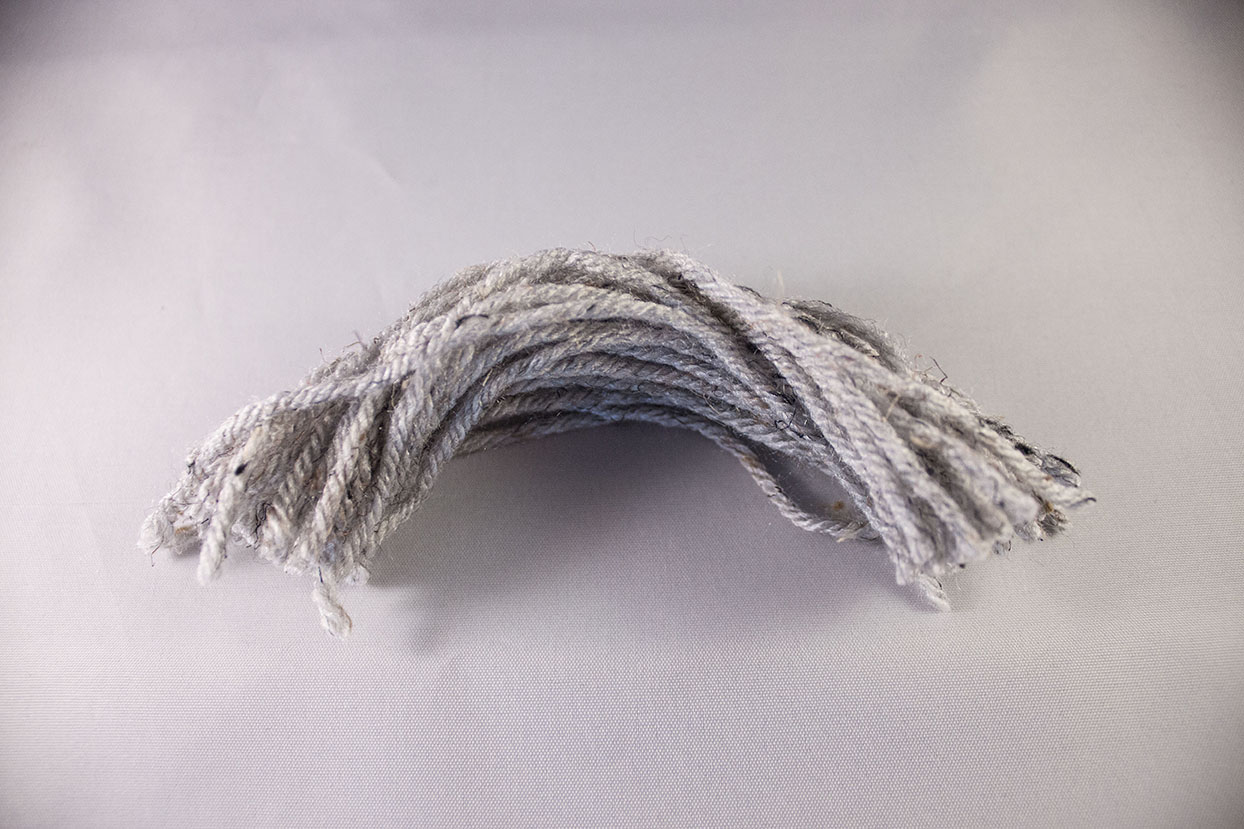
Grab your bundle of yarn, and cut a piece about 5 inches long and leave it to the side. Take more of the yarn from the bundle and wrap it loosely around your four fingers about 40 times or so.
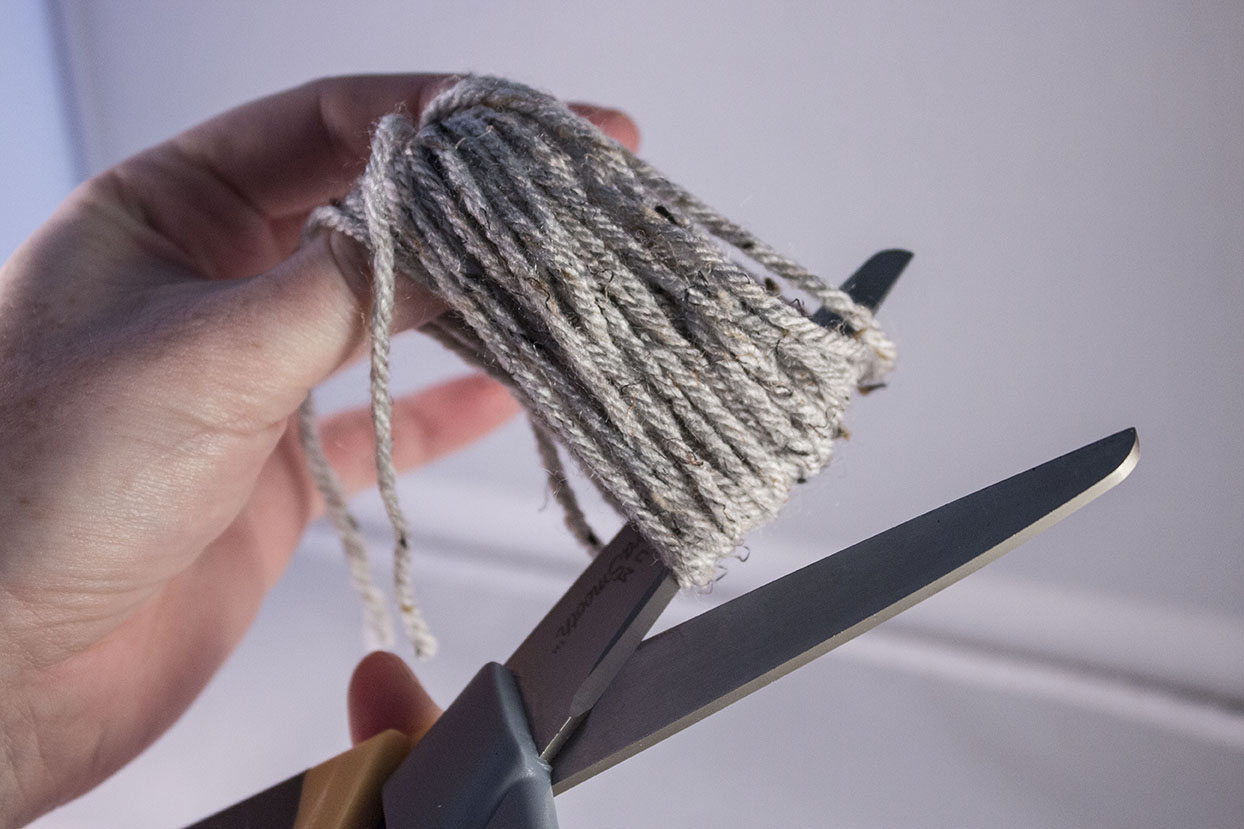
Cut the bottom of the loop of yarn. This will be the hair for your witch.
Grab the cut yarn and use the other 5 inch cut piece of cut yarn to tie the loop of yarn together.
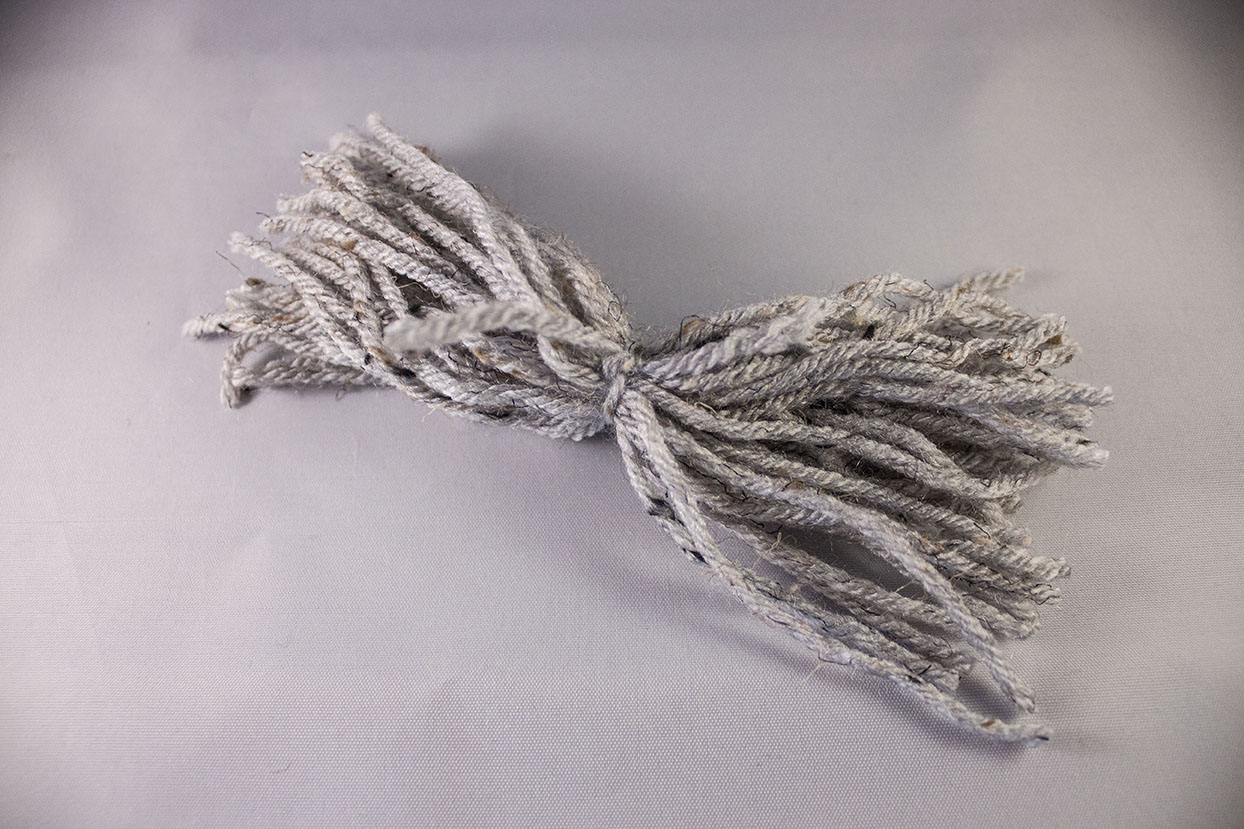
Using your hot glue gun, dab a drop of glue on the knot of the hair you tied together. Place it on the top of the dried apple making it look like a head of hair. Make sure the bond is nice and strong by holding the glued hair down on the apple for about 30 seconds.
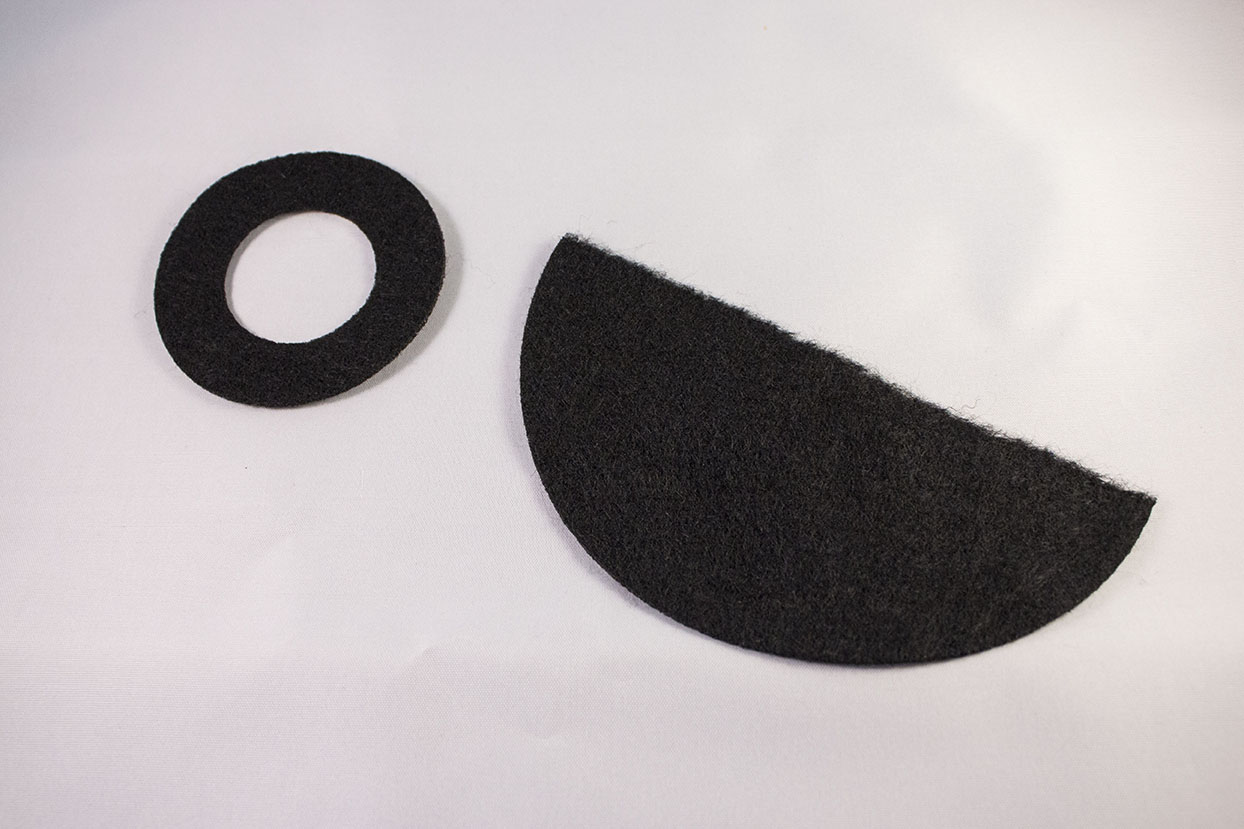
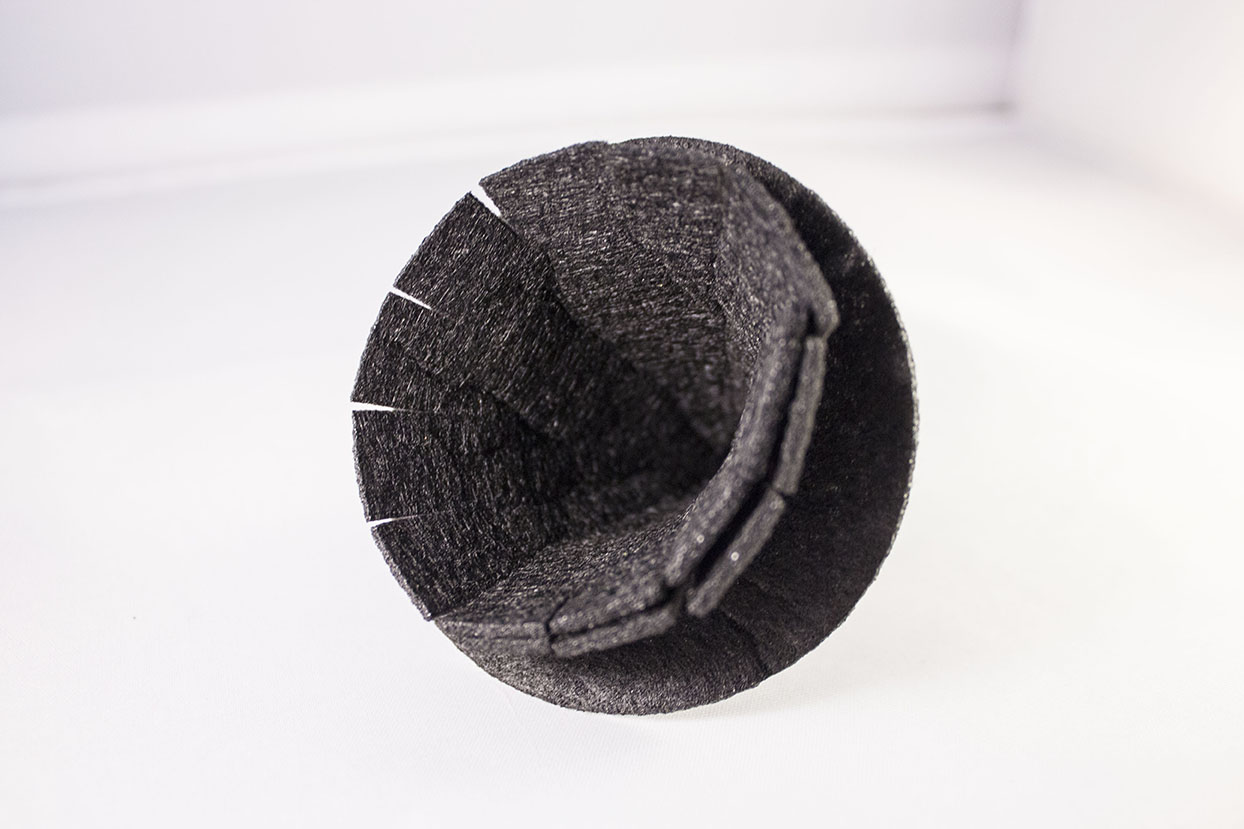
Now to make the witch’s hat. Cut one 3 inch circle and one 6 inch circle out of black cardstock or felt. Cut a 2 inch hole within the middle of the 3 inch circle. Take the unused 6 inch circle, and cut it in half.
Bend one of the half circles into a cone, and glue the seam. You have just made the base of the hat. For more detailed instructions check out this video. Make little 1/2 inch slits all around the base of the cone, and fold them up. This is where the brim of the hat will be glued to the cone base. Take the 3 inch circle with the 2 inch hole in it, and stick it through the top of the cone pulling it down to where the folded up fringe of the cone base is. This is the brim of your hat.

Glue both pieces together, and now your hat is complete.
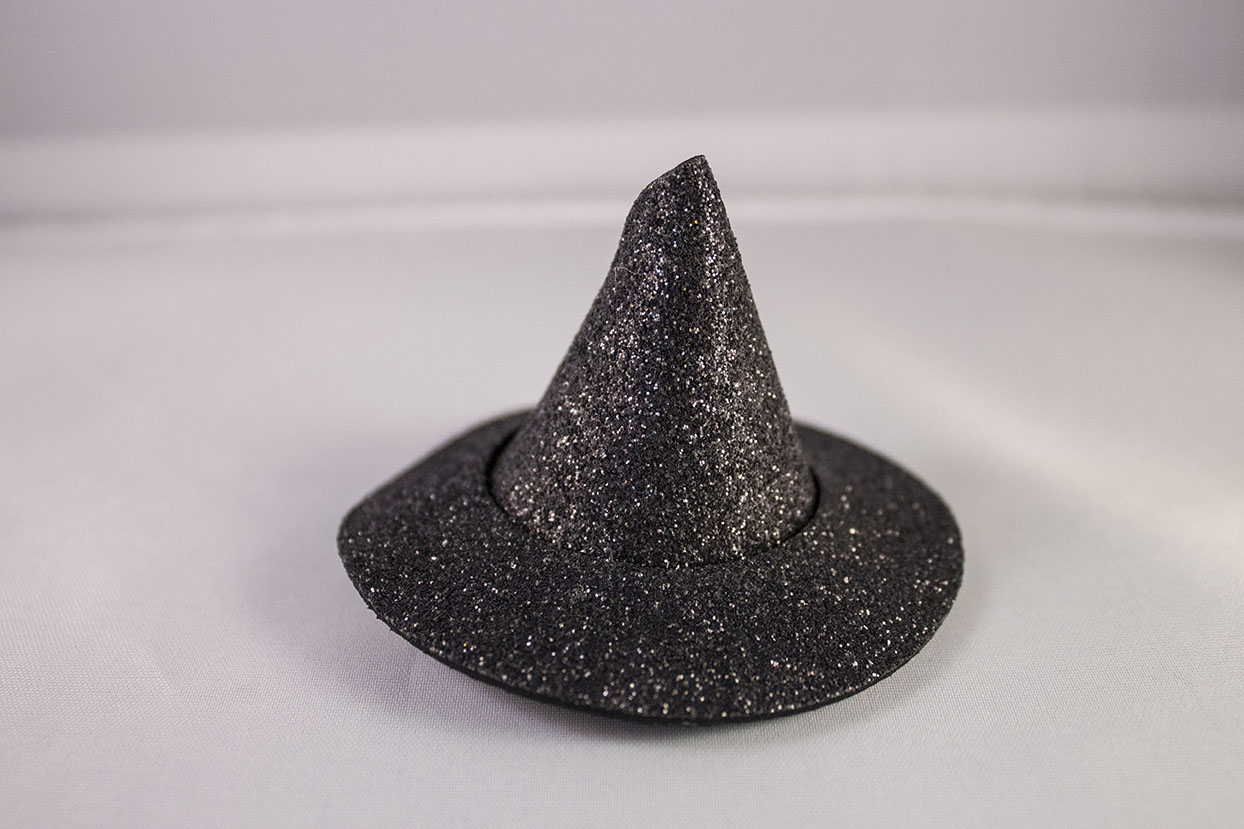
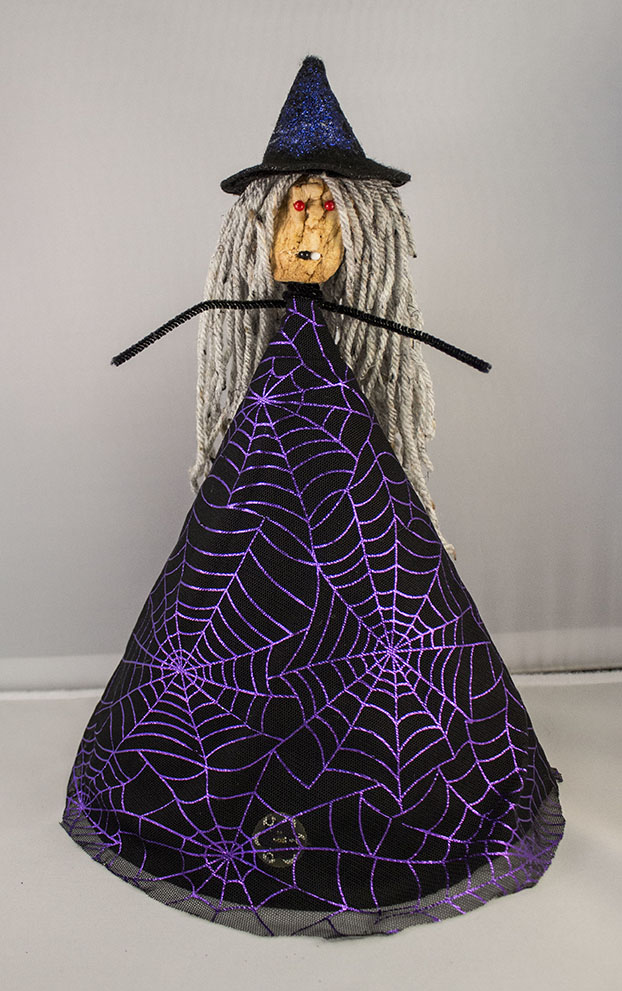
Place the hat on the top of the apple head adjusting it to where it looks best. You may glue it down to the apple head if it tends to easily fall off.
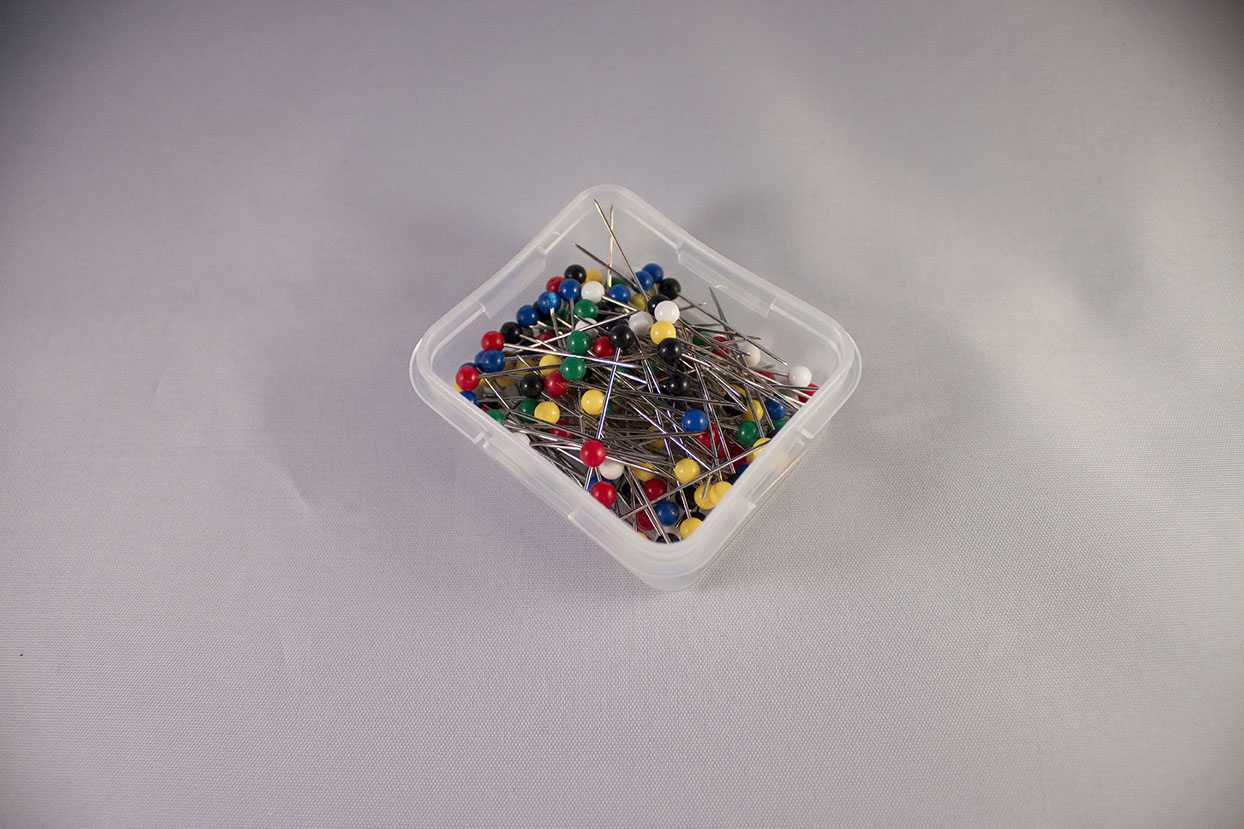
Take your red sewing pins, and place them as eyes on your apple head. Then, take your white and black sewing pins, and use them to make the teeth. Using one black pin helps give the witch a rotten tooth look.
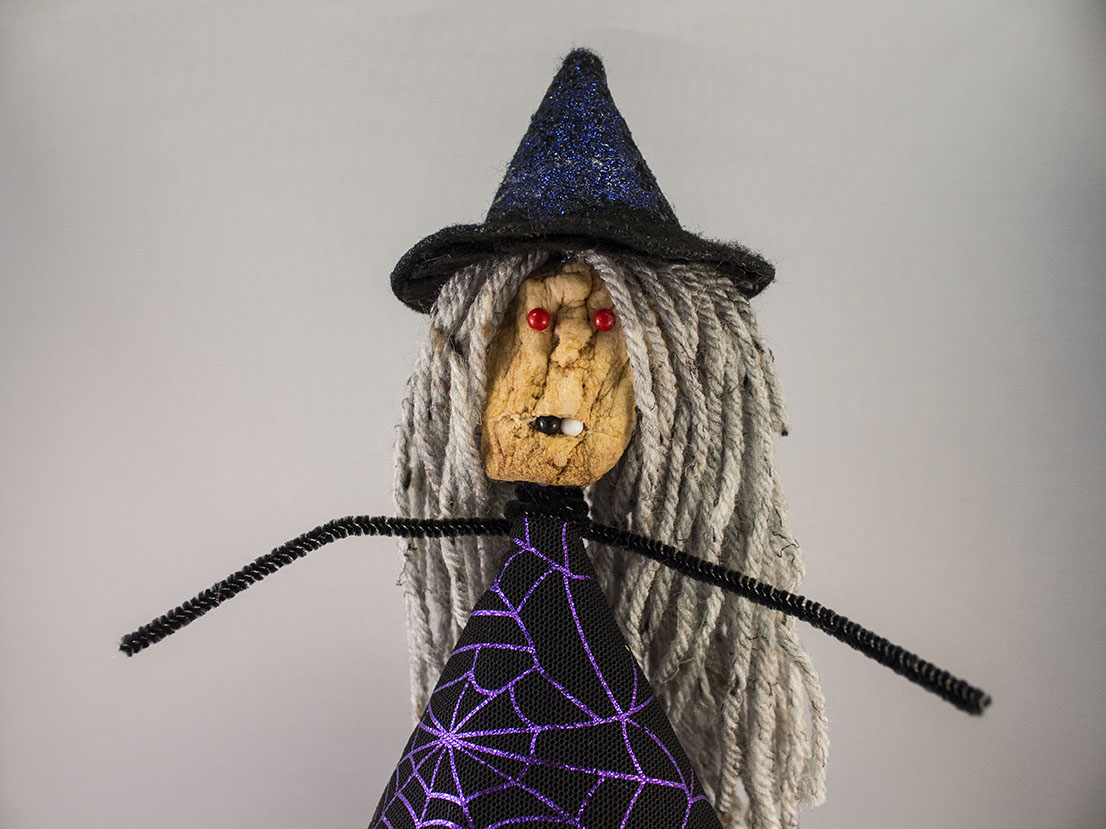
Your witch is complete! Turn on the LilyPad MP3 and display your witch somewhere scary. Turn the lights low and hear her cackle. Enjoy!